
Grigora's AI Blog Post Generator creates a draft from your topic and content settings. This guide explains the available options and how to review the generated post.
Accessing the Blog Post Generator
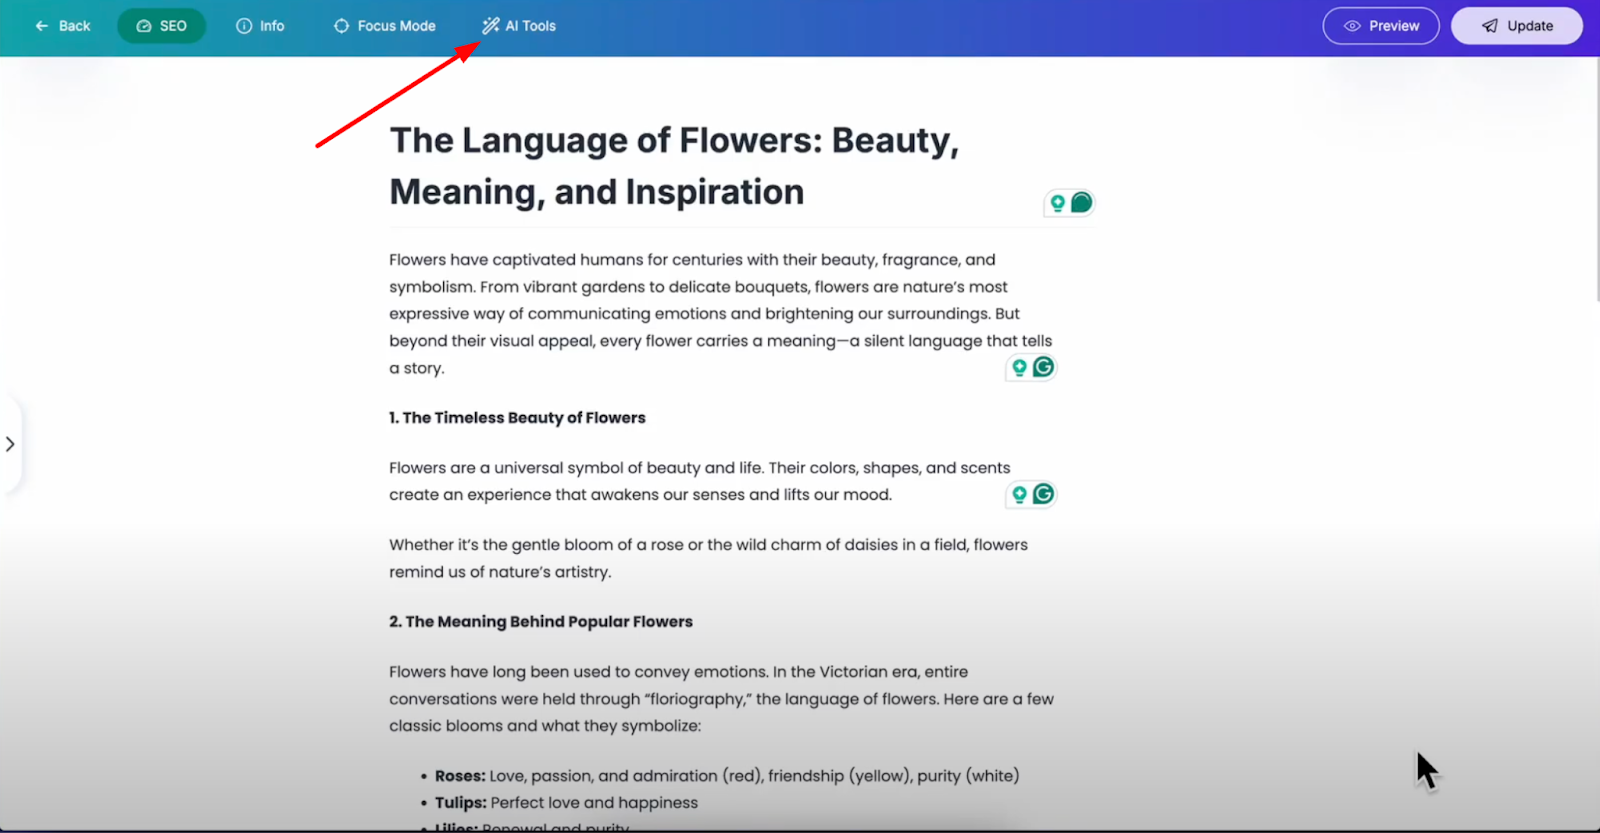
Open your post editor in Grigora and look in the top bar for the "AI Tools" option.
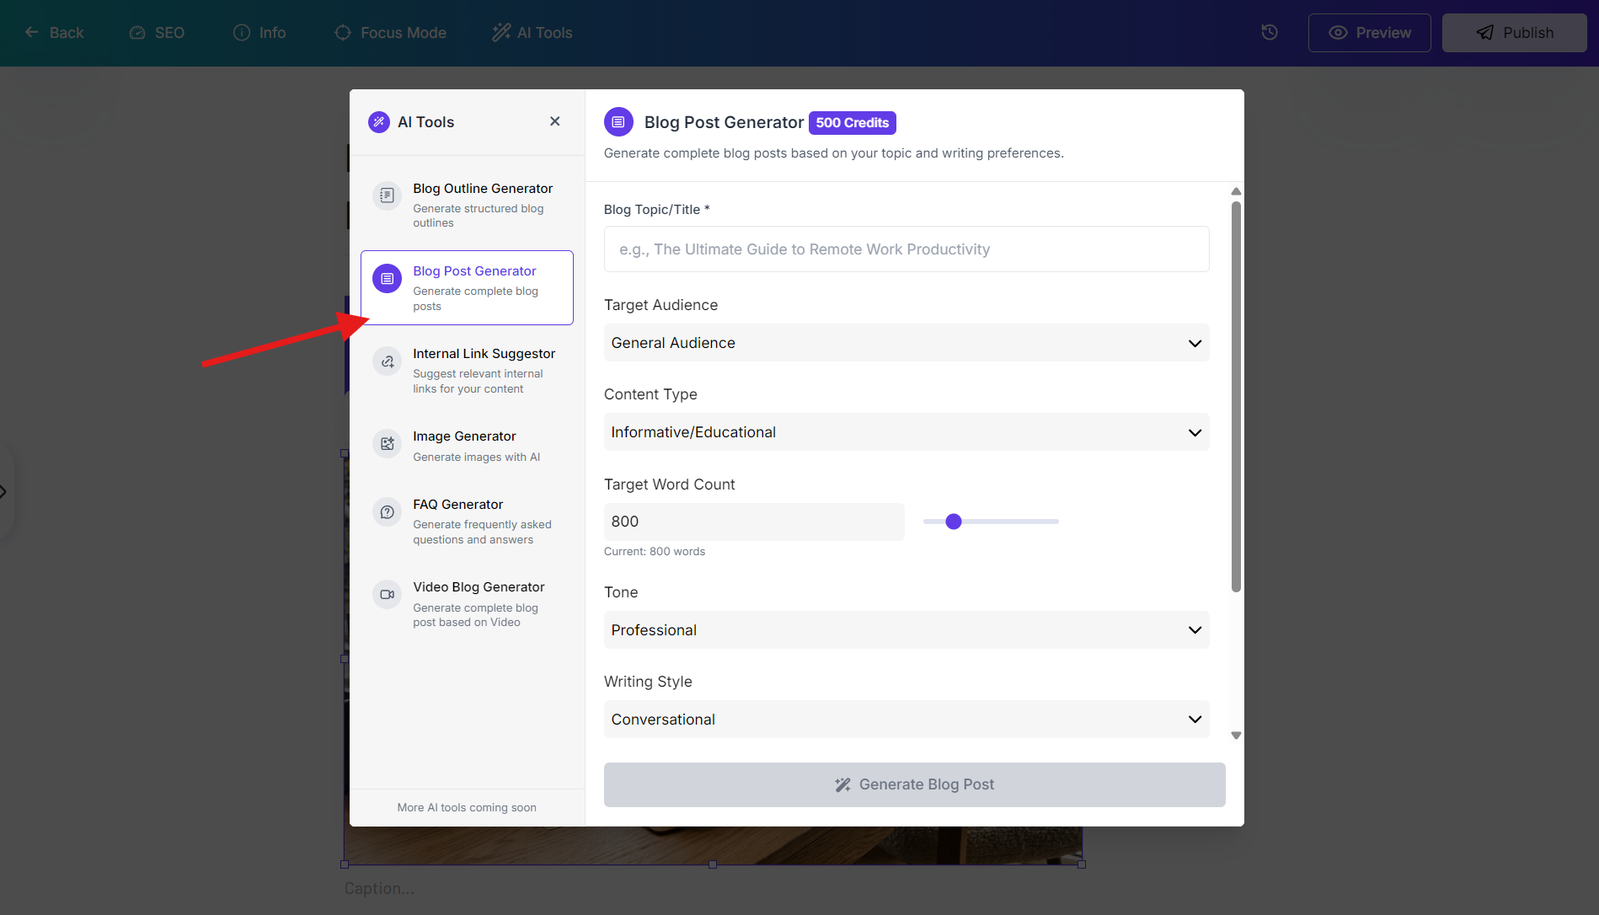
Click on it to access all available AI tools, then select the "Blog Post Generator" from the list. This tool can create entire blog posts with just a few inputs from you.
Setting Up Your Blog Topic
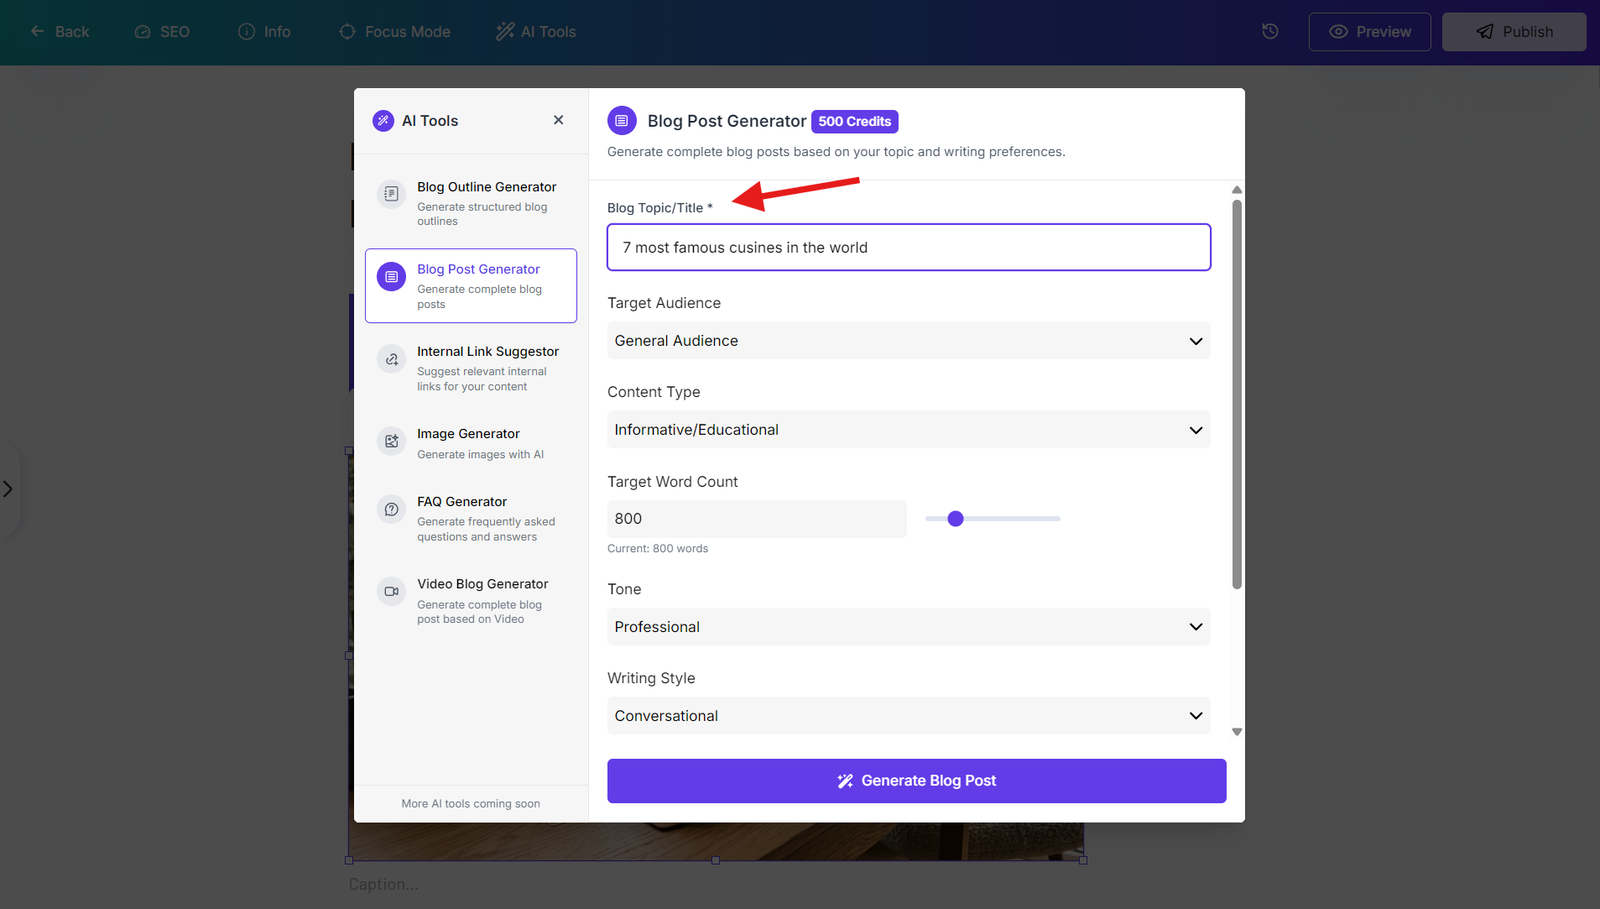
The first field you'll see is where you enter your blog topic. Be specific about what you want to write about. For example, you could use "Seven Most Famous Cuisines in World" or any topic relevant to your audience and expertise.
Configuring Content Parameters
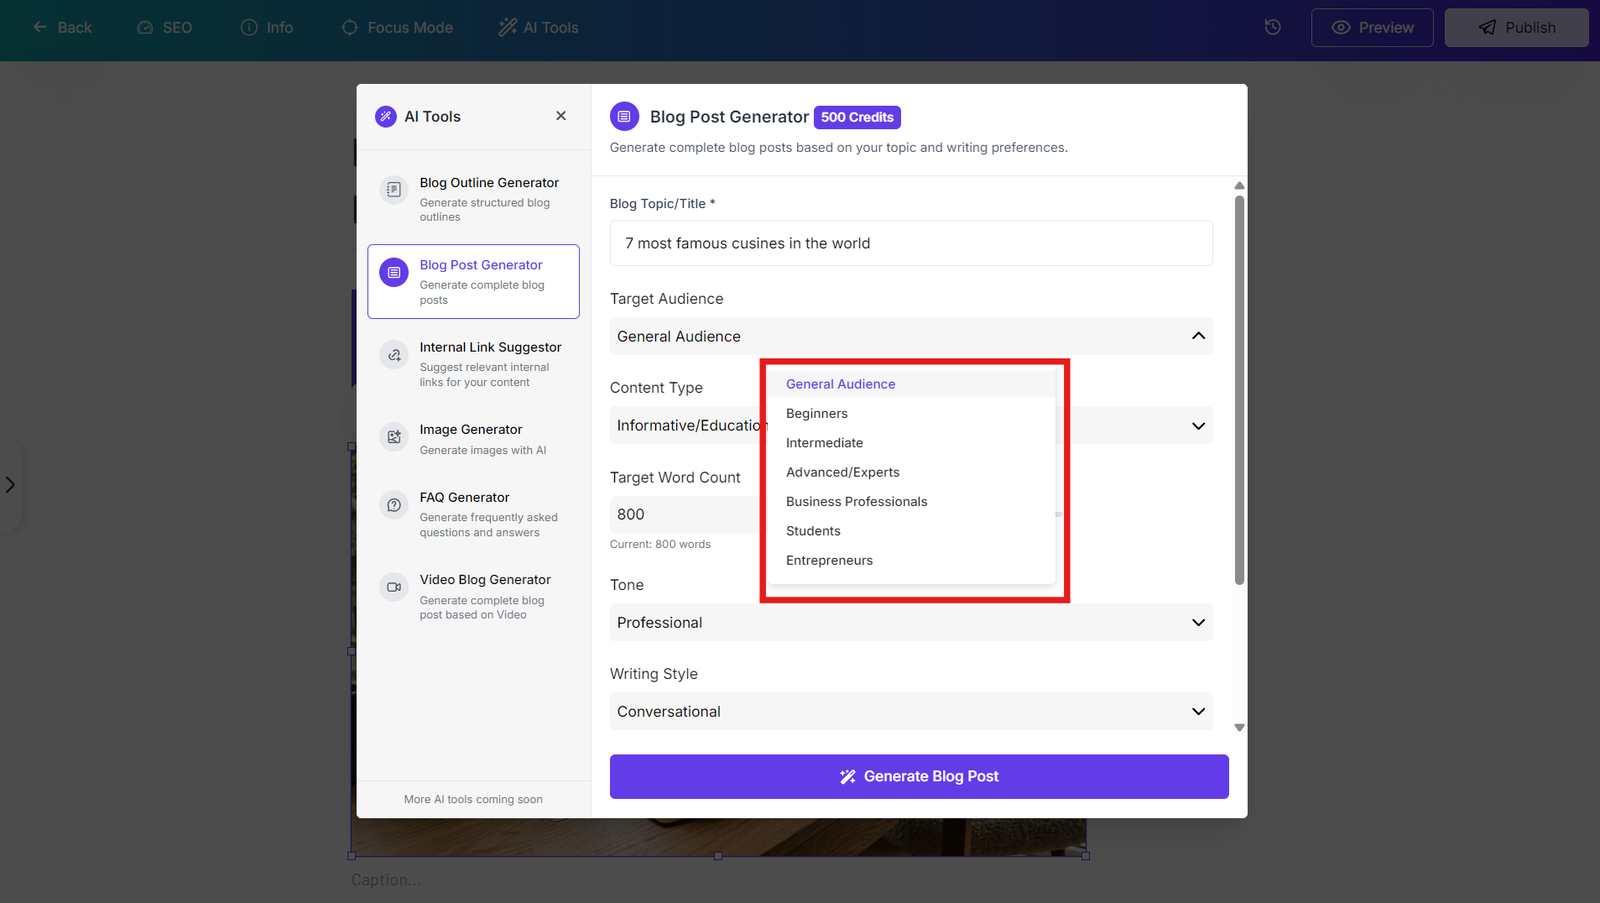
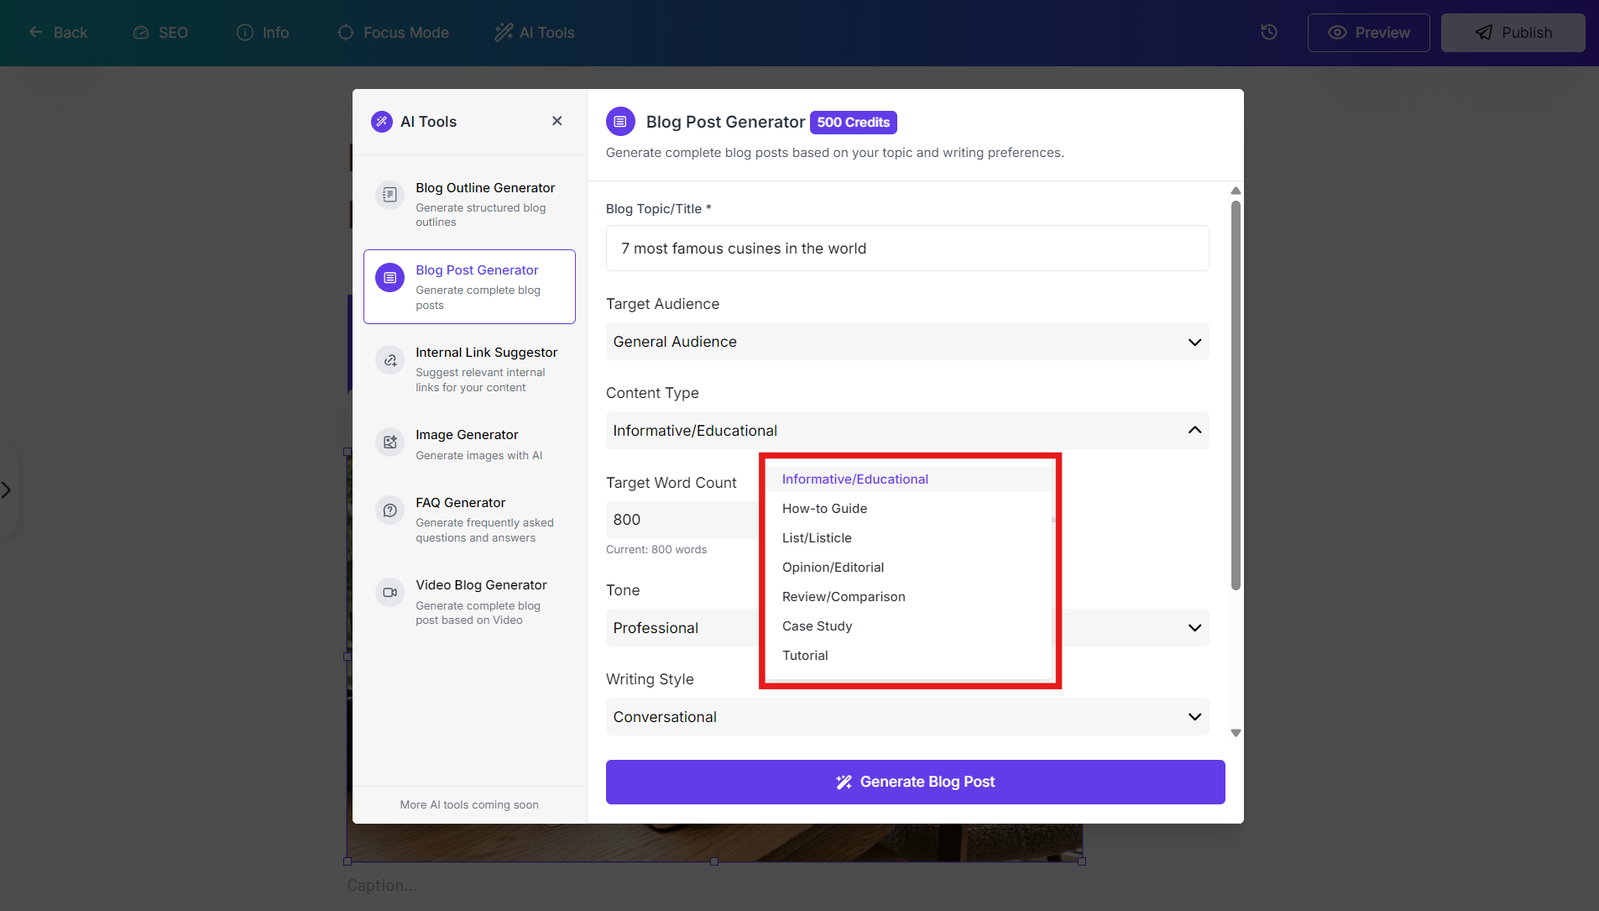
Select your target audience from the dropdown menu by choosing the audience that best matches who you're writing for. Select the content type that fits your blog post style to help the AI understand what kind of content structure and format to use.
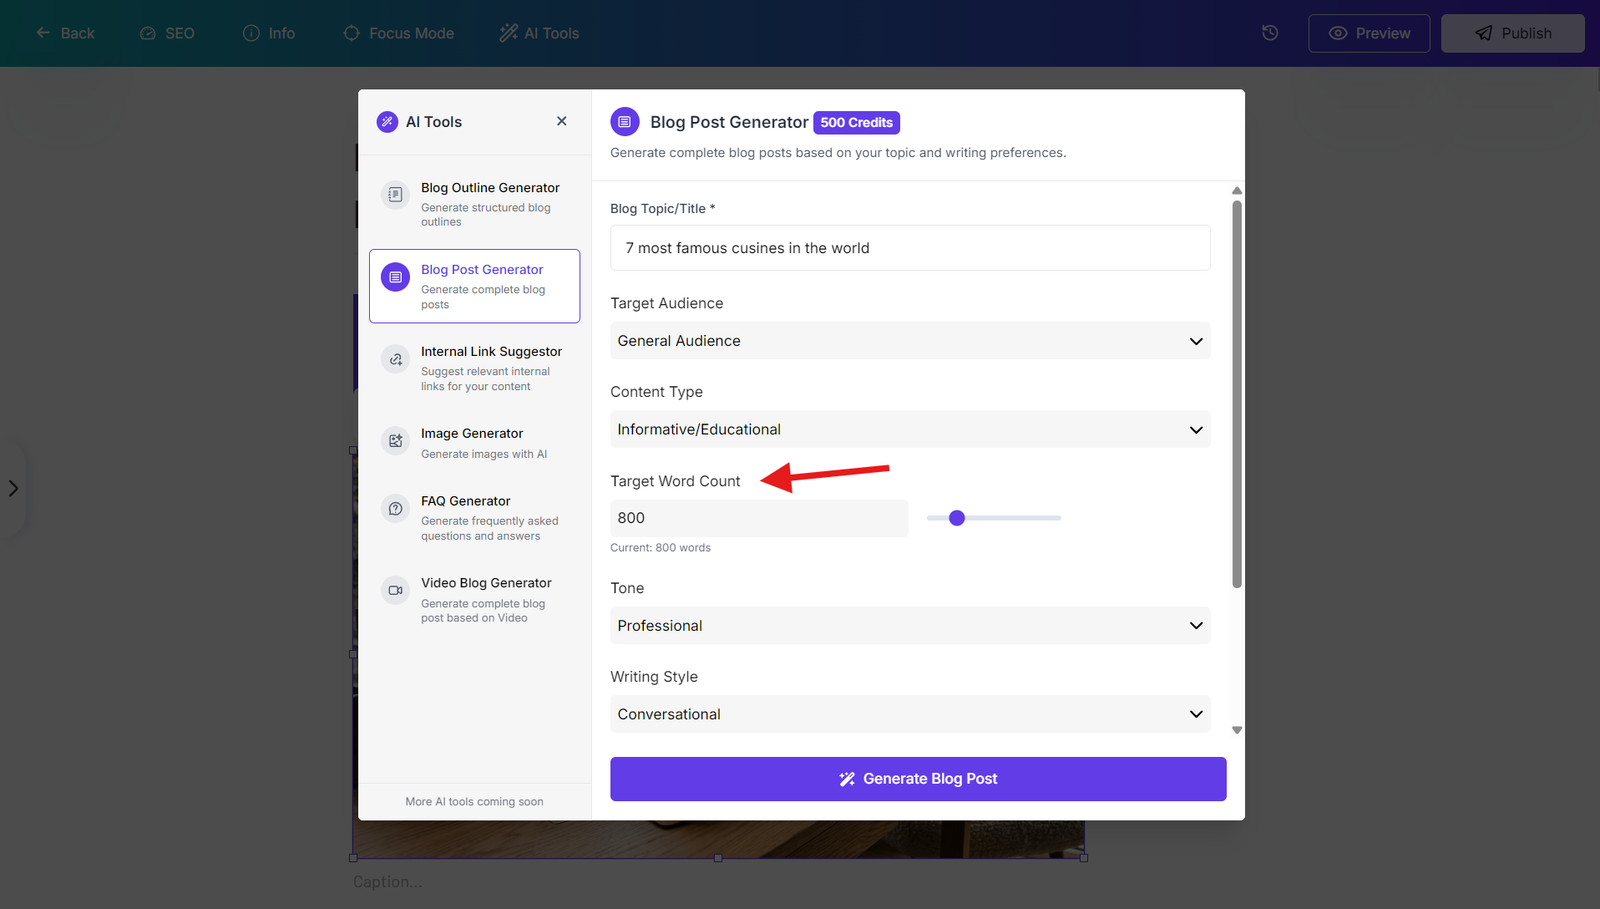
Set your desired target word count to control the length of your generated blog post. This ensures the AI creates content that matches your specific requirements and publication goals.
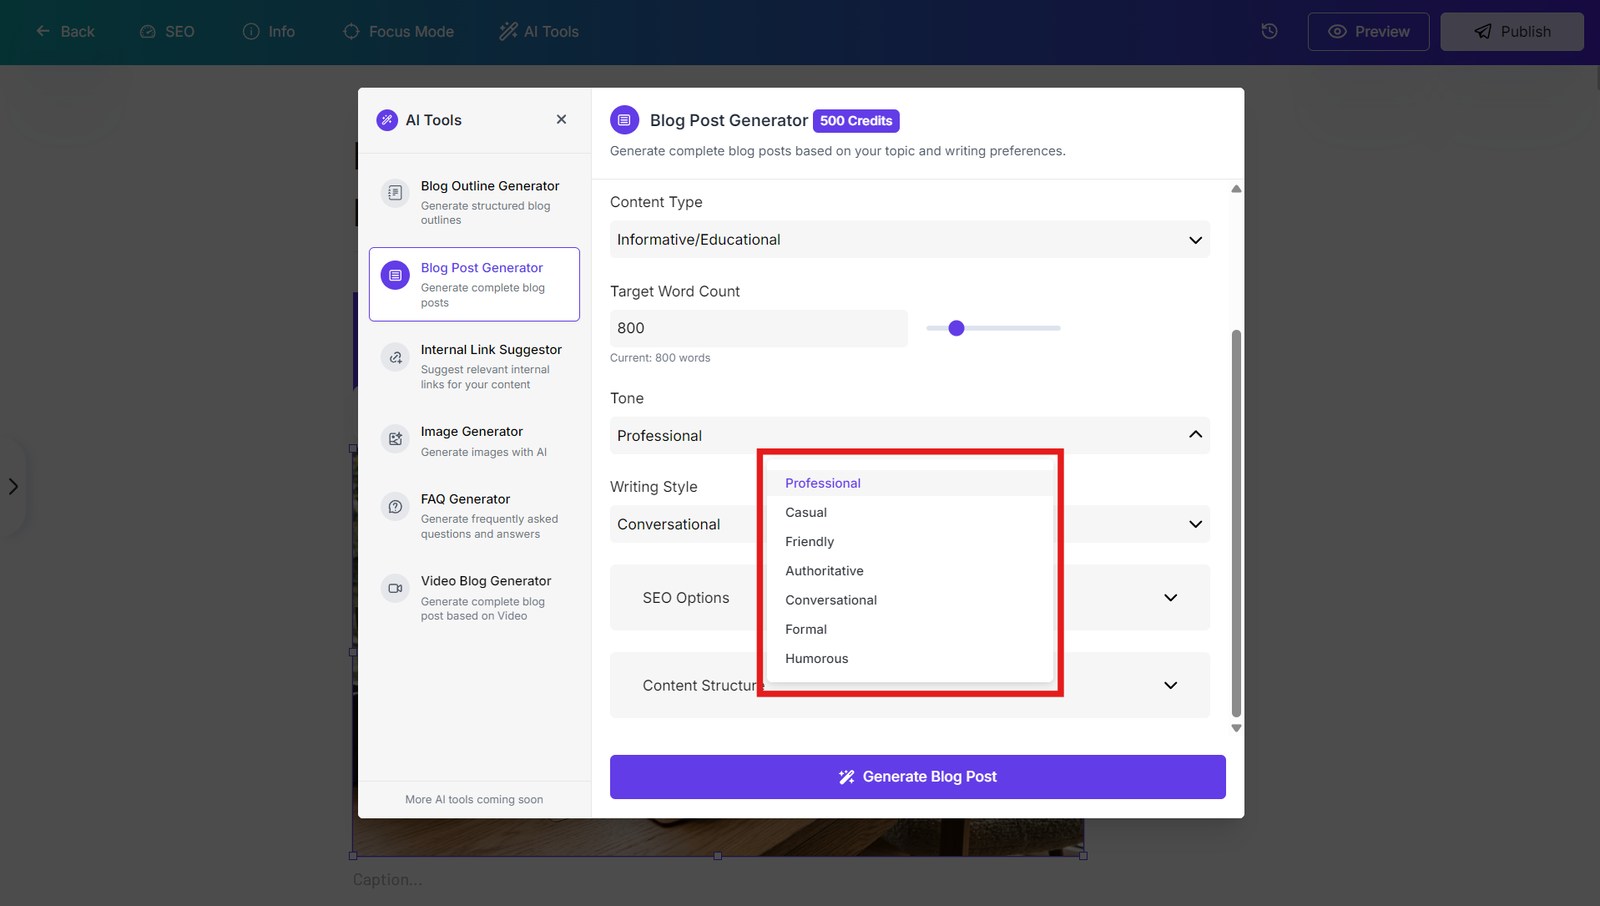
Choose the tone for your blog post by selecting your preferred writing style to match your brand voice and content strategy.
Optimizing for SEO
The blog post generator includes SEO features to help your content perform well in search results:
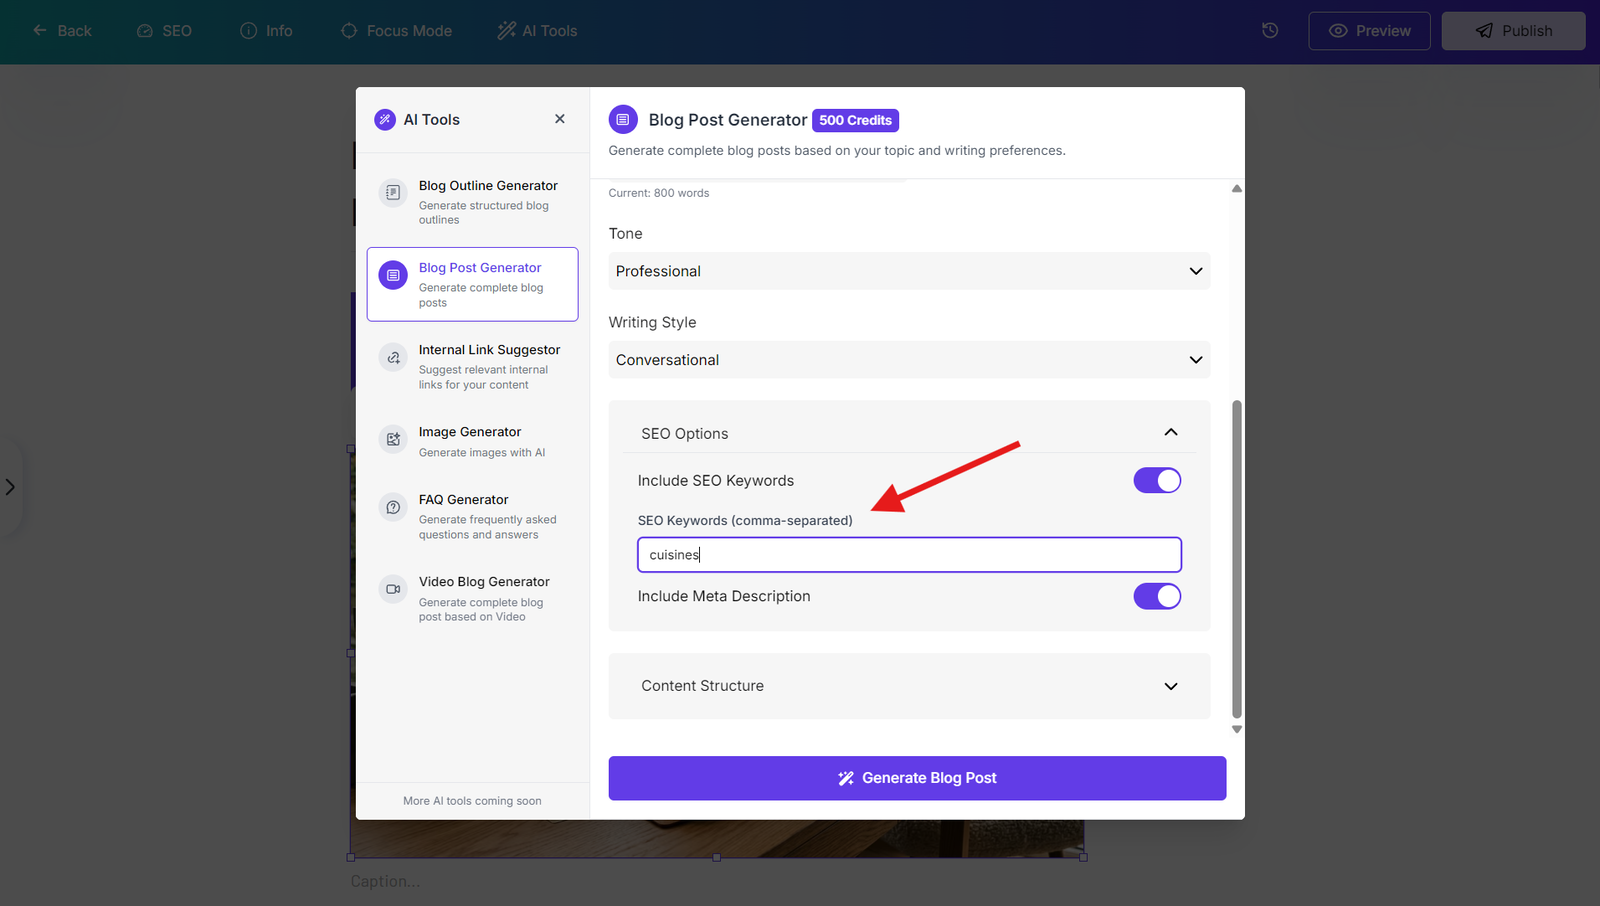
Include SEO Keywords: Toggle this option on to optimize your content for search engines. When enabled, add your focus keyword (for example, "cuisines") and the AI will naturally incorporate it throughout the content.
Include Meta Description: Enable this option to automatically generate an SEO-optimized meta description for your blog post that will help it perform better in search results.
Customizing Content Structure
Control what elements appear in your generated blog post with these toggles:
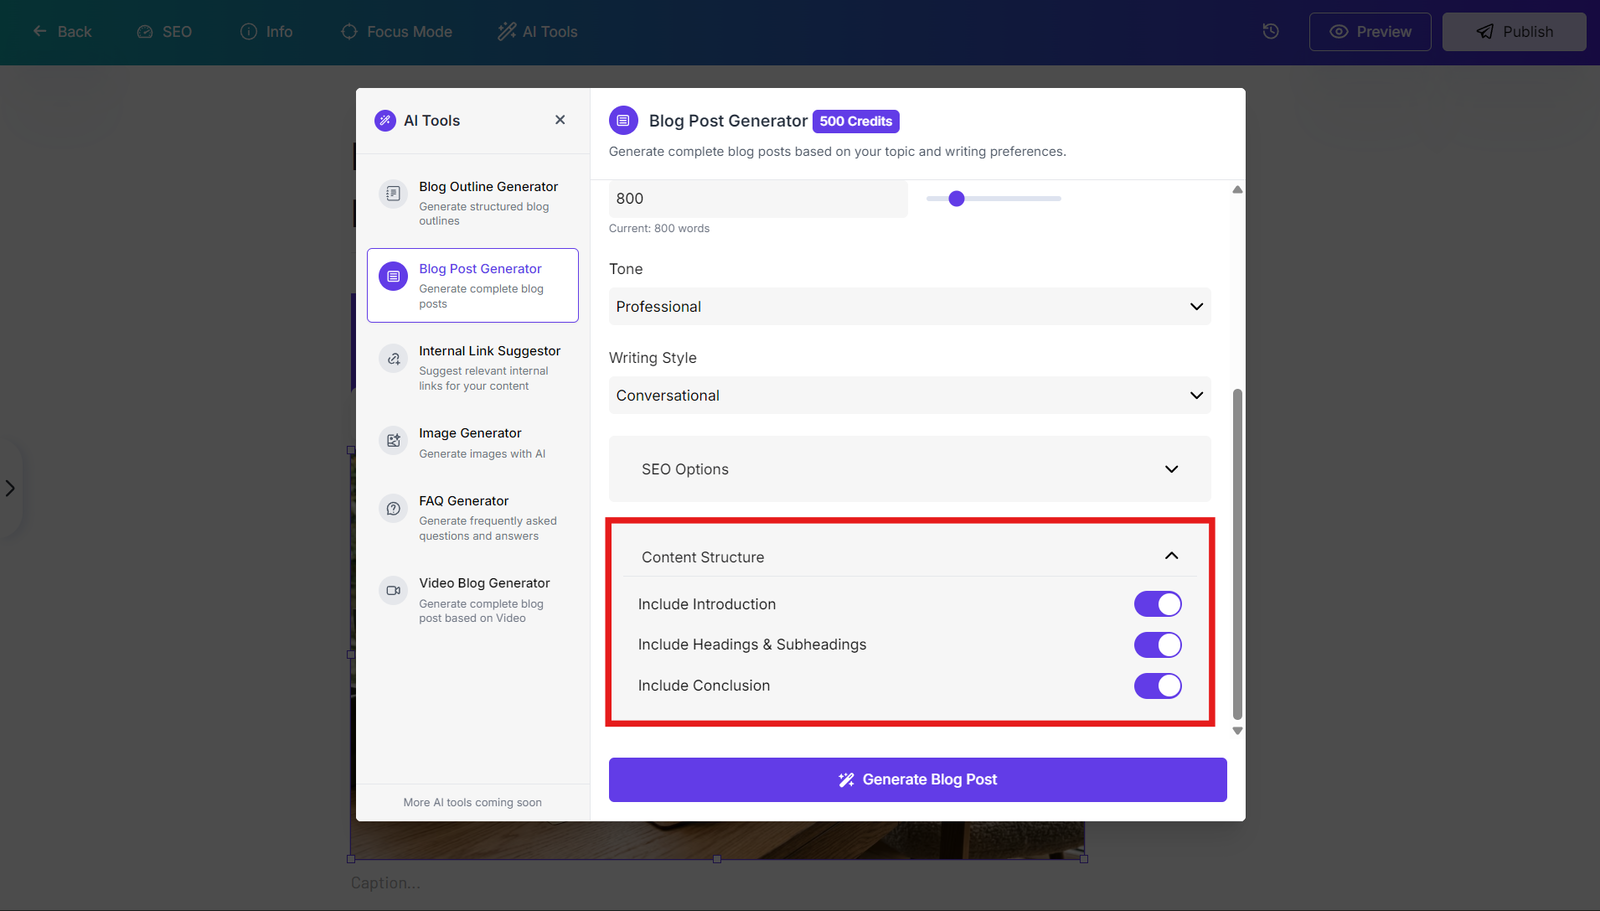
Introduction: Toggle on/off to include or exclude an engaging introduction section that hooks readers.
Headings and Subheadings: Enable this to create a well-structured post with proper heading hierarchy that's easy to scan and read.
Conclusion: Toggle to include or exclude a conclusion section that wraps up your content effectively.
These options give you complete control over your content structure and format.
Generating Your Blog Post
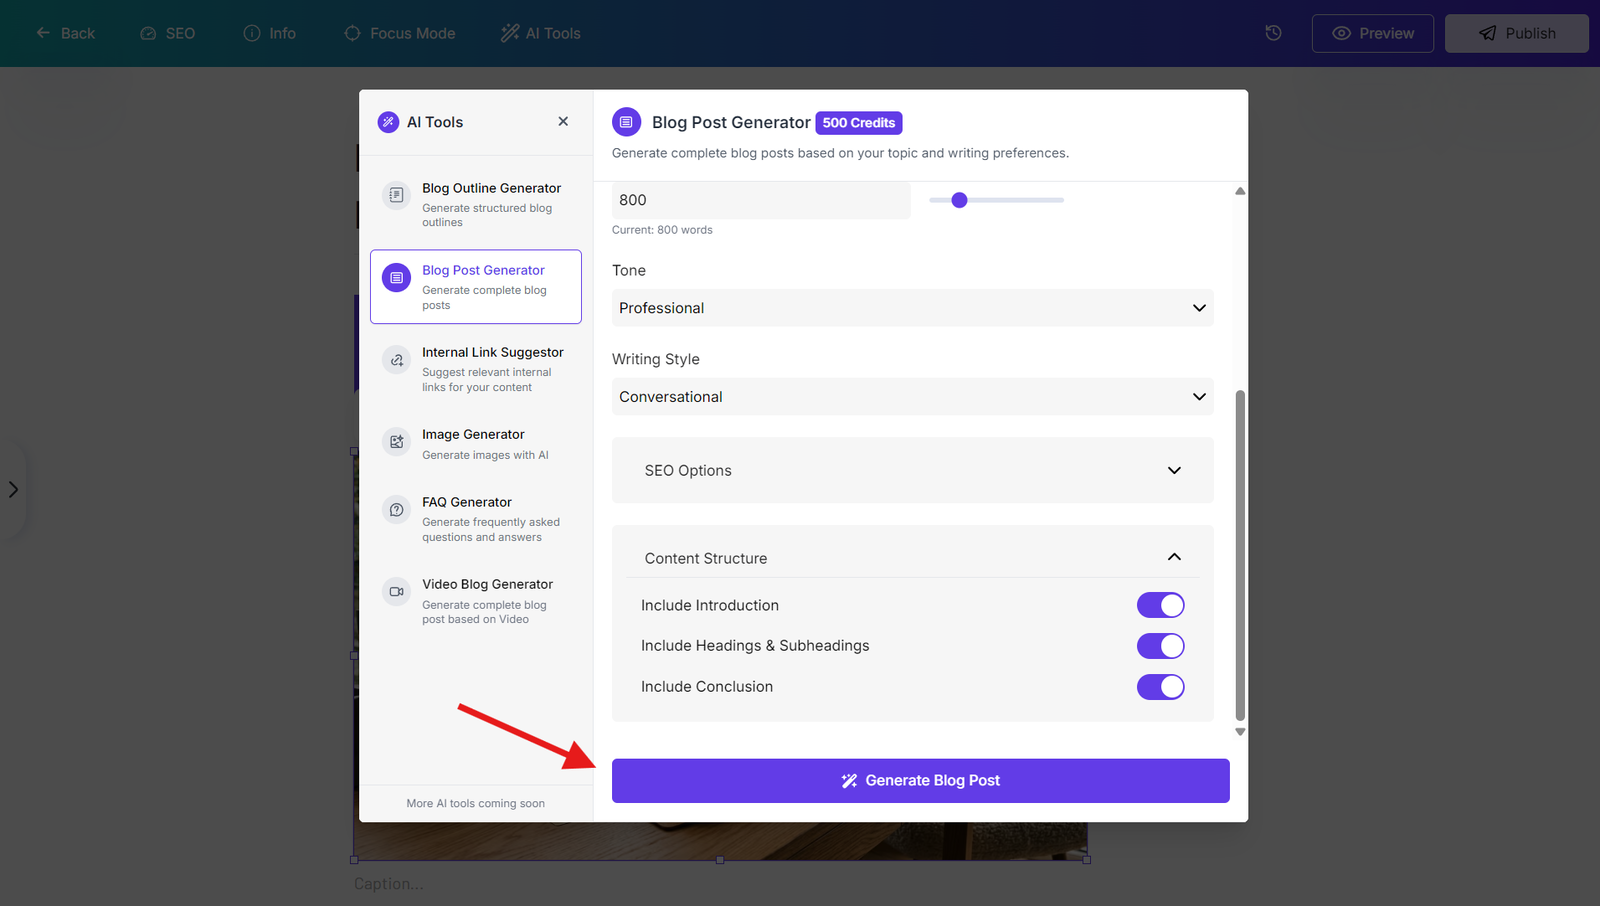
Once you've configured all your settings, click the "Generate Blog Post" button. The AI will create a complete, professional blog post in just a few seconds based on your specifications.
Using Your Generated Content
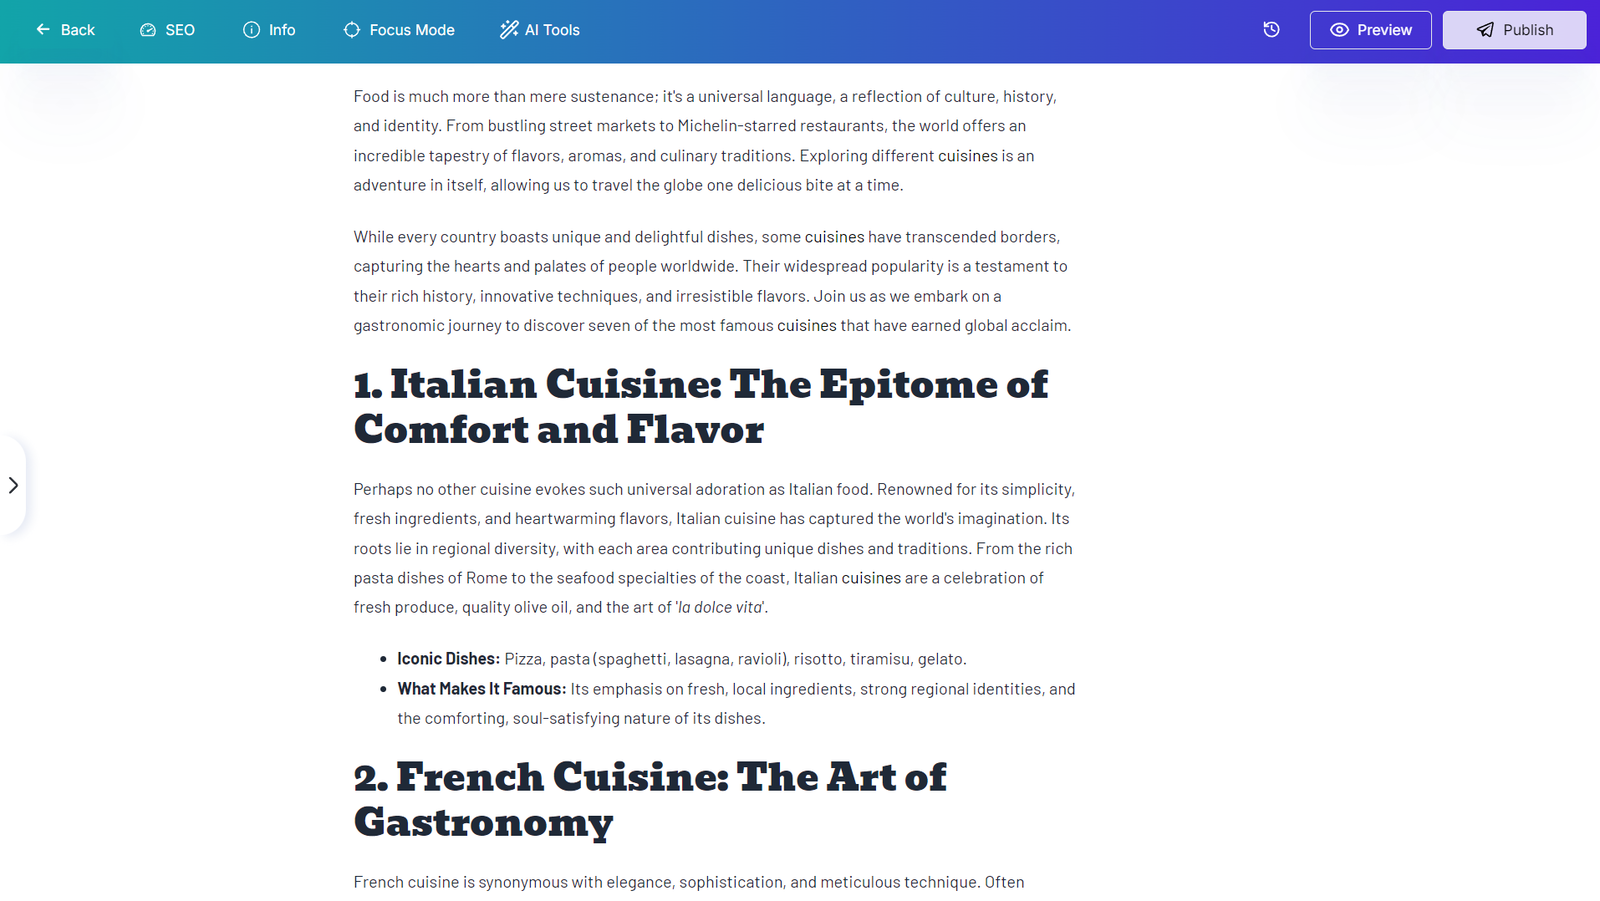
After generation, you'll receive complete content including:
Engaging title based on your topic
Well-structured content with proper headings and subheadings
SEO-optimized text with your keywords naturally integrated
Formatted draft to review before publishing
Review the generated post, check its facts, and edit the wording before publishing.