

Want to save time and streamline your blogging workflow? This guide will show you how to automate blog publishing in Grigora using Zapier. With this powerful automation, you can publish blogs directly without manual work, connect multiple apps, and speed up your content creation process. Whether you're a blogger, marketer, or business owner, automating blog publishing with Grigora and Zapier will help you stay consistent and boost productivity.
Understanding the Automation Workflow
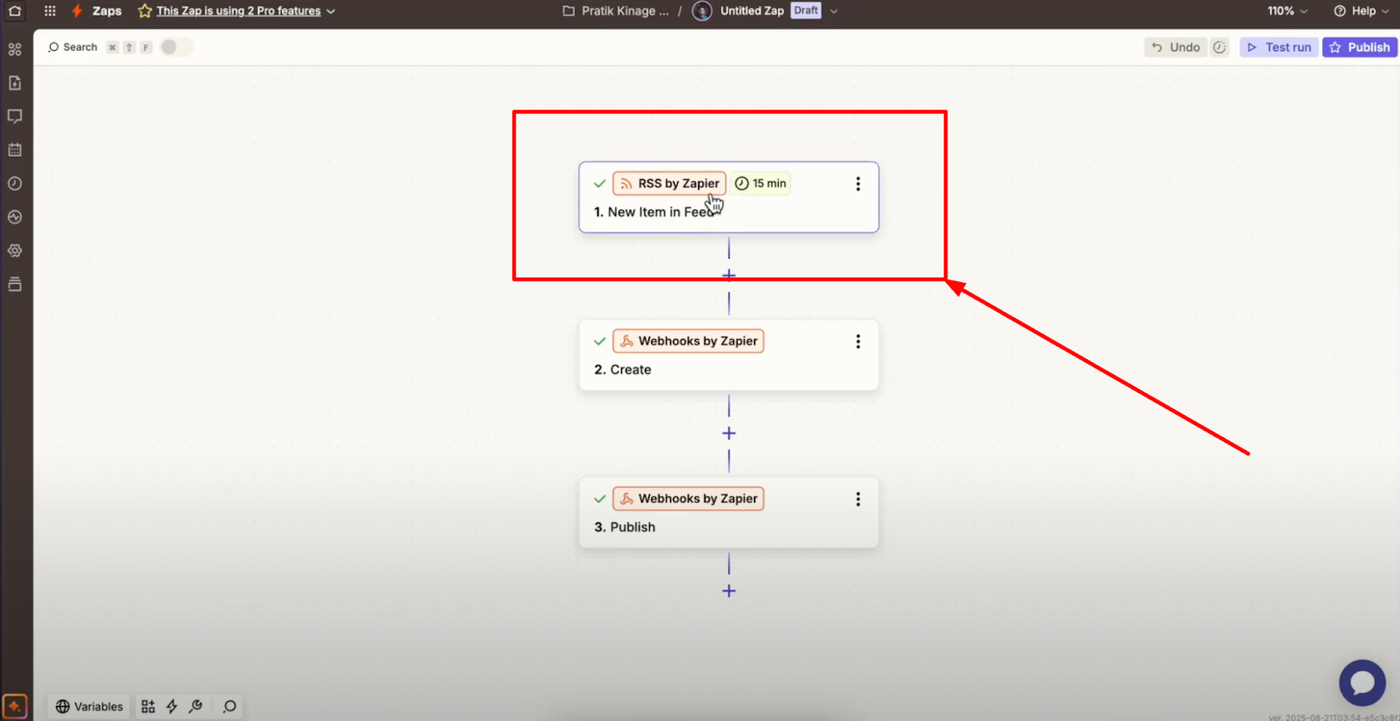
This automation eliminates manual blog posting by connecting RSS feeds directly to your Grigora website. For this workflow, we'll use three steps: RSS by Zapier as the trigger, and two webhooks by Zapier - one to create the post and one to publish it automatically.
This three-step process ensures complete automation from content detection to final publication, allowing you to maintain consistent posting schedules without constant manual intervention.
Step 1: Configure RSS by Zapier
Setting Up the RSS Trigger
Open Zapier and create a new Zap for your blog automation. In setup, choose the trigger event "New Item in Feed" to monitor your RSS source for fresh content.
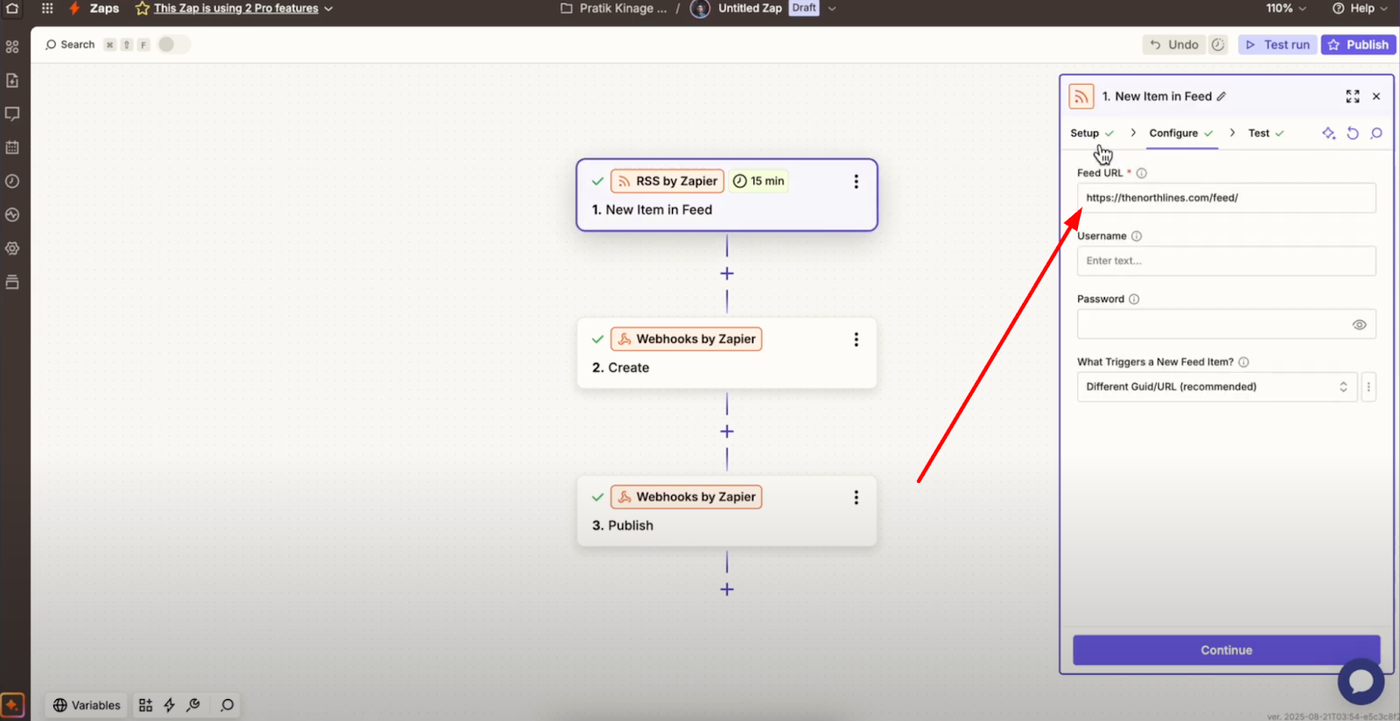
In configure, paste your feed URL from which the posts will be captured. This can be any RSS feed - your own content from another platform, curated industry content, or partner blog feeds you want to republish.
Testing RSS Connection
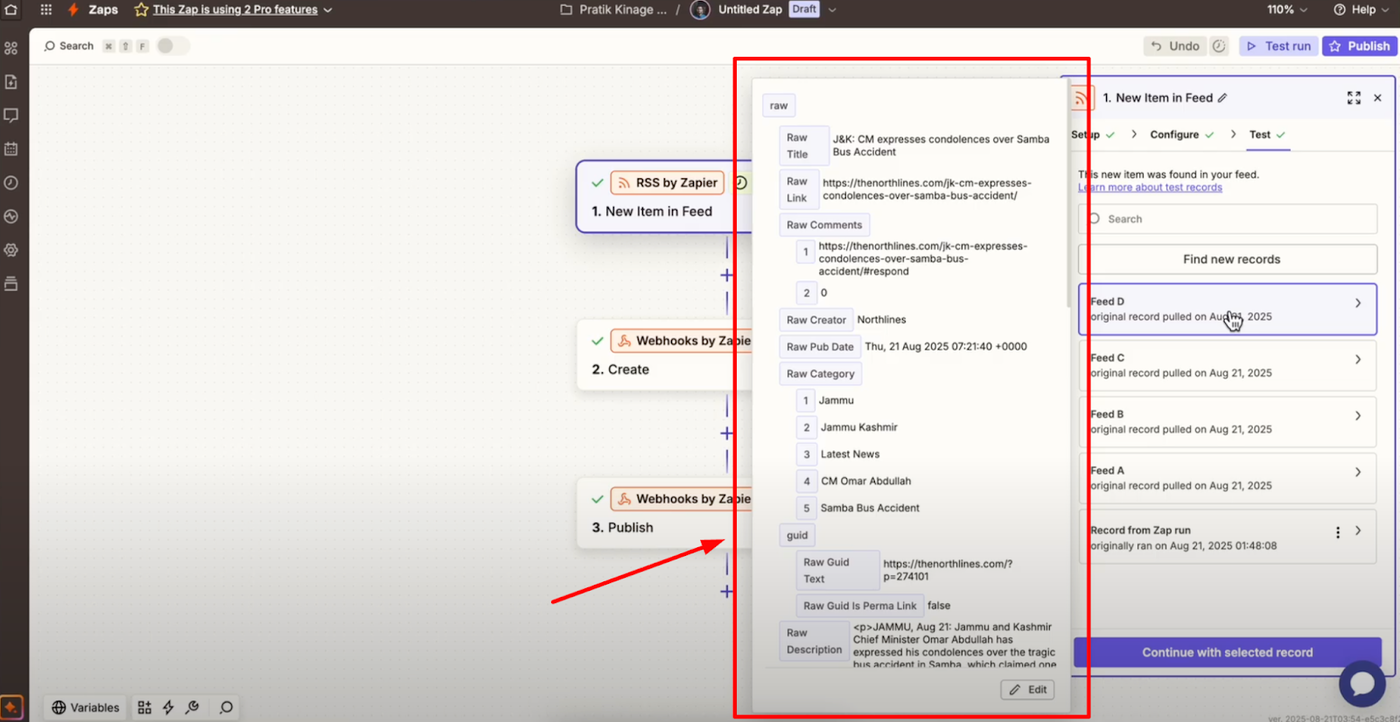
Use "Test" to verify the trigger is successfully fetching items from your RSS feed. When successful, it will capture a post with all the necessary content elements like title, content, author, and publication date.
This test confirms that Zapier can access and parse your RSS feed properly before proceeding to the content creation steps.
Step 2: Configure Webhooks - Create Post
Setting Up Post Creation
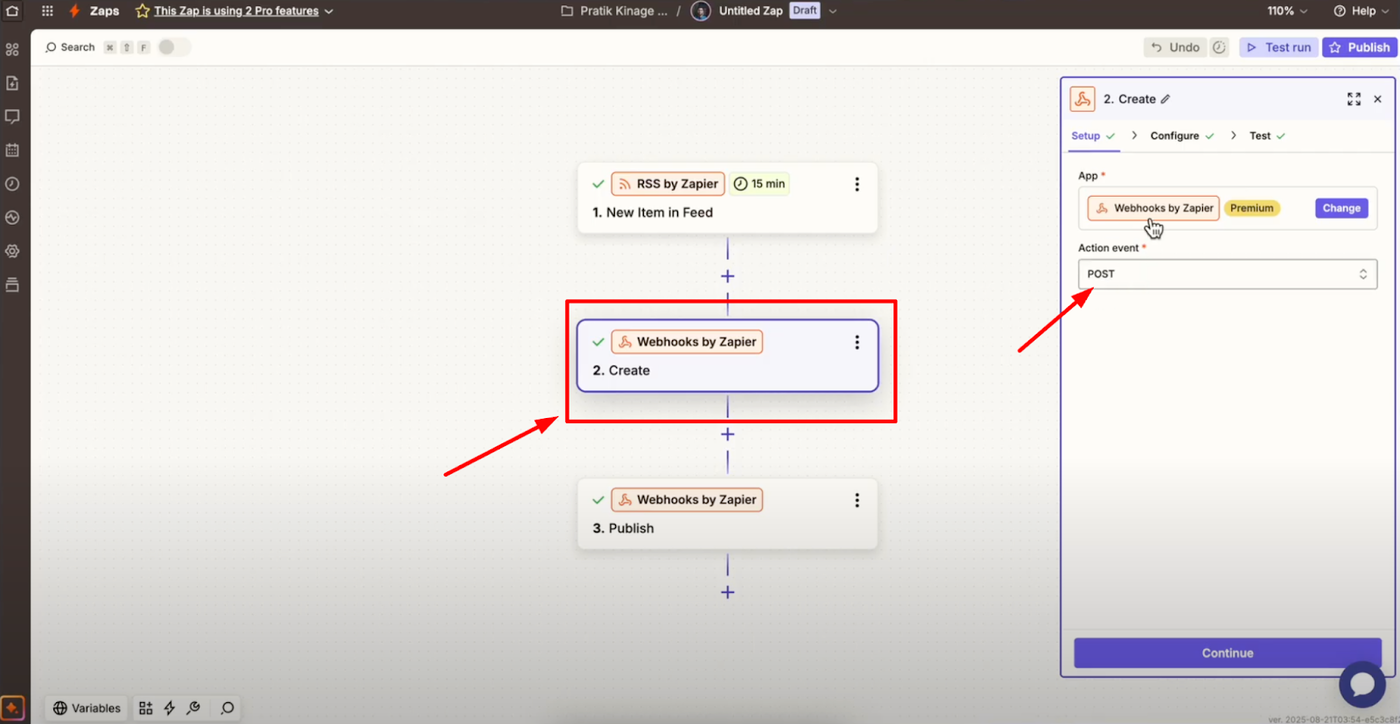
In setup, choose action event "POST" for creating new content in Grigora.
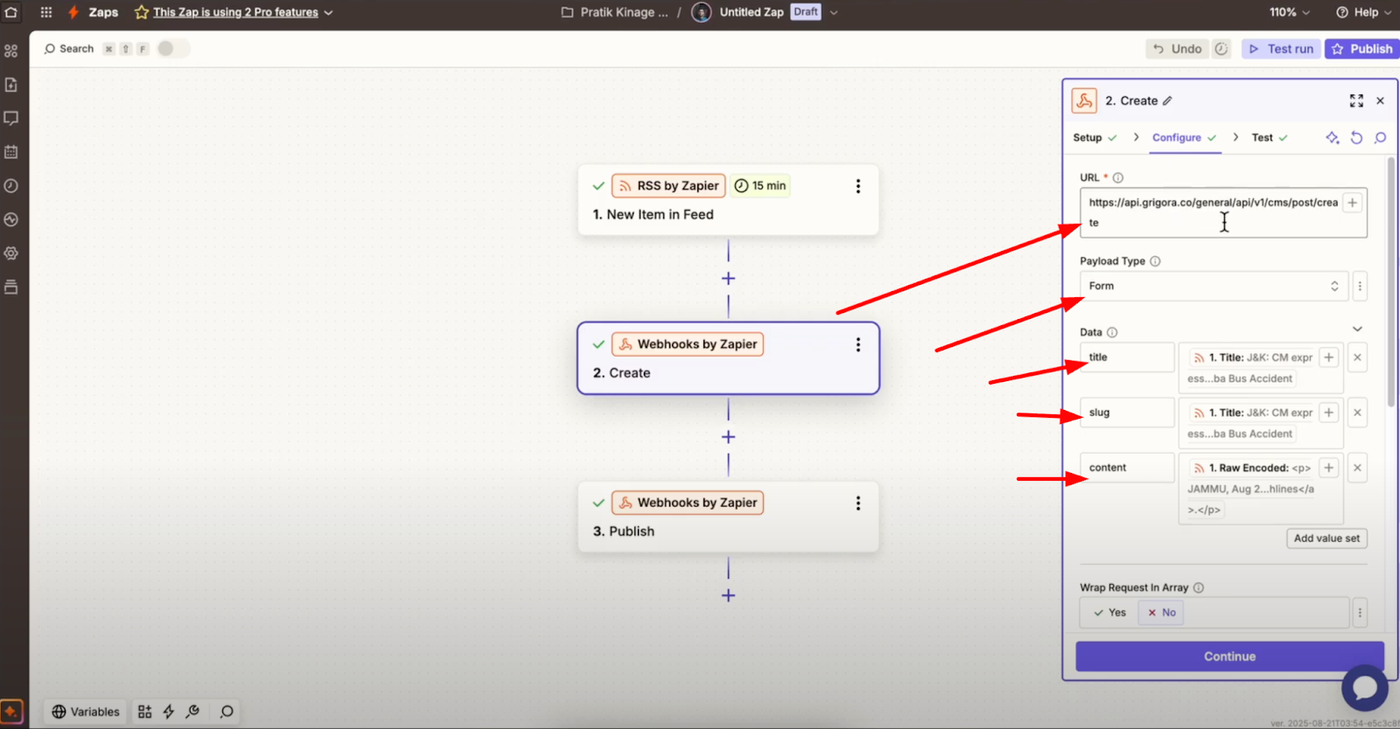
In configure, set the URL to Grigora's create post API endpoint which handles the initial post creation process.
Refer to Grigora's API reference guide to understand which parameters to send for fields like title, content, excerpt, categories, tags, slug, etc. This documentation ensures your automation sends properly formatted data to Grigora.
Set payload type to "Form" for proper data transmission format. Map the required fields from the RSS item to the form fields - this connects the RSS content (title, description, link) to Grigora's post structure (title, content, excerpt).
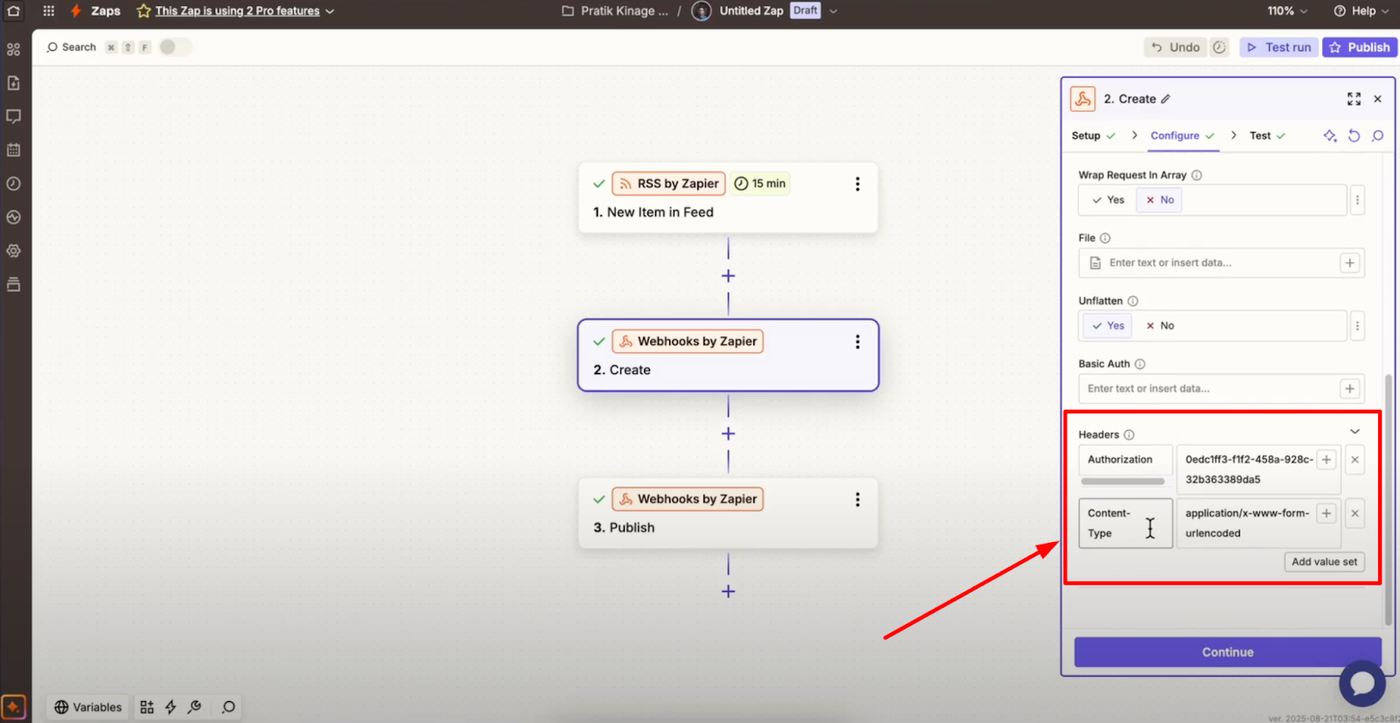
In headers, add authorization with your API key for secure access to your Grigora account. This authentication ensures only authorized automations can create content on your website.
Testing Post Creation
Use "Test" to ensure this action runs successfully and returns a created post with its ID. The post ID is crucial for the next step as it identifies which specific post to publish.
You can verify the post creation by checking your Grigora dashboard where the new post should appear in draft status.
Step 3: Configure Webhooks - Publish Post
Setting Up Post Publishing
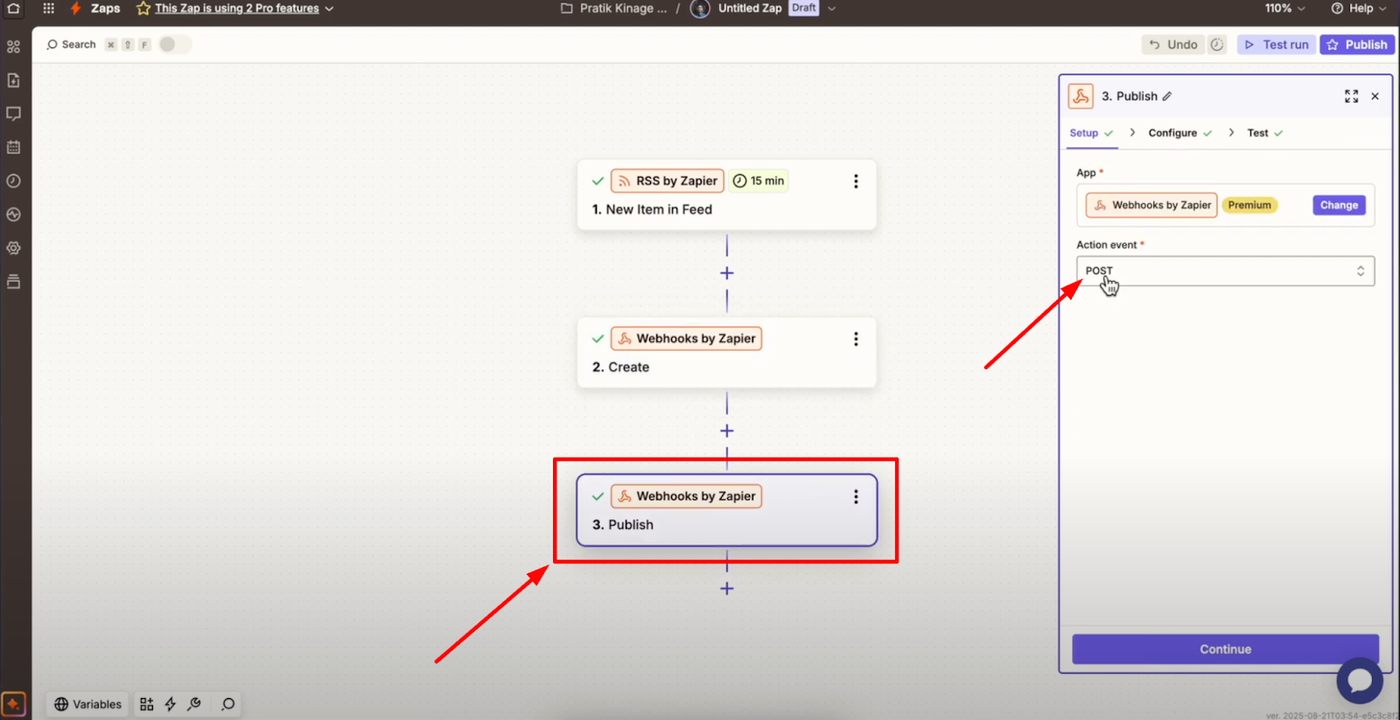
In setup, choose action event "POST" for the publishing action.
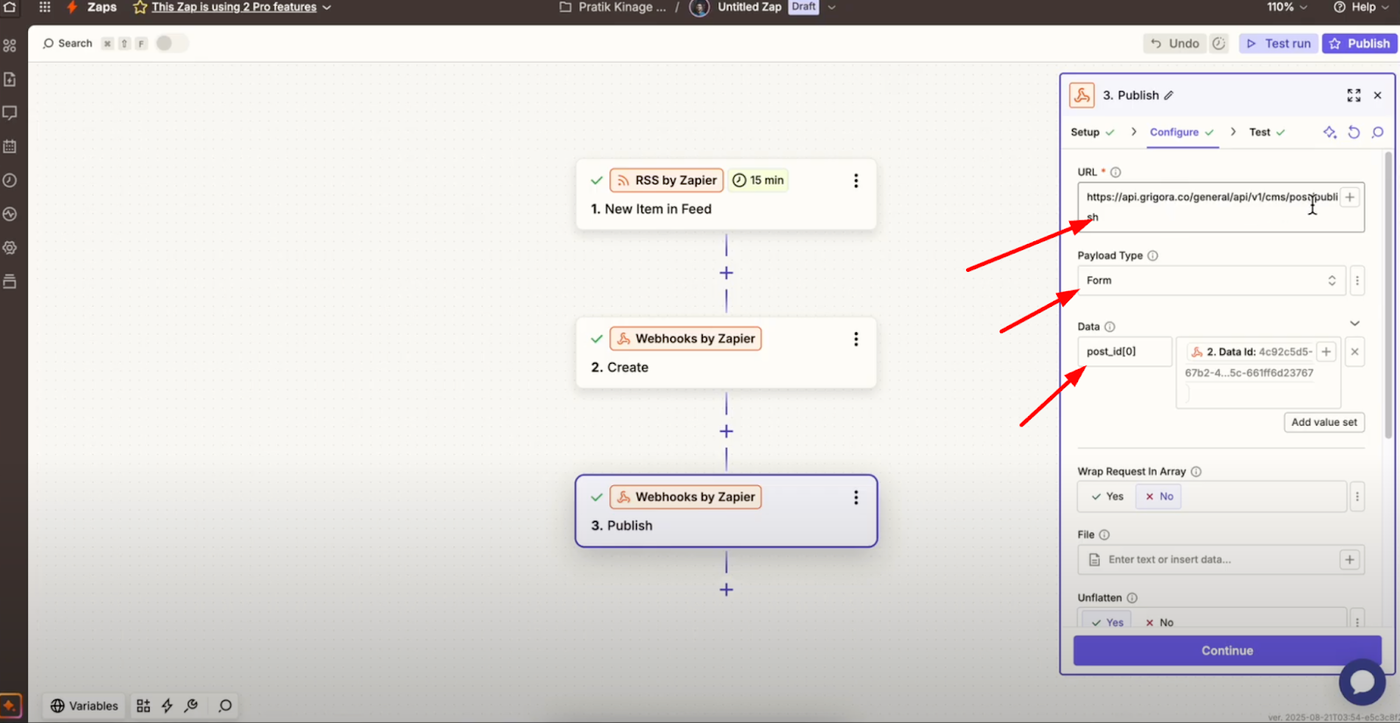
In configure, set the URL to Grigora's publish post API endpoint which moves posts from draft to live status.
Set payload type to "Form" to match the expected data format. Map the post ID from the create step's output so the correct post gets published - this ensures the automation publishes the right content.
Authentication and Testing
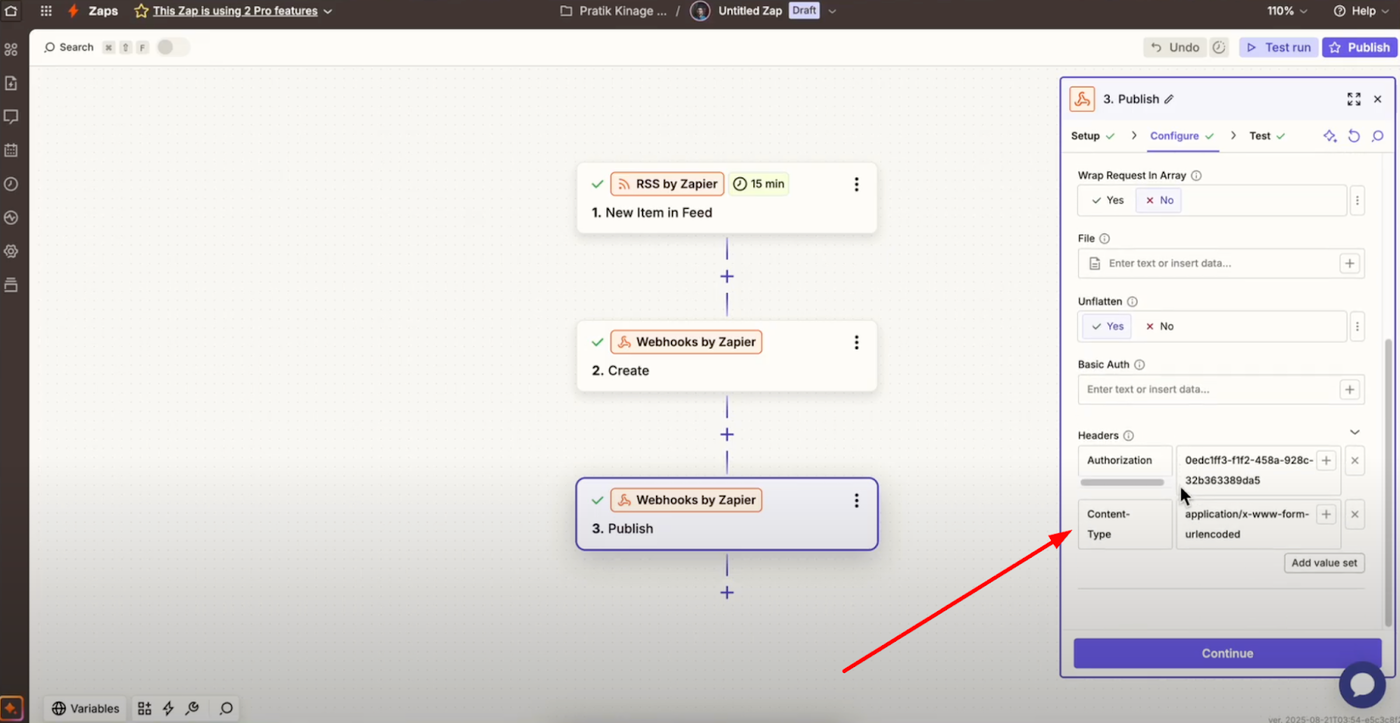
Add authorization with your API key in headers for secure publishing access. Test this action to confirm publishing works properly and that your post transitions from draft to published status.
As the test completes successfully, the post is published and becomes live on your website automatically.
Benefits of Automated Publishing
Consistent Content Flow
Each time a new item appears in your RSS feed, the Zap will automatically create and then publish a blog post in Grigora using your mapped fields. This ensures consistent content updates without manual intervention.
Time and Efficiency Savings
This setup lets you keep your blog updated automatically with minimal manual effort. You can focus on creating quality content while automation handles the publishing logistics.
Scalability and Flexibility
Adjust your field mappings and feed source as needed for your content strategy. You can modify categories, tags, or content formatting to match your brand and audience preferences.
Best Practices for Blog Automation
Content Quality Control
While automation saves time, consider implementing content review processes for sensitive or branded content. You might want to set posts to draft initially and review before publishing for certain feed sources.
Feed Source Management
Choose RSS feeds that align with your content strategy and provide value to your audience. Quality content sources ensure your automated posts maintain your website's reputation and engagement levels.
Monitoring and Optimization
Regularly review your automated posts to ensure proper formatting, category assignment, and content quality. Adjust your Zapier mappings as needed to optimize the automation's output.