Grigora makes it easy to create and publish compelling blog posts. Follow these steps to write your first blog post:
1. Access Your Grigora Dashboard:
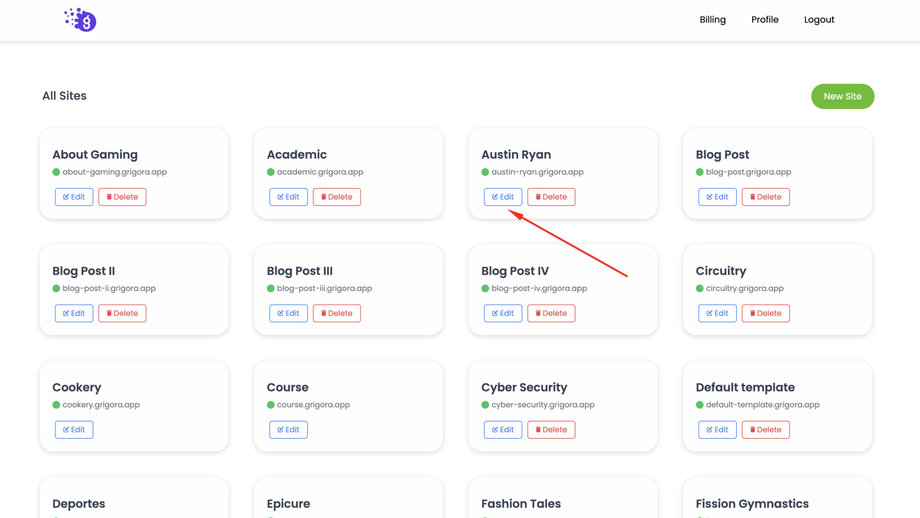
Log in to your Grigora account and navigate to your dashboard.
2. Select Your Website:
Choose the website where you want to create the blog post.
3. Ensure Theme Compatibility:
Make sure your website's theme supports or has CMS blocks in the editor. This is essential for blog posts to display correctly. If your theme doesn't support it, consider switching to a compatible theme.
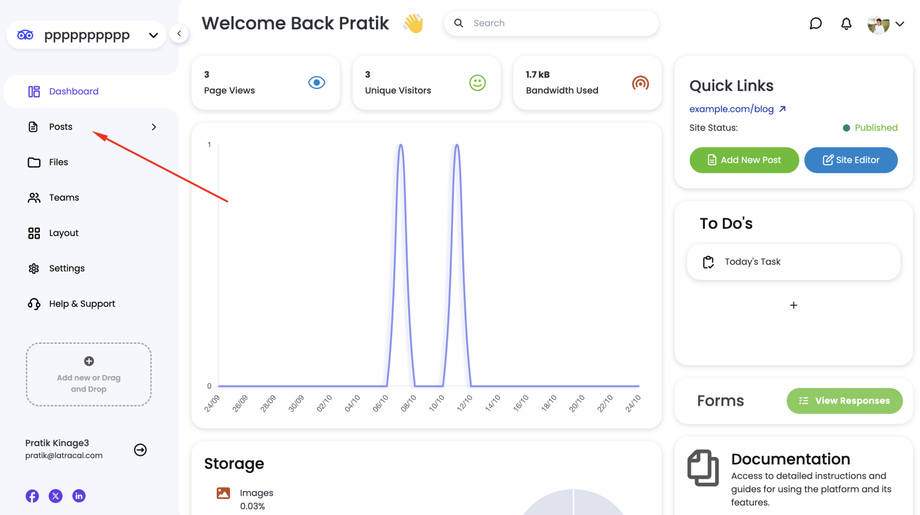
4. Navigate to the Posts Tab:
On the left-hand side navigation panel, click on "Posts".
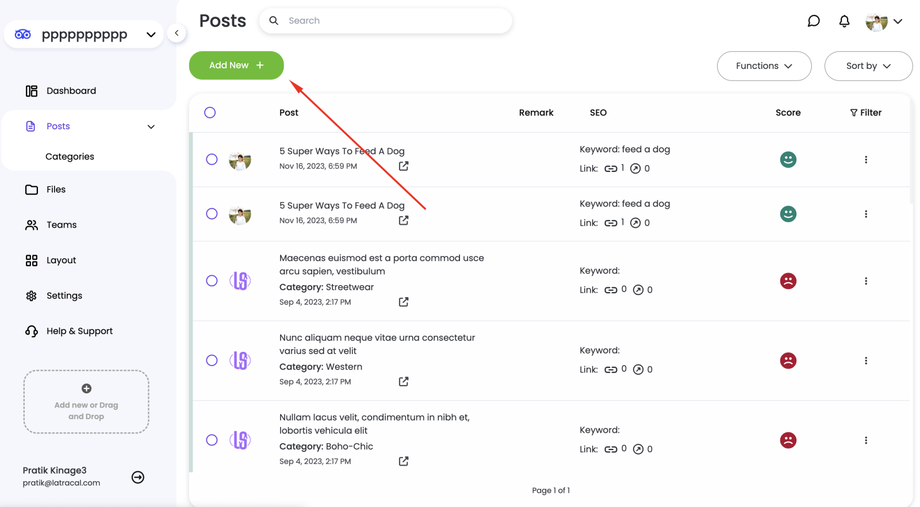
5. Create a New Post:
Click on "Add New". This will open a new interface similar to WordPress for writing your post.
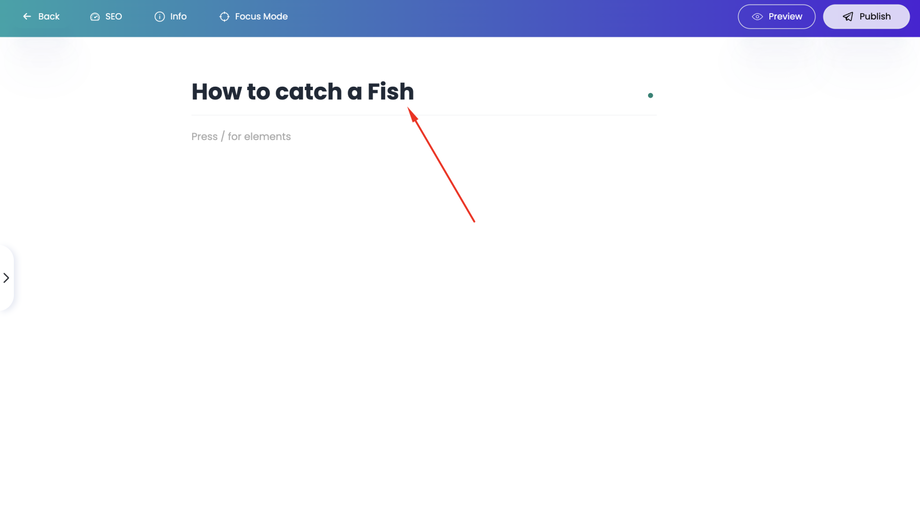
6. Enter Your Post Title:
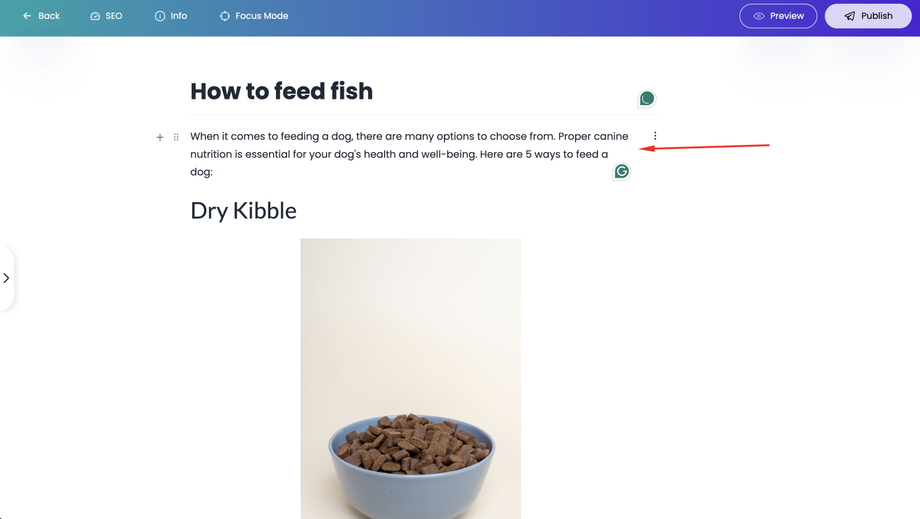
At the top of the interface, enter a catchy and informative title for your blog post.
7. Write Your Post Content:
Start writing your post content below the title. You can use the rich text editor to format your text, add images, lists, tables, and more. Use the "/" shortcut to access suggestions for different content elements.
8. Save as Draft:
As you write, periodically click "Save as Draft" to preserve your work.
9. Optimize for SEO:
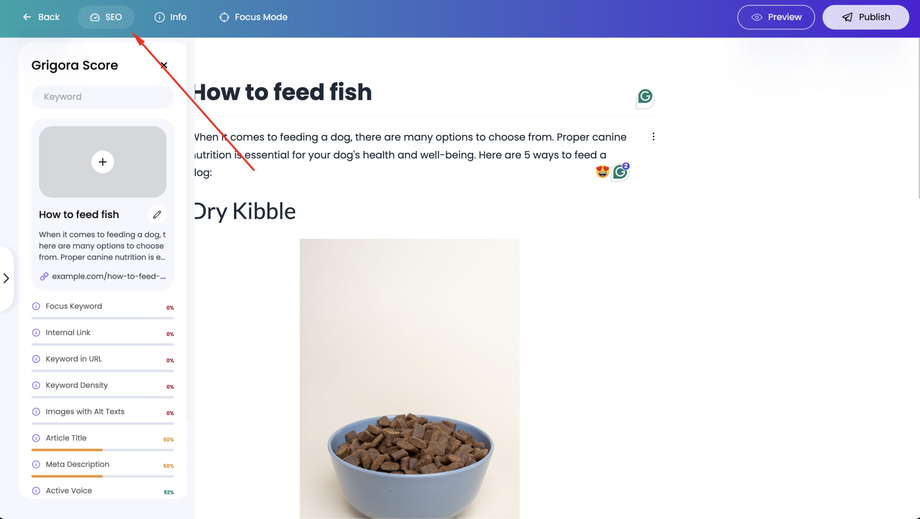
Once you've finished writing the post, click on the "SEO" button in the top bar.
Edit the post's thumbnail, meta description, meta title, and slug.
Grigora will provide suggestions on how to improve your post's SEO.
10. Add Post Details:
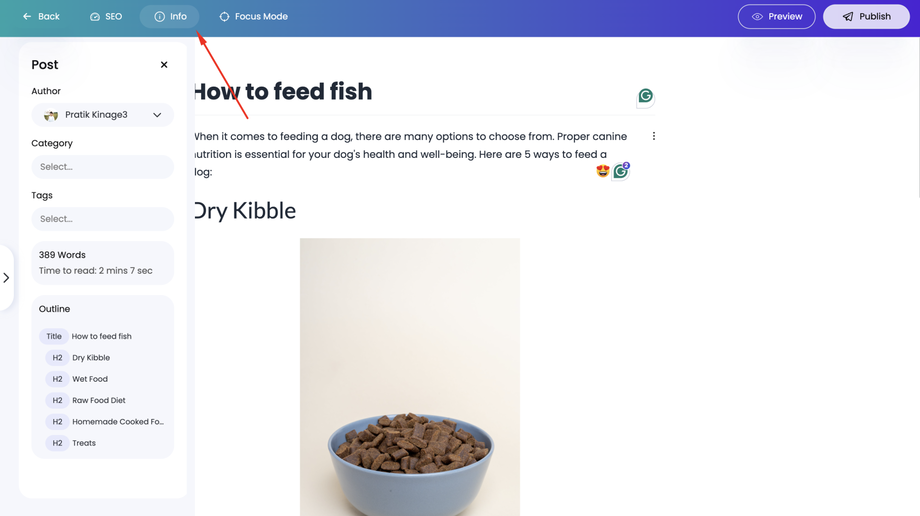
Click on the "Info" button in the top bar.
Add or change the author, categories, tags, and publish time.
View a generated outline of your post.
11. Publish or Schedule:
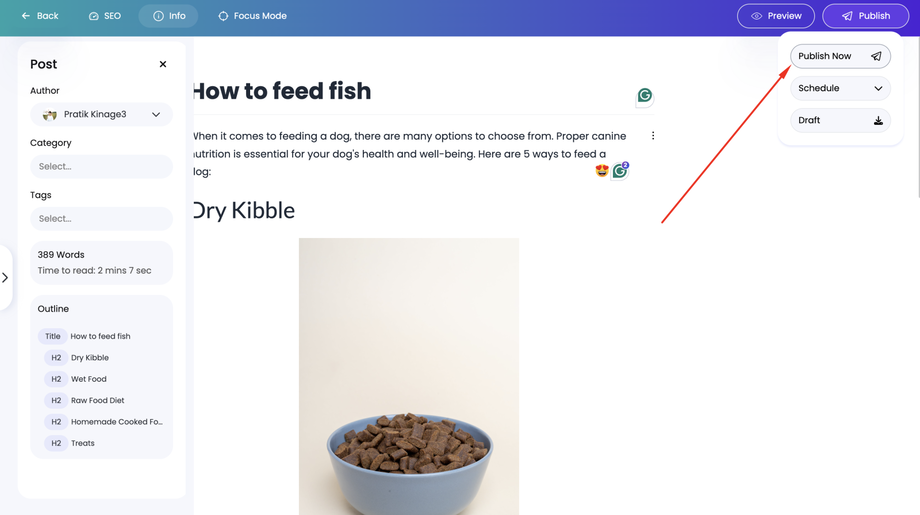
When you're ready, click "Publish Now" to make your post immediately available.
If you prefer to schedule the post for a later time, use the scheduling options provided.
Congratulations! You've successfully created a blog post using Grigora. Remember to consistently write and publish high-quality content to attract and engage your audience.


