

Master the art of editing CMS loops and dynamic text in Grigora to create flexible, engaging content layouts. This guide will show you how to customize repeated layouts, control item display, and create attractive blog cards with dynamic content that automatically updates.
Adding CMS List Block
 Click "Add Elements" from the left side panel and search for "CMS List" in the search bar. Drag and drop the CMS list block into your editor where you want it to display.
Configuring CMS Loop Settings
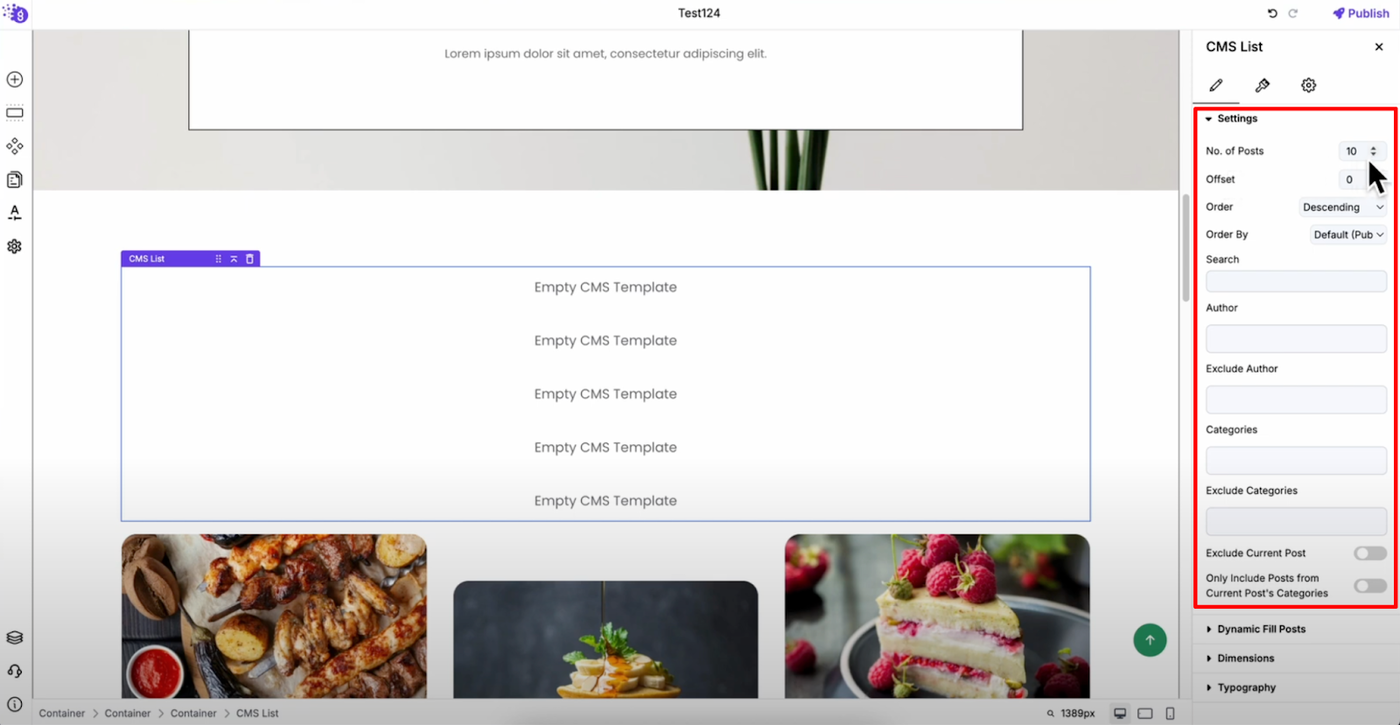
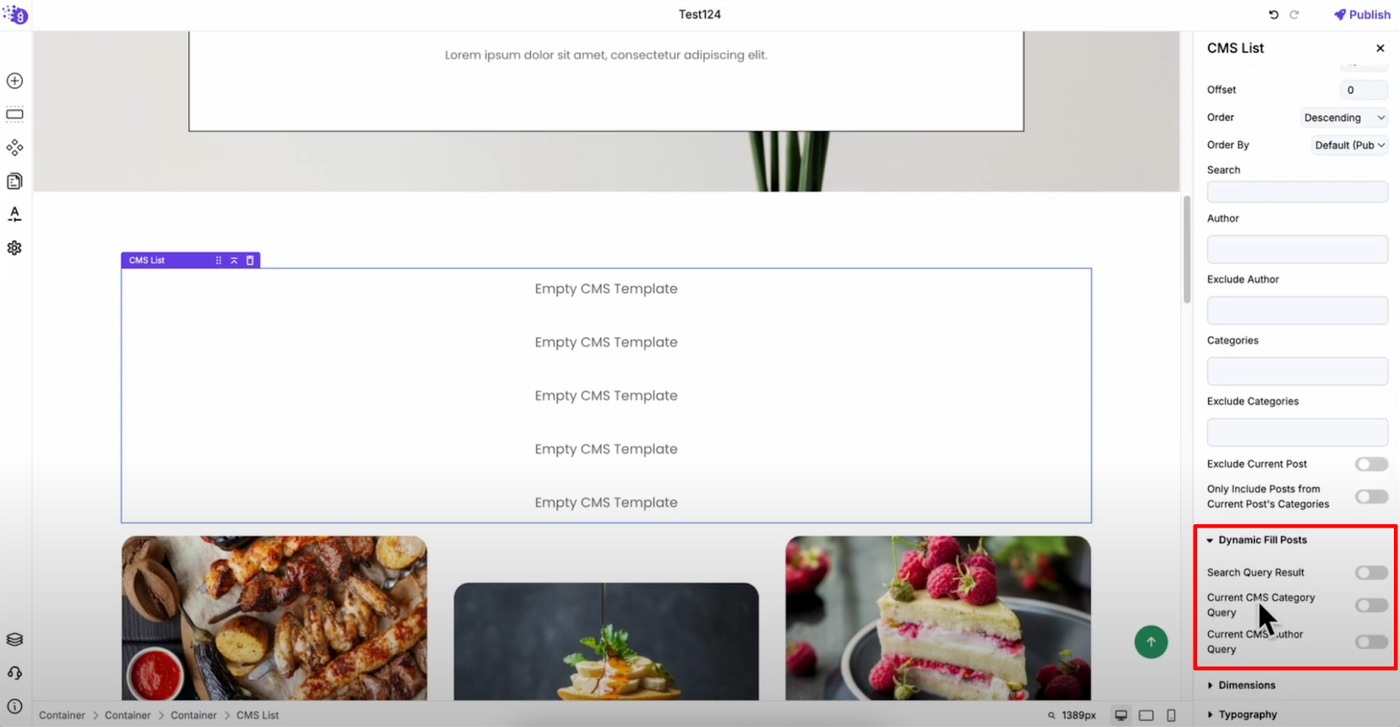
Once the CMS list block is added, you can set how many posts to display by increasing or decreasing the number based on your layout needs. Configure offset settings to skip certain posts if you want to exclude recent posts or start from a specific point. Choose post order and apply filters, or link it with search query results, current CMS category, or current CMS author.
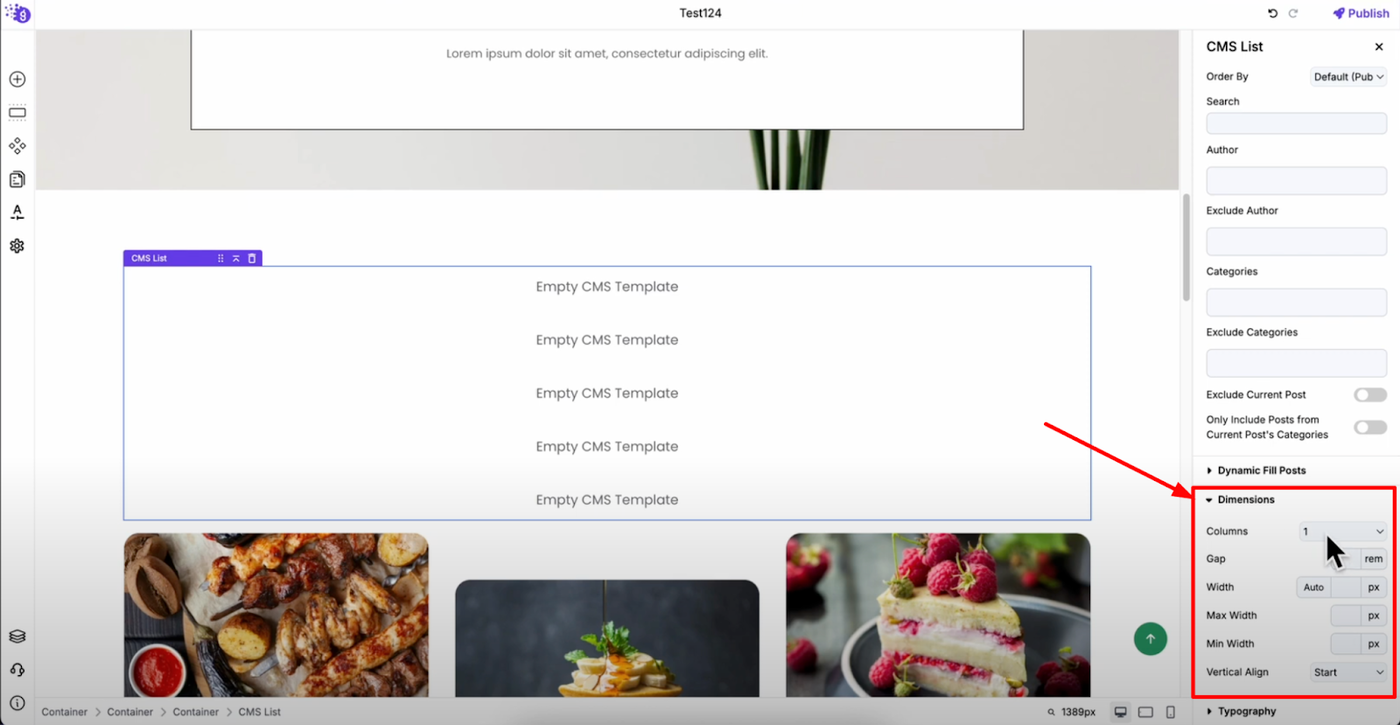
In the dimensions section, set column layout, adjust gap between posts, and configure width settings for responsive design. Customize vertical alignment for consistent appearance and adjust typography settings for all CMS elements.
Creating Blog Card Container
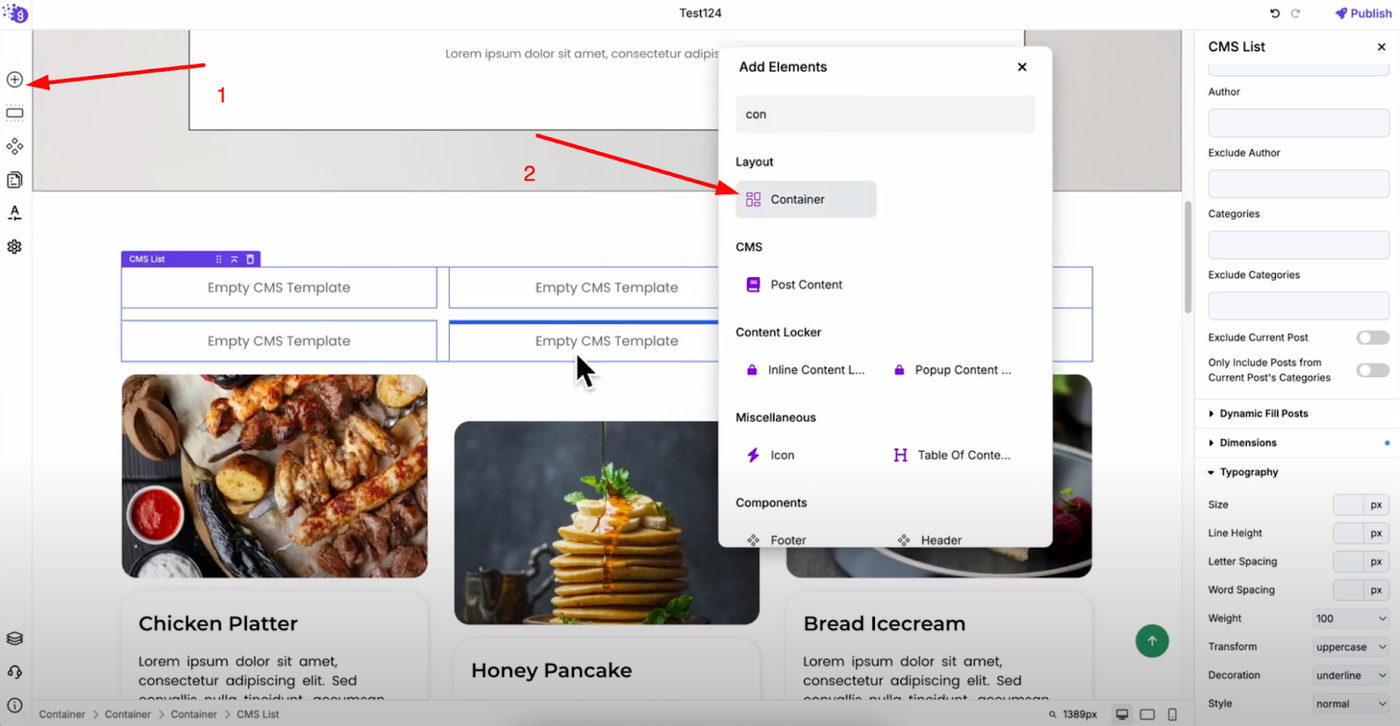
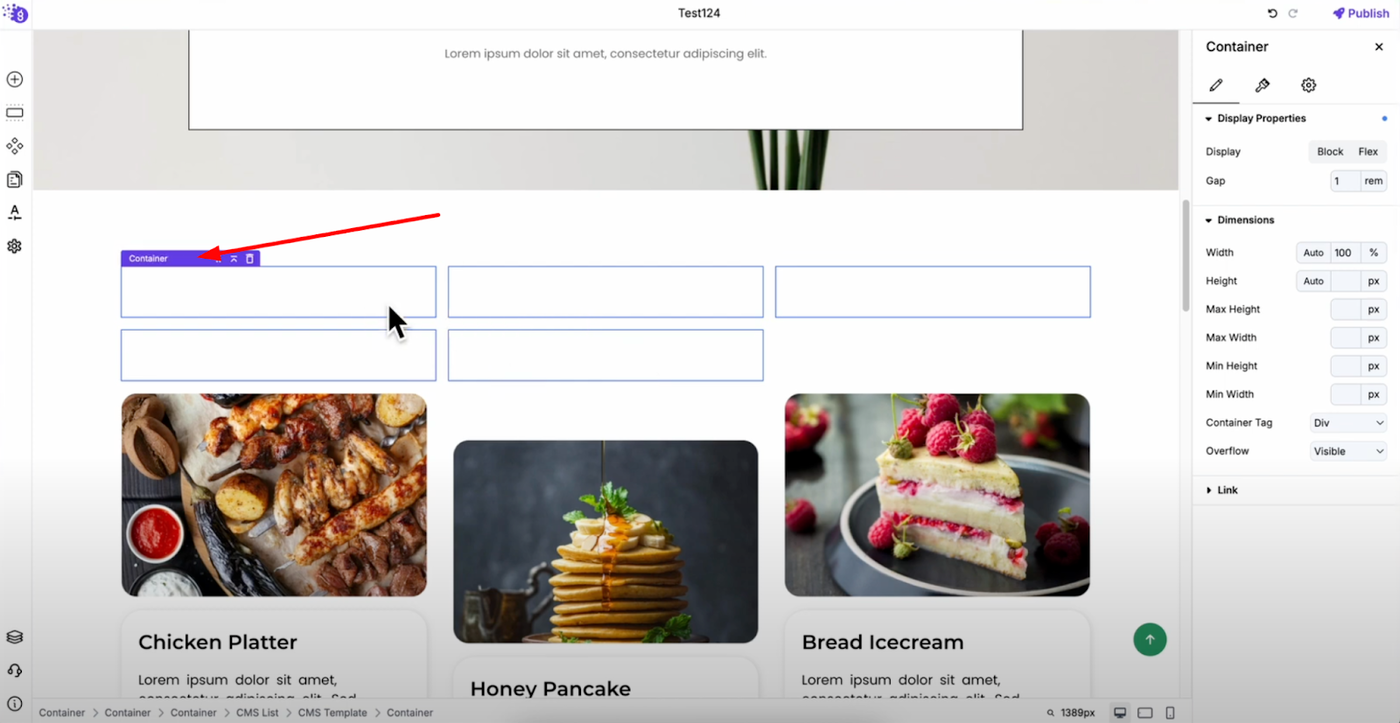
Click "Add Elements" and search for "Container" to add it to the CMS list. This container will hold all elements for each individual blog card.
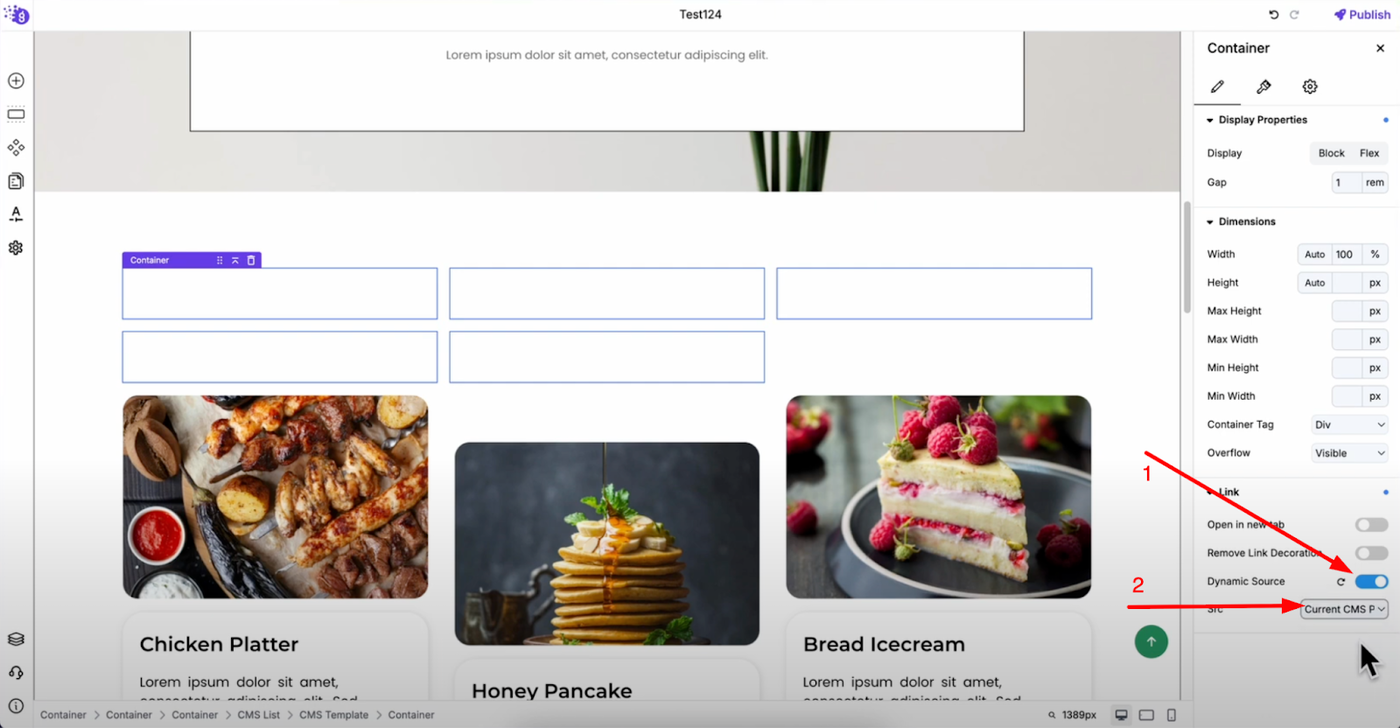
Select the container and go to link settings. Enable dynamic source and select "Current CMS Post" from the dropdown. This allows users to click anywhere on the card to open the associated blog post.
Adding Dynamic Content Elements

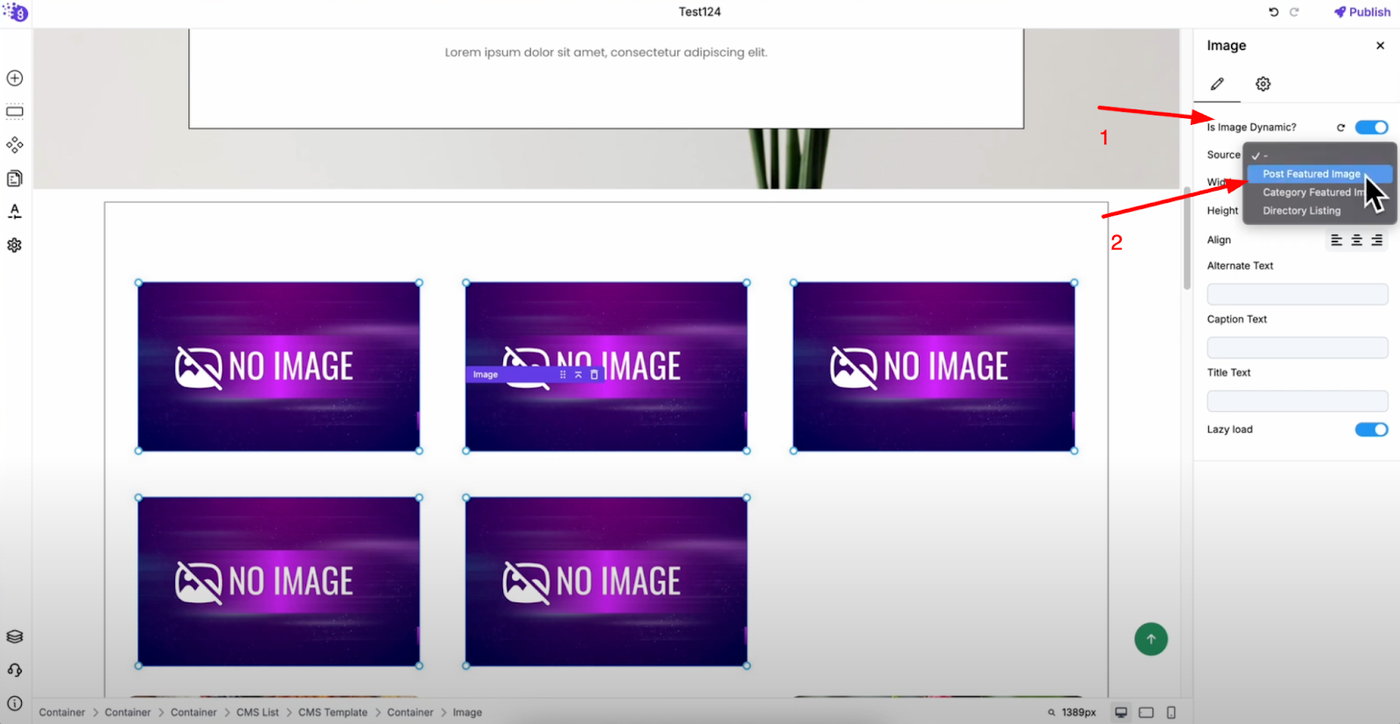
Add an image block inside your container and toggle on "Is Image Dynamic" in settings. Select "Post Featured Image" from the dynamic source to display featured images automatically for each blog post.
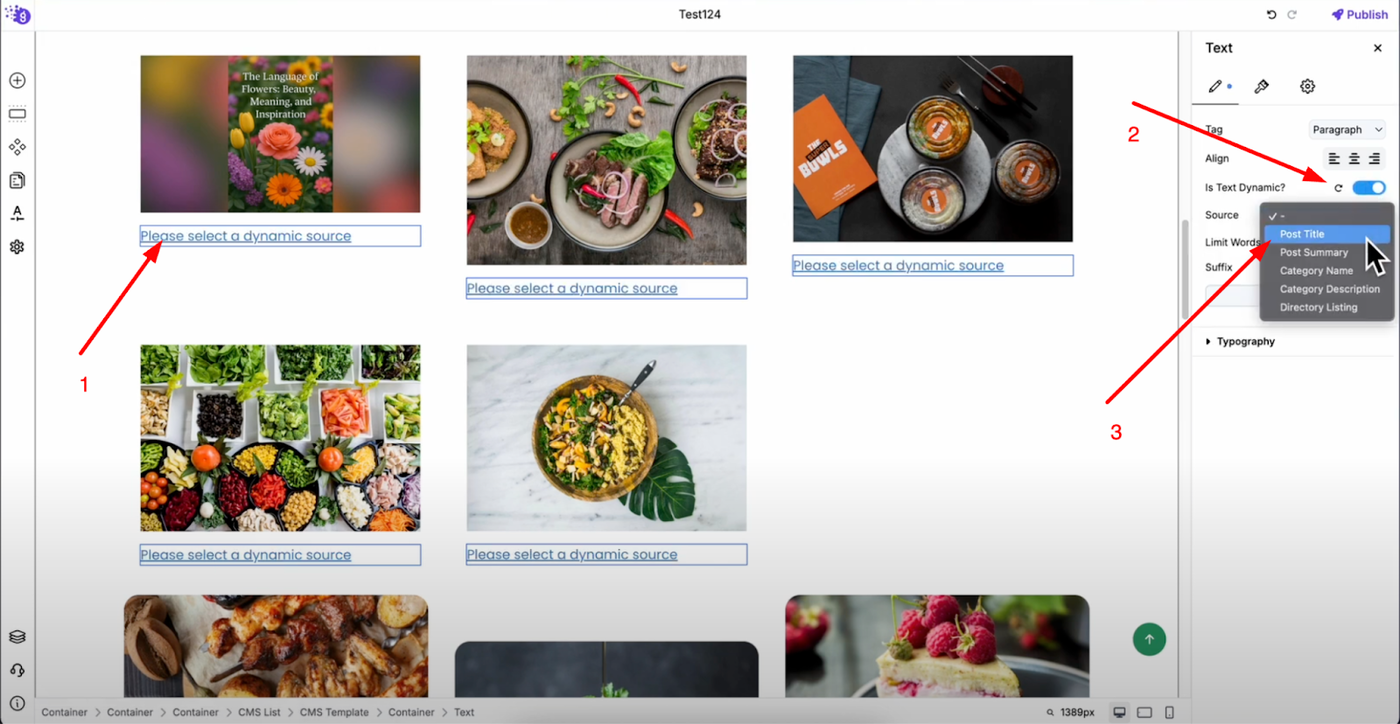
Add a text block for the title, toggle on "Is Text Dynamic", and select "Post Title" from the dynamic source.
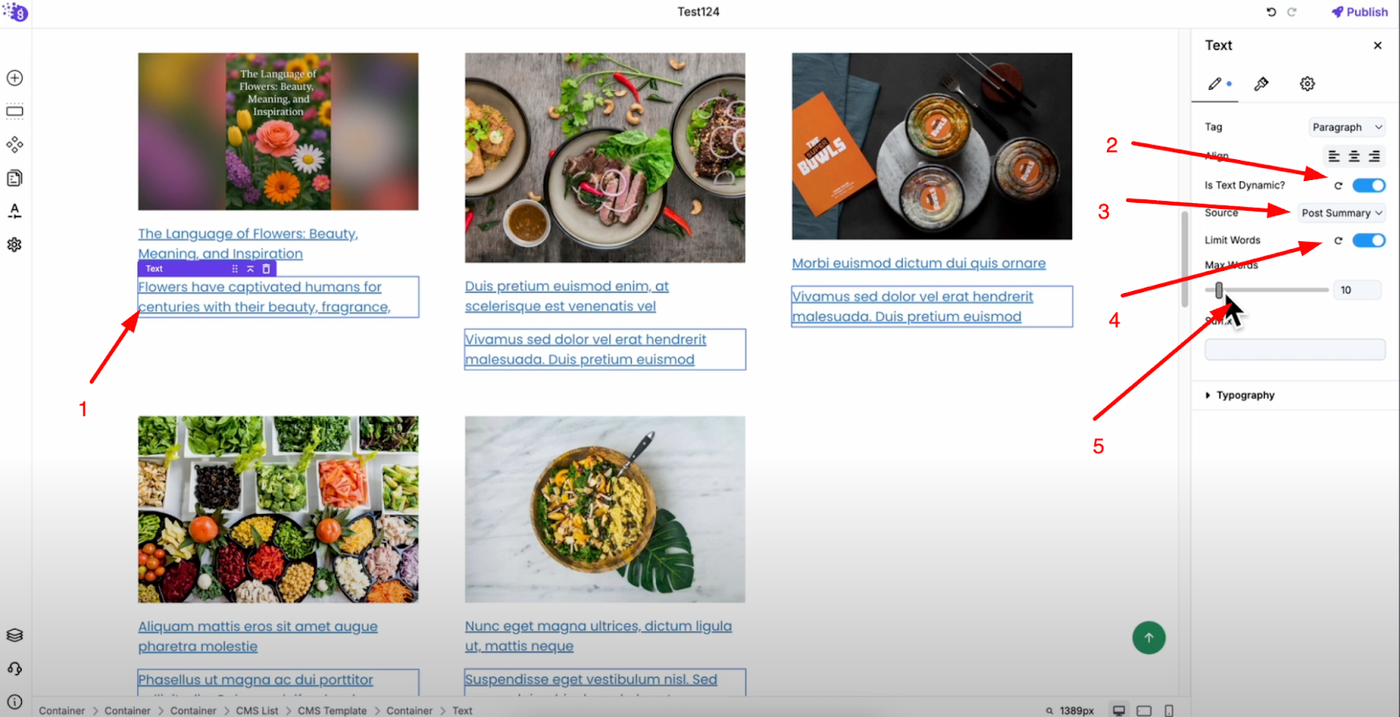
Add another text block for the summary, enable dynamic text, and select "Post Summary". Set word limit to control excerpt length and add suffix for better presentation.
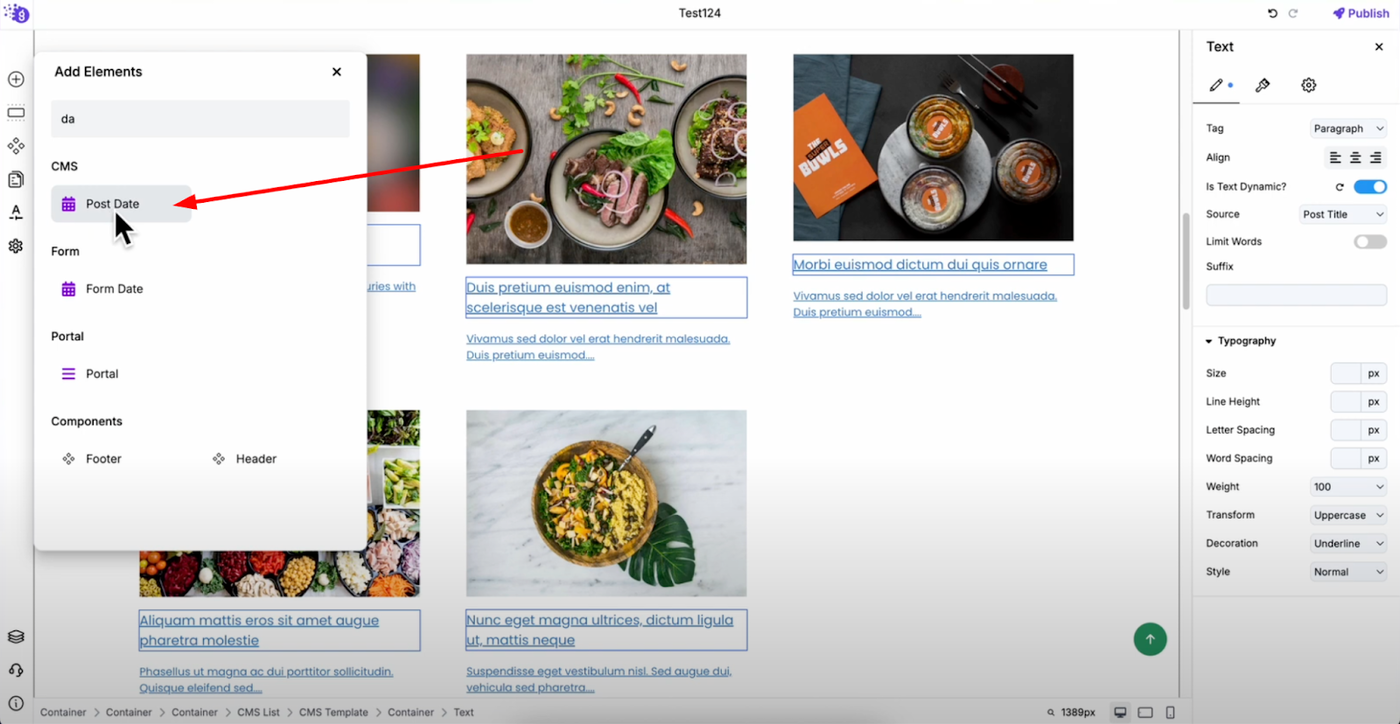
Add post date by searching for "Date" in "Add Elements" and selecting "Post Date" from available options. Drag and drop the post date element into your container and adjust font size to match your design.
Styling and Customization
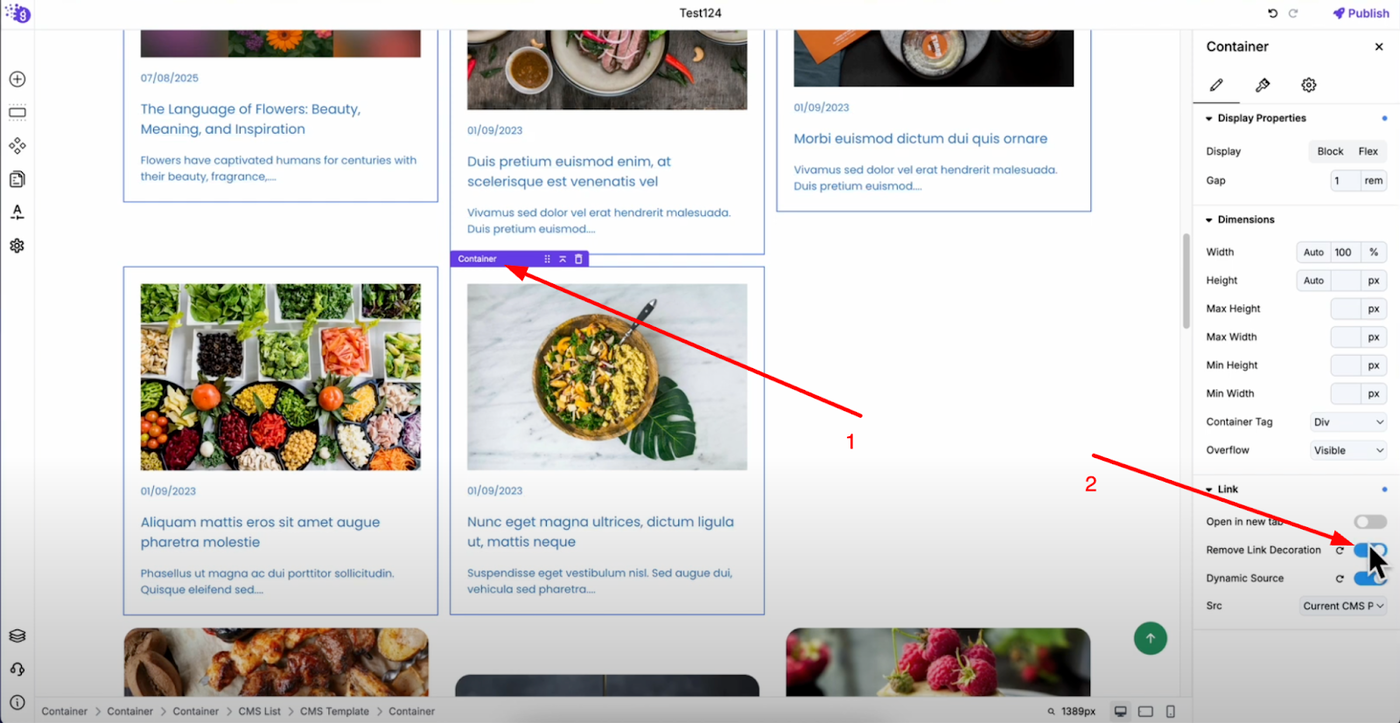
Select the container holding your blog card elements and remove link decoration to eliminate underlines.
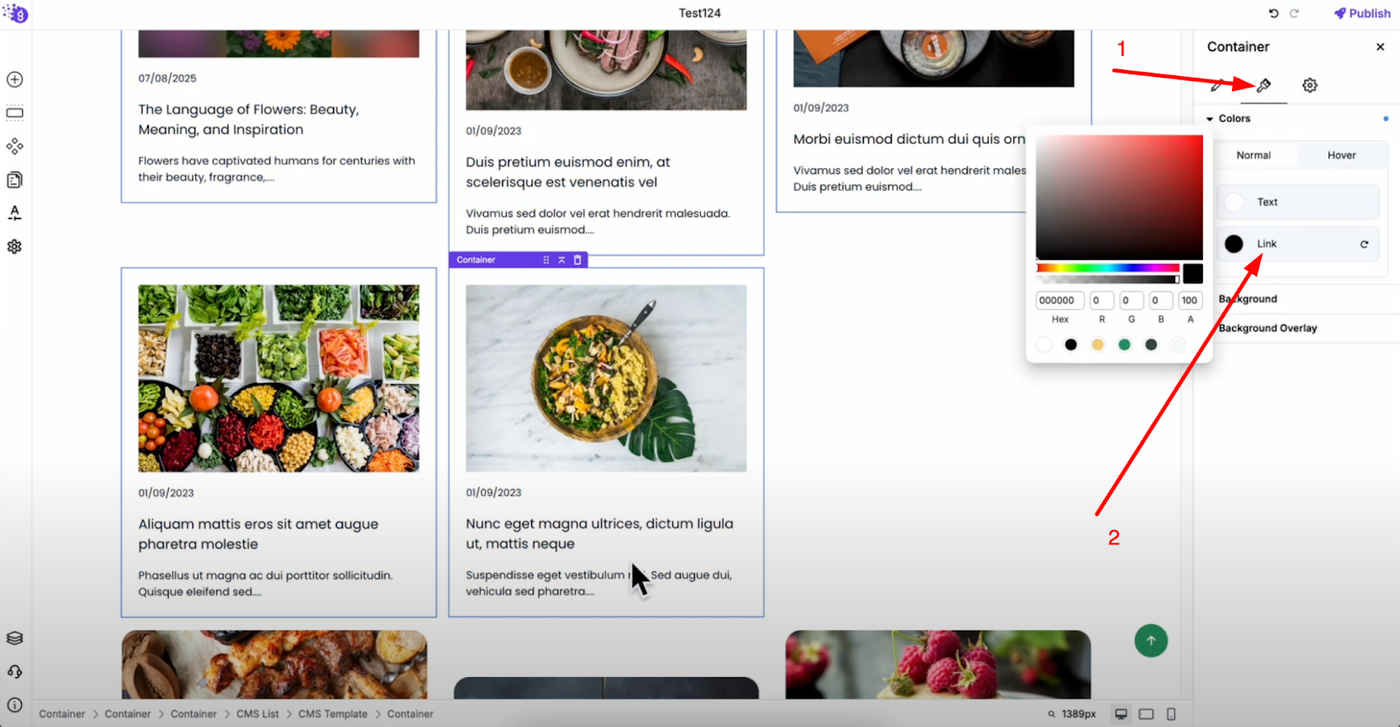
Change link color to black or your preferred color in style settings.
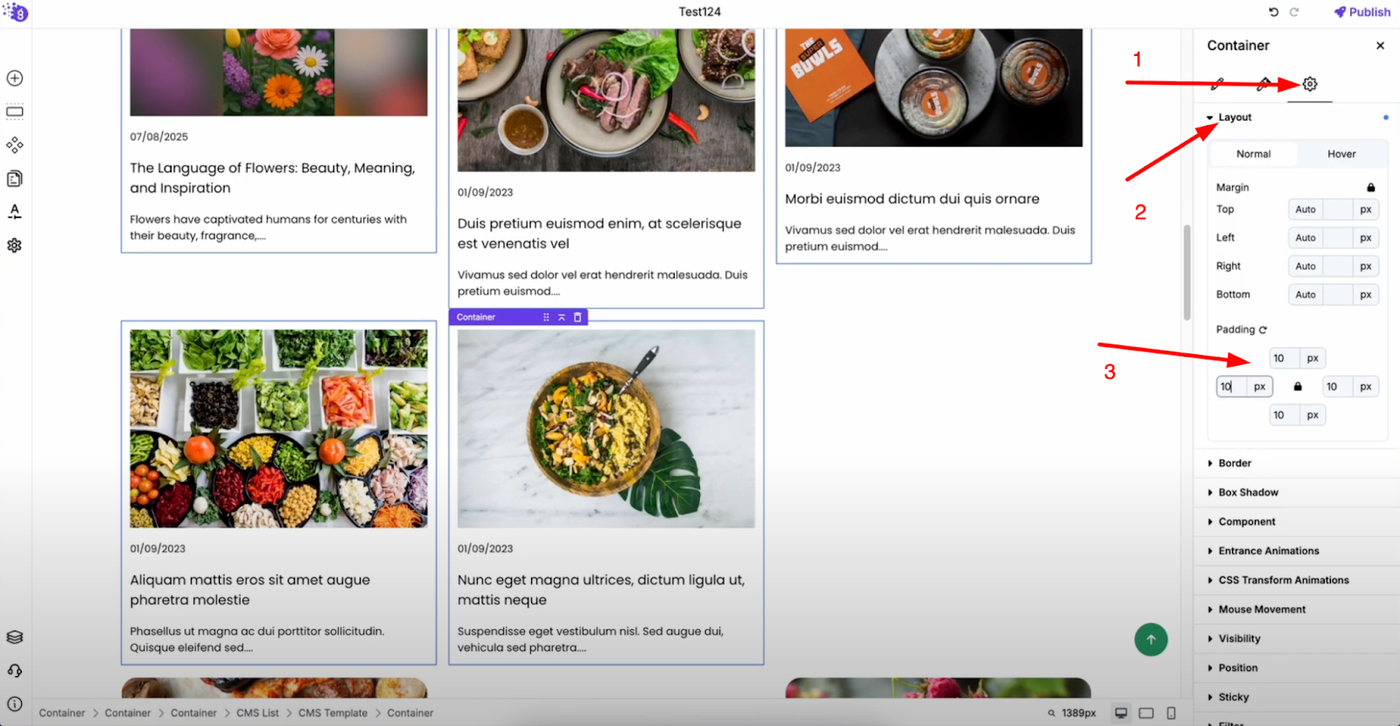

Reduce padding for tighter spacing and add borders to create a card-like appearance.
Your CMS loop is now fully customized with dynamic content that automatically updates as you add new blog posts, providing visitors with an organized, professional way to browse and discover your content.