

Want to customize your website headers for different pages? This guide will show you how to create unique headers for each page in Grigora, giving you complete control over your site's design and improving navigation, branding, and user experience.
Creating Your Custom Header Design
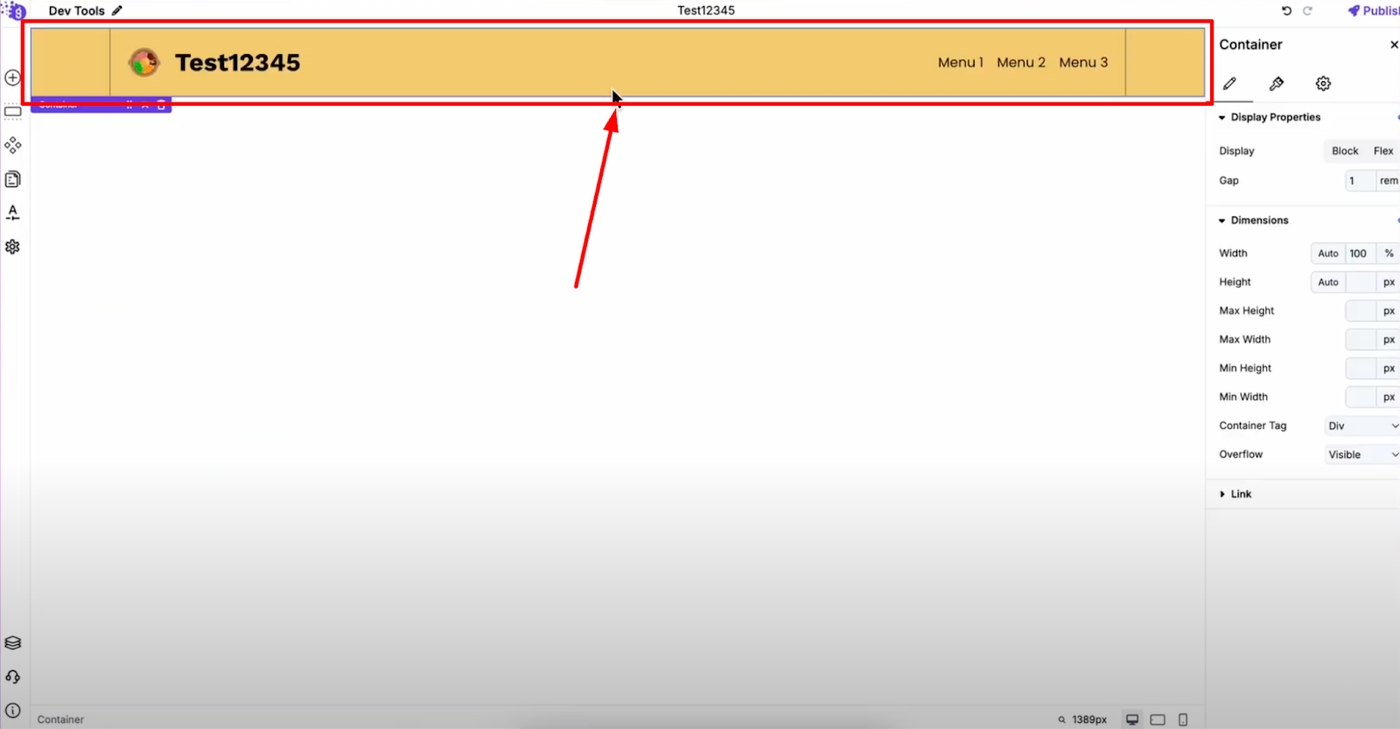
Before adding different headers to pages, design your new header layout in the editor. Create the structure, styling, and content you want for your specific page. This could be a simplified header for landing pages, a specialized header for blog posts, or a unique header for product pages.
Add Header to Pages
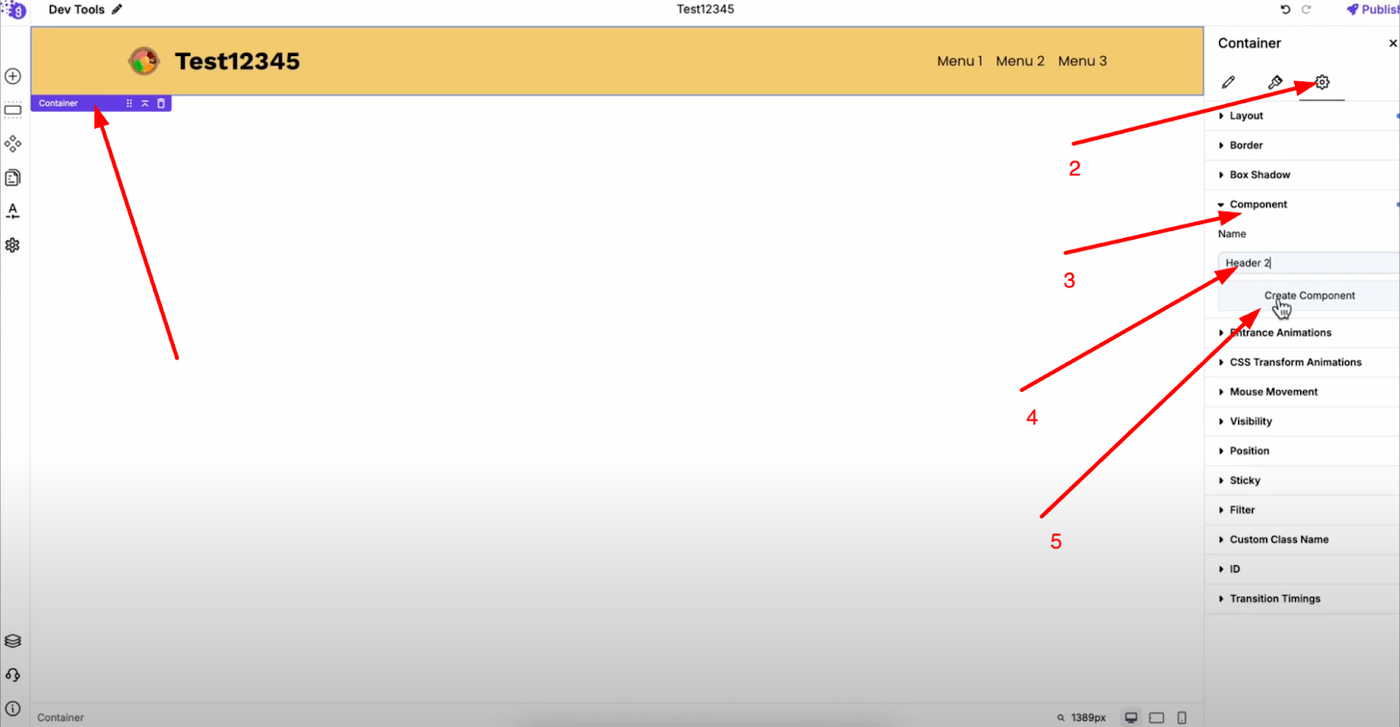
Create as Component: Once your header design is complete, open the settings of its outermost container. Navigate to the advanced settings, then go to the component section. Name your header design and create component.
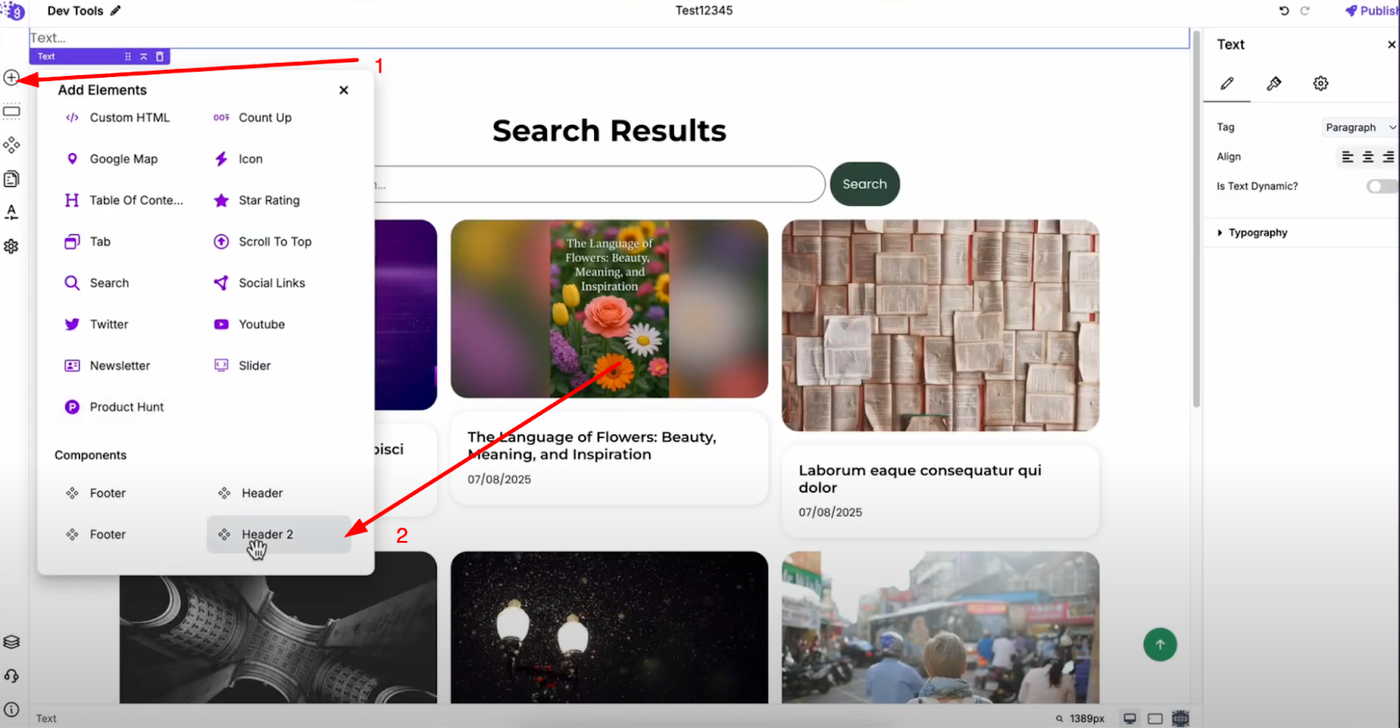
You can then access it from the "Add Elements" menu and easily drag and drop it wherever needed across different pages.
Implementing Page-Specific Headers
To replace the default header on any page (like your About page), remove the existing default header from that page and add your new custom header layout. This gives you the flexibility to have multiple different headers across your website based on your design needs and page requirements.
Use Cases and Benefits
This feature is perfect for creating specialized headers for blogs, landing pages, product pages, or any page that needs unique branding or navigation elements. Each page can have its own header design while maintaining overall site consistency.