Add text, images, buttons, forms, and section layouts using Grigora's visual editor. This guide shows how to choose an element and place it on your page.
Accessing the Elements Library
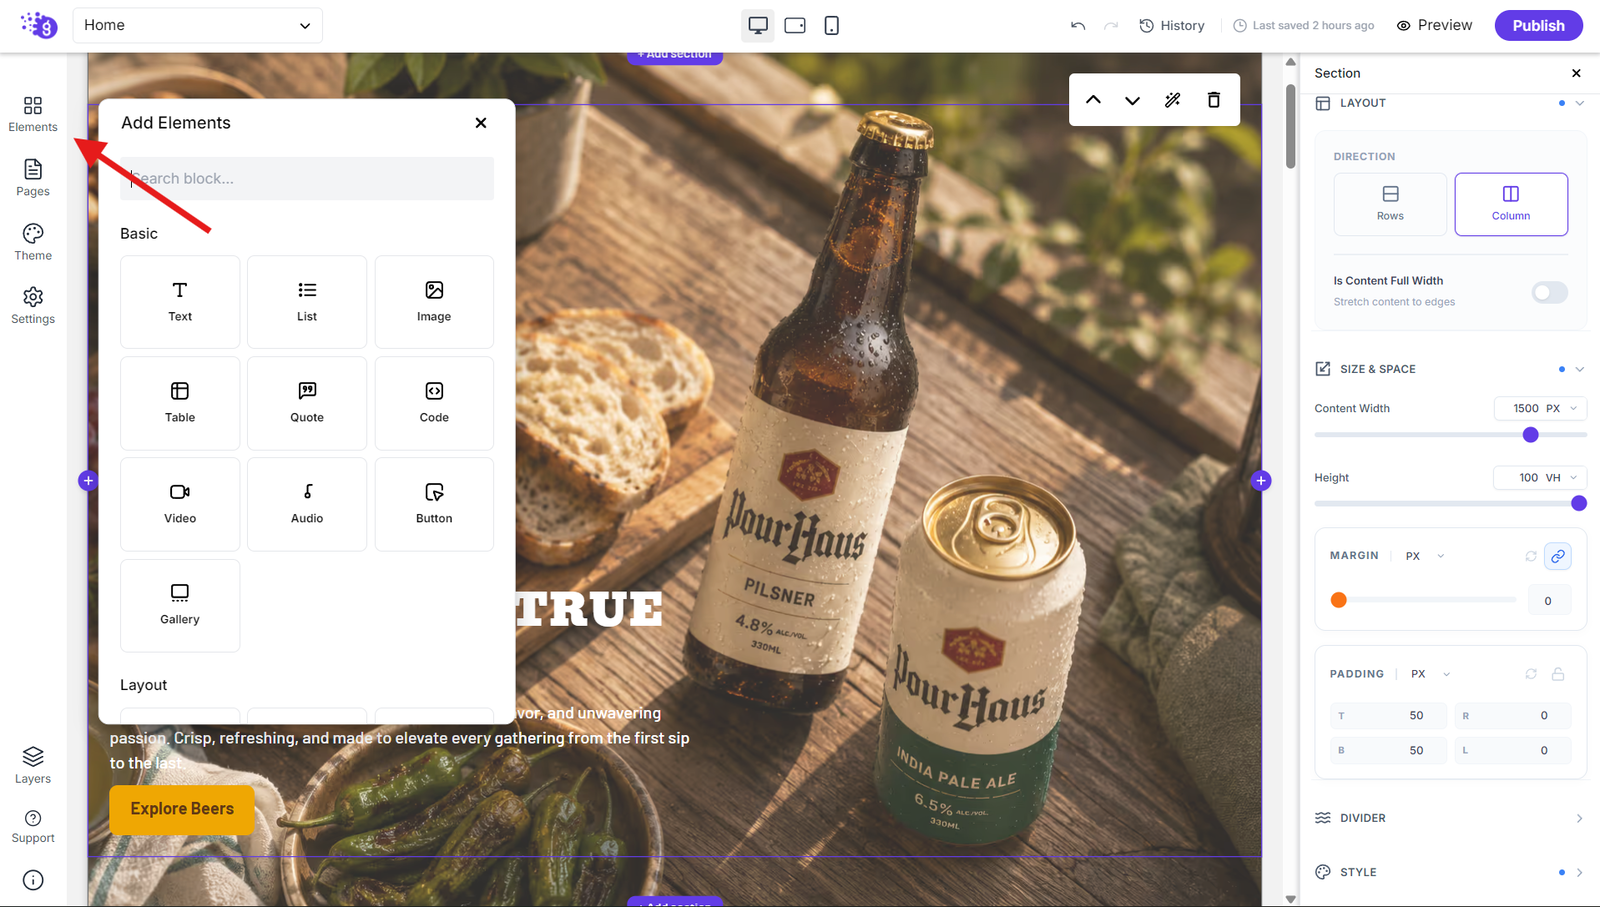
Open the Grigora editor and look at the left panel where all your design tools are organized. Click on "Elements" to see the complete list of available elements you can use to build your website.
From this list, you can add any element you want to create exactly the layout and functionality you envision for your site. The element library includes everything from basic text and images to complex forms and interactive components.
Adding Elements with Drag-and-Drop
Simple Element Addition
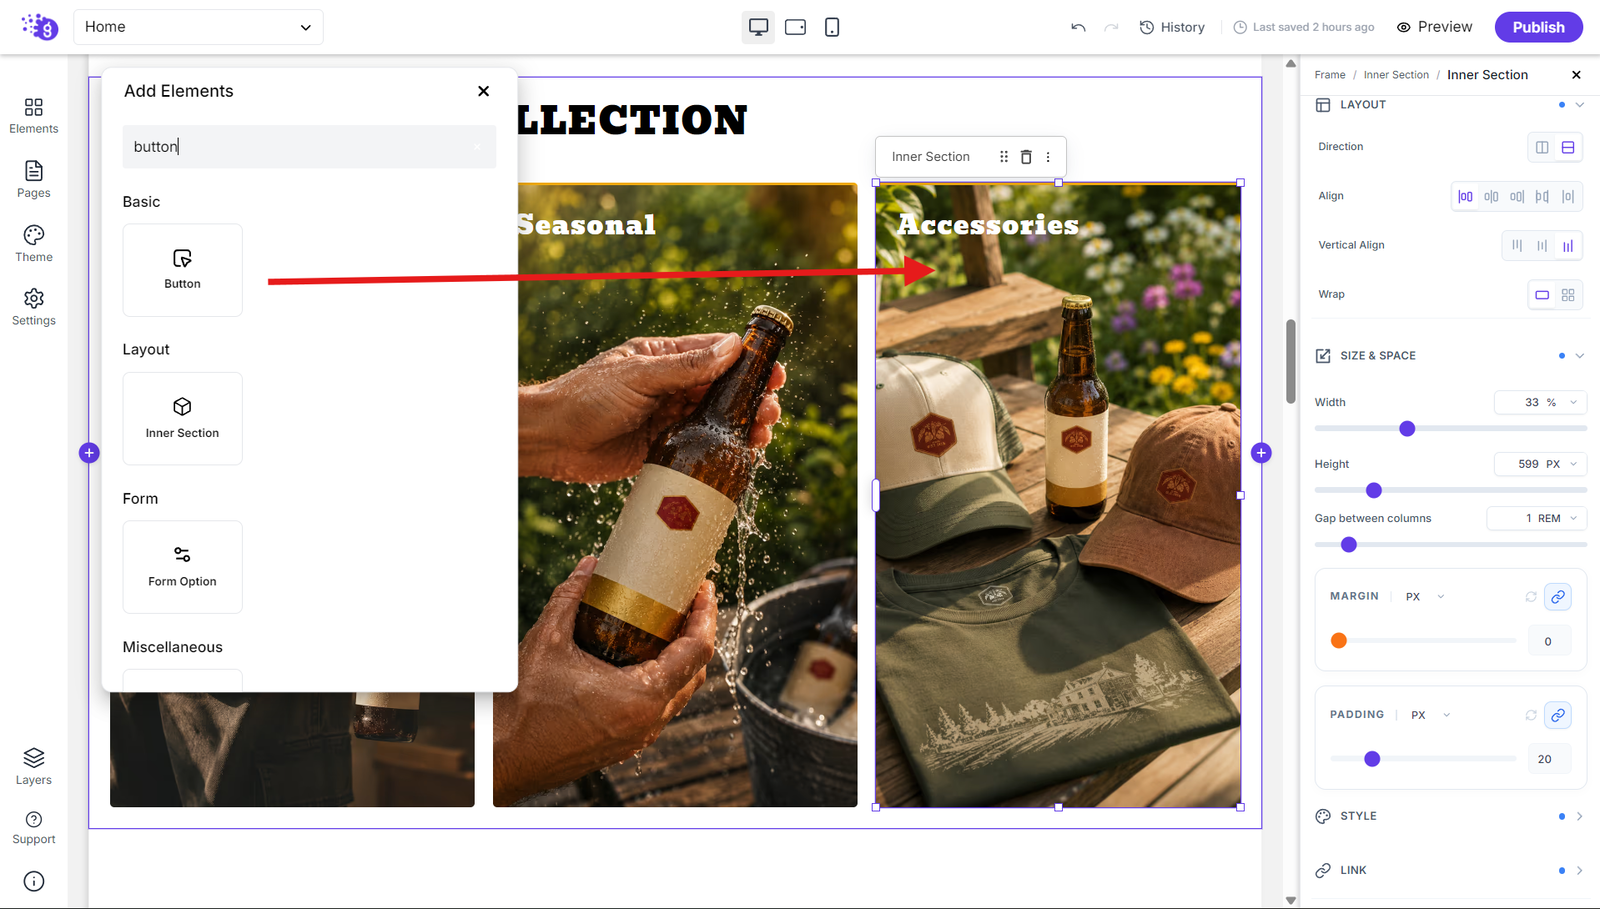
Let's add a Button element as an example of the straightforward process. Simply drag the button from the elements list and drop it into your editor workspace where you want it positioned.
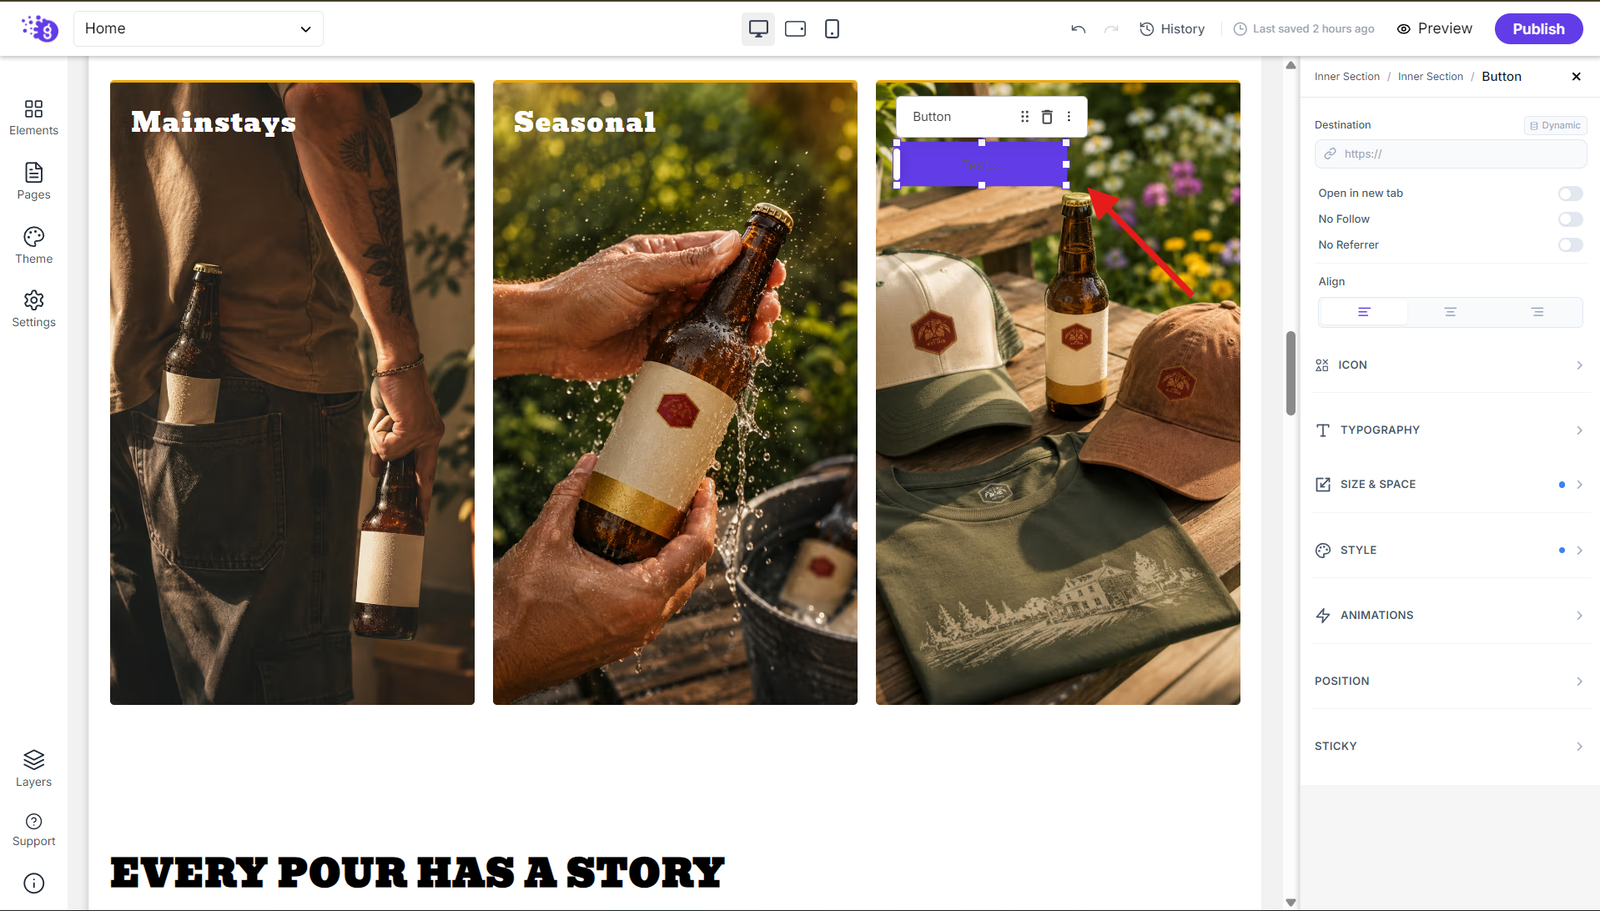
Drag elements into place and review the changes in the editor.
Nesting Elements for Structure
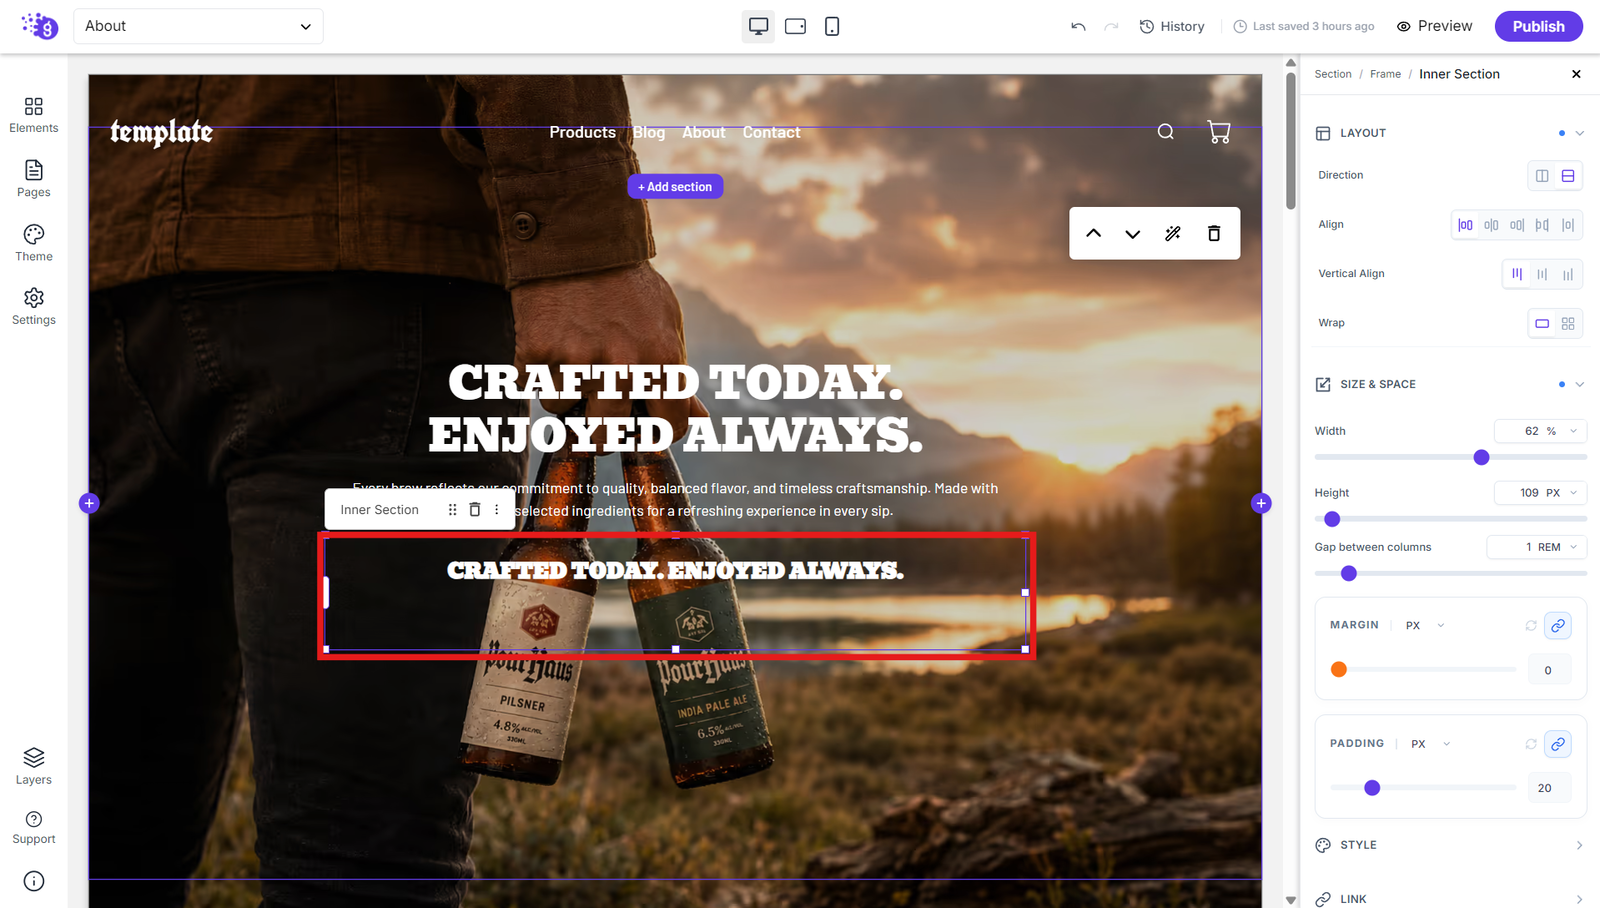
After adding the text block, type your content directly into it.
Using the Element Toolbar
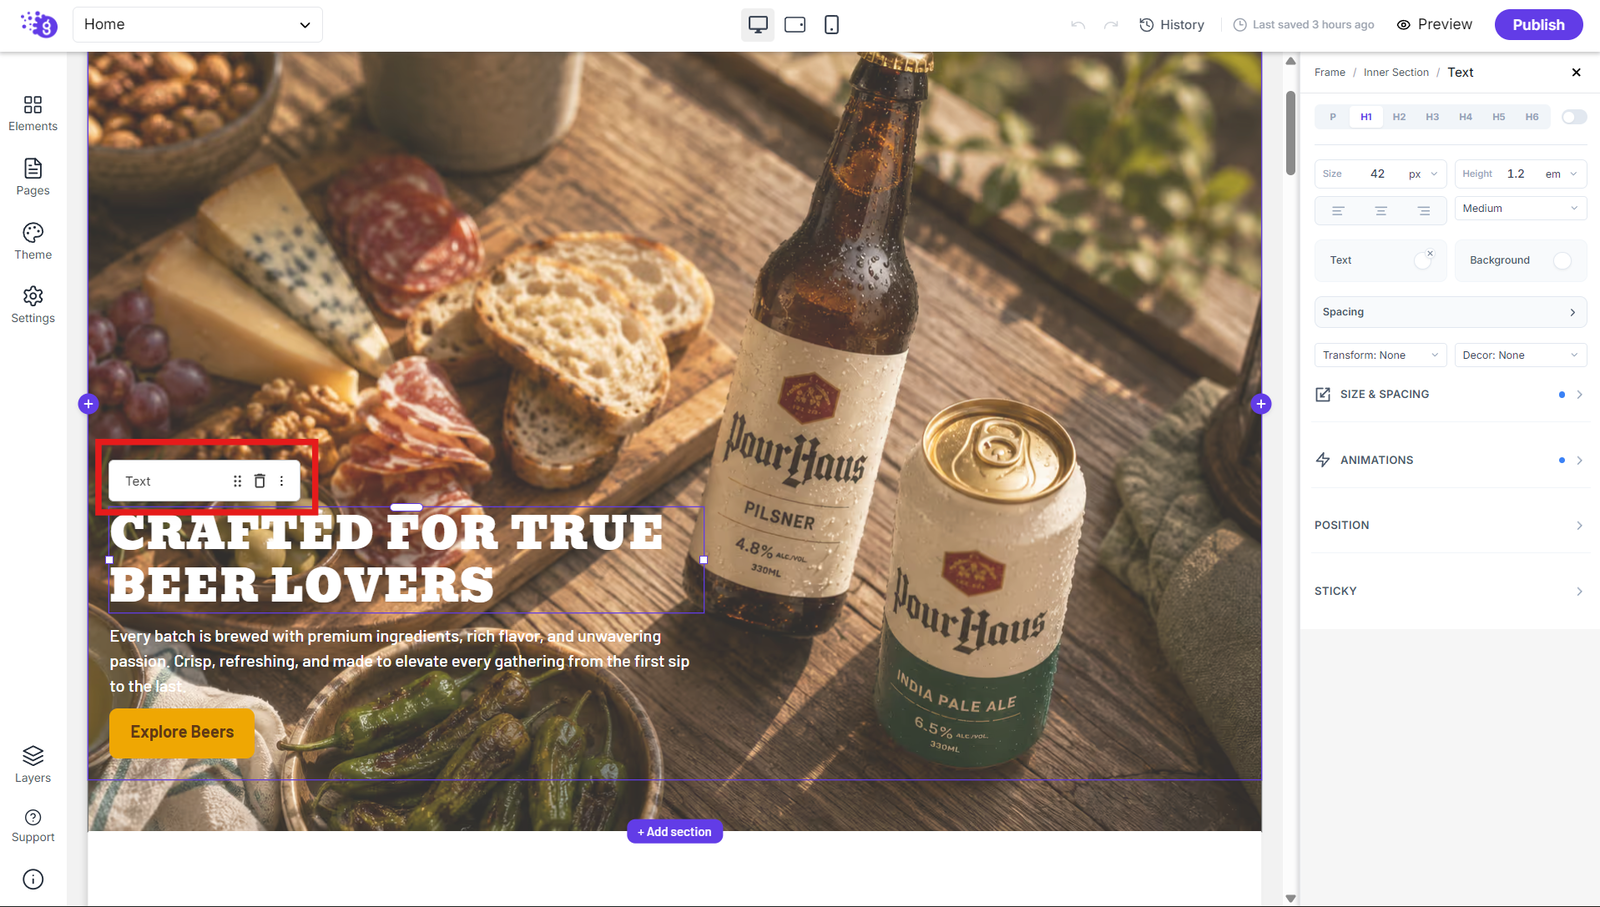
When you select any element, you'll notice a toolbar appears above it providing essential management controls. This toolbar gives you several useful options:
Element Positioning
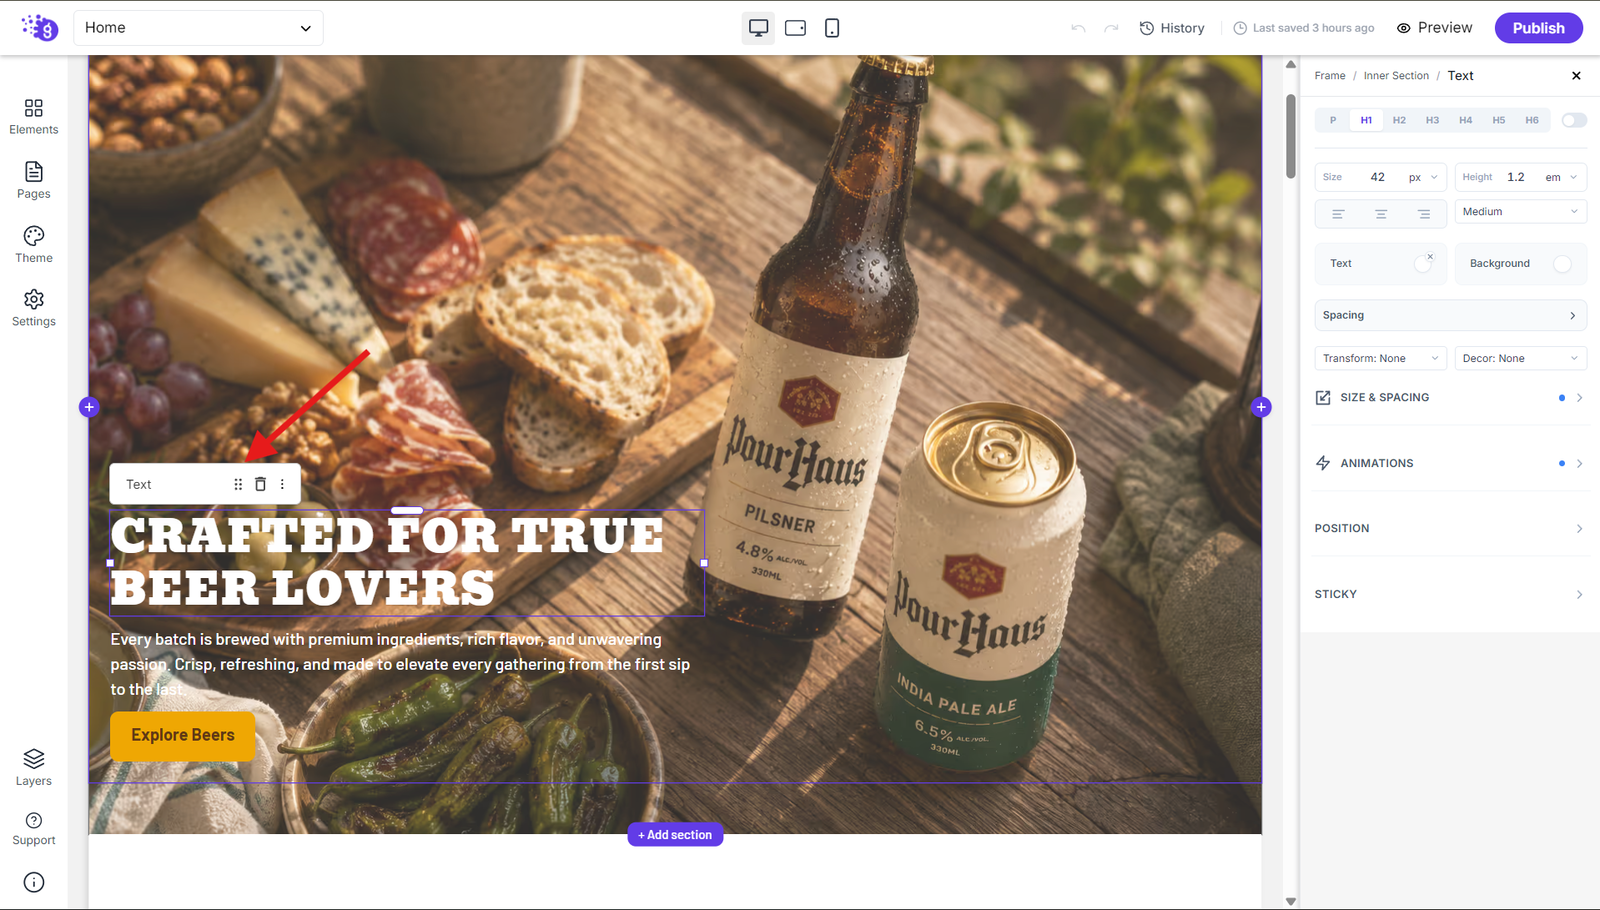
You can drag the element using the drag handle to reposition it anywhere on your page, giving you complete control over your layout without affecting other elements.
Using the Ellipsis Menu
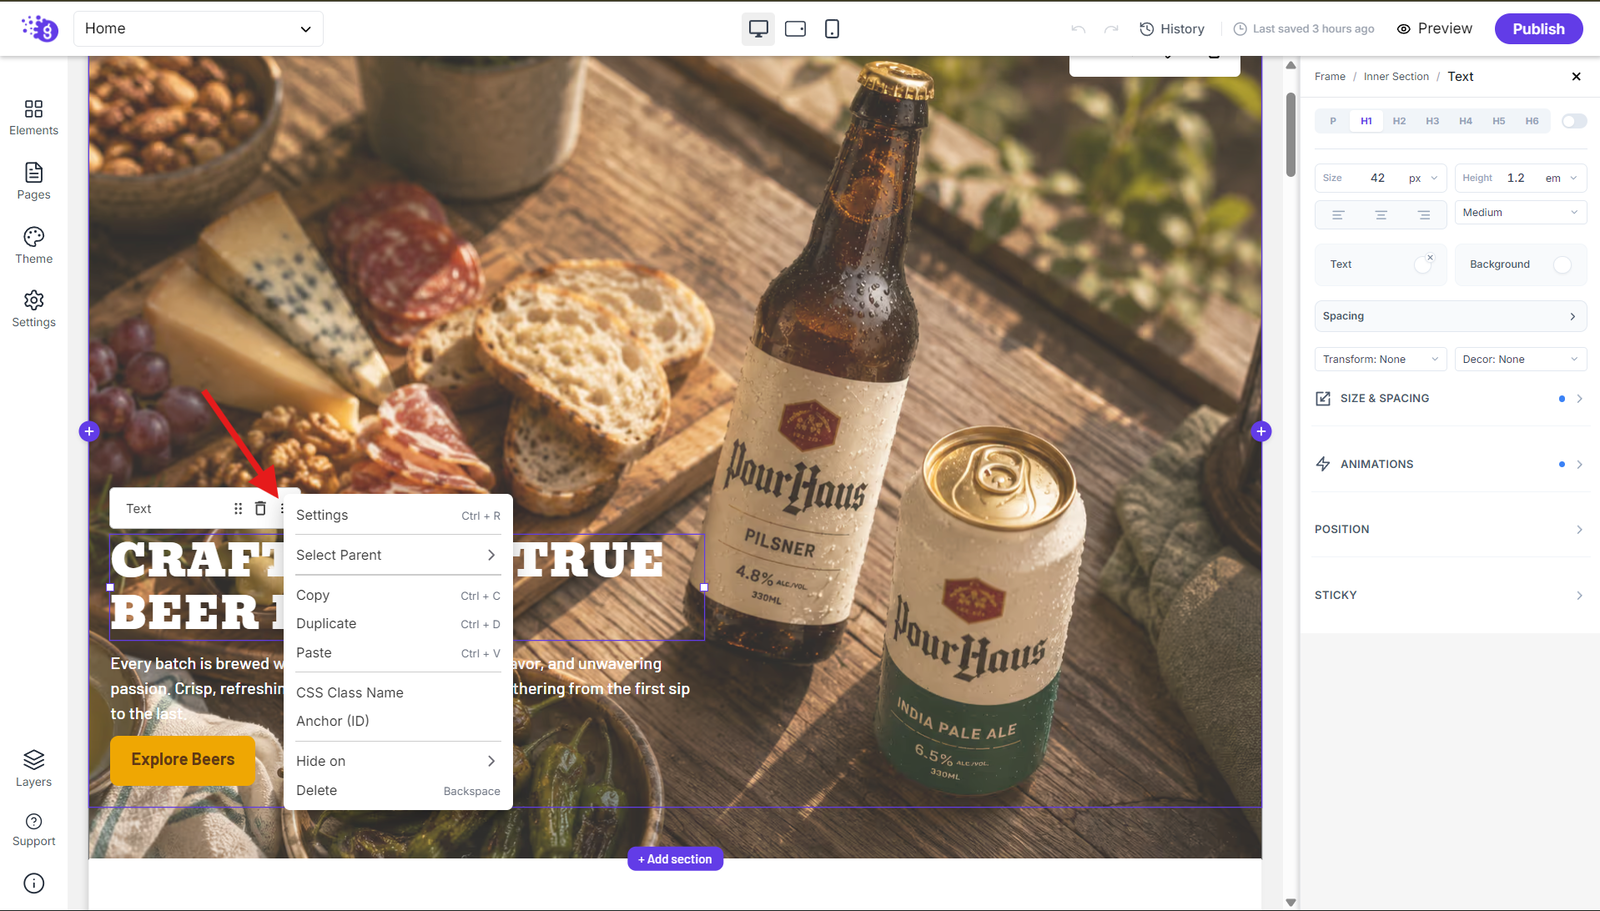
Click the ellipsis (⋮) icon on the element toolbar to access additional options for the selected element. The menu includes useful actions such as opening Settings, Copy, Duplicate, Paste, adding a CSS Class Name or Anchor (ID), controlling where the element is hidden, and Delete.
Element Removal
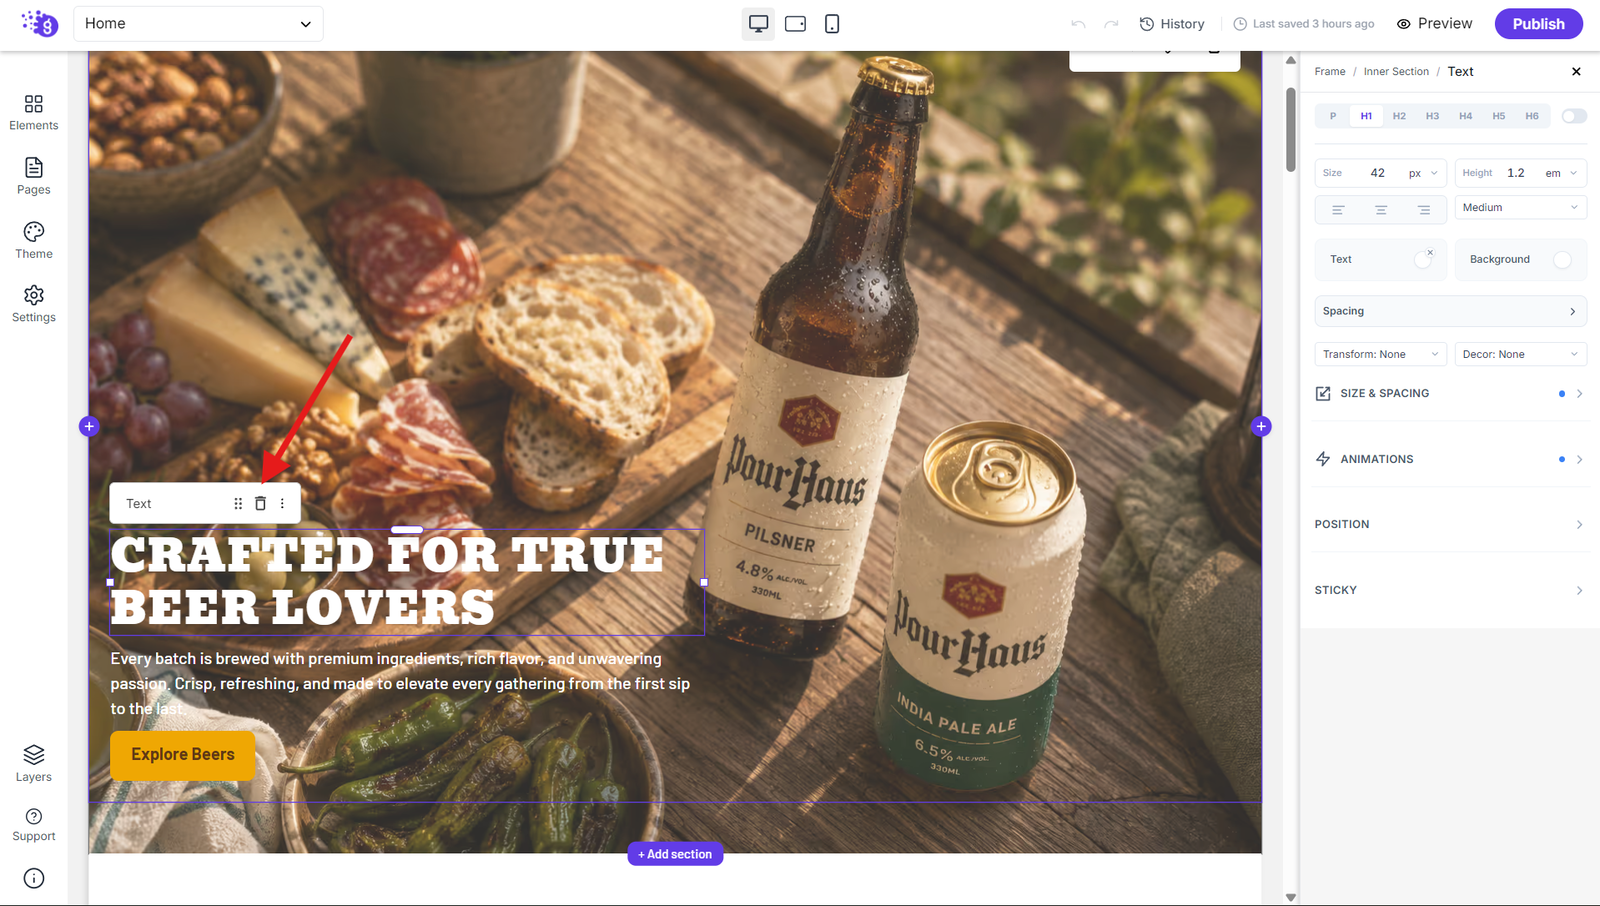
The delete button allows you to remove any element you no longer need, keeping your workspace clean and organized as your design evolves.
Building Your Vision
This way you can drag and drop any elements you want into your editor and build your website exactly how you envision it. The system provides:
Mobile-responsive design that automatically adapts to all screen sizes
Lightning-fast performance with optimized code generation
Customizable spacing, layout, and design that you can adjust on the fly
Professional results without technical complexity
No-Code Advantages
This approach offers several key benefits:
Call-to-Action Buttons: Add conversion-focused buttons anywhere on your page
Images and Media: Insert visual content that enhances your message
Forms and Interactive Elements: Capture leads and engage visitors
Section Layouts: Create complex page structures
Custom Spacing and Design: Fine-tune every aspect of your site's appearance
Efficient Website Development
Use the toolbar and drag-and-drop controls to arrange elements, then preview the page before publishing.