

A custom 404 page helps keep visitors on your site even when they hit a broken link. Follow these steps to design a personalized "Page Not Found" experience in Grigora.
Step 1: Access the Page Menu
Log in to your Grigora Dashboard and open the Site Editor for your chosen website.
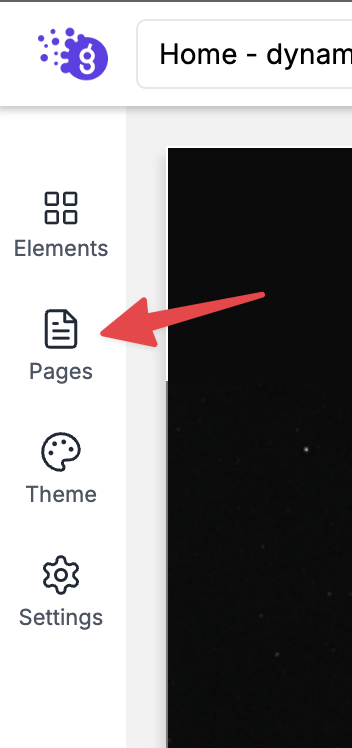
In the left-hand sidebar, click on the Pages icon.
Step 2: Create the 404 Page
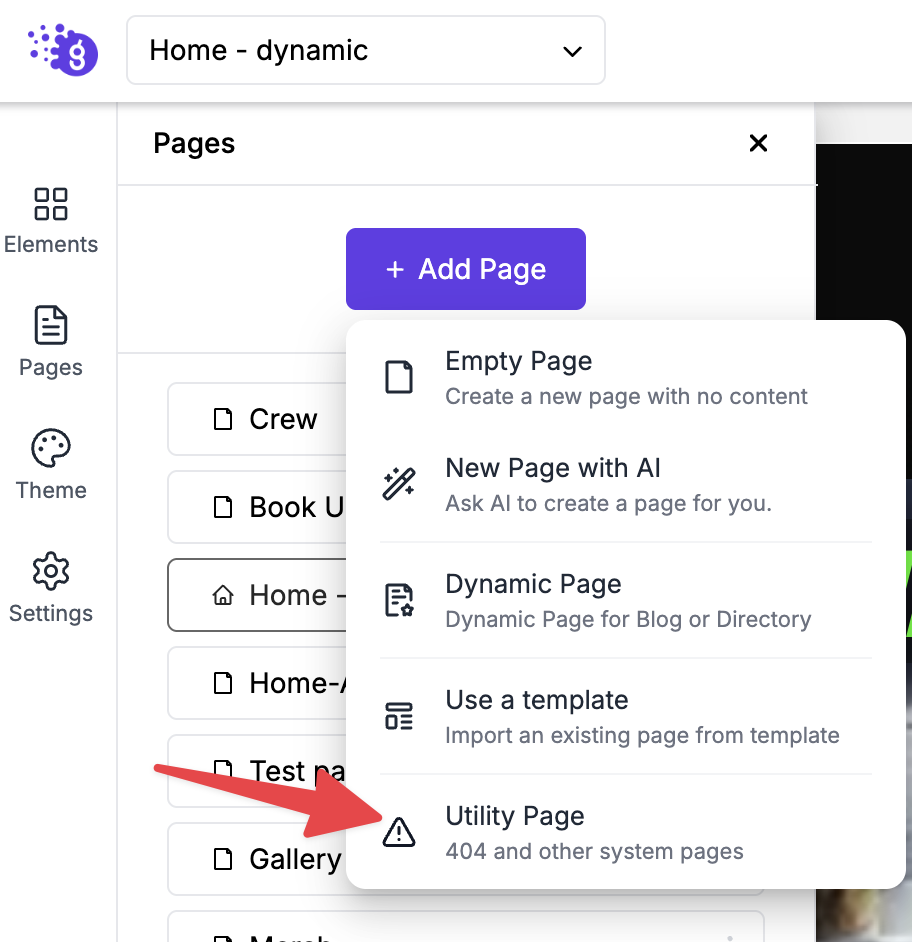
Click the Add New button at the top of the Pages panel.
From the options provided, select Utility Pages.
Choose 404 Page from the list.
Step 3: Design and Customize
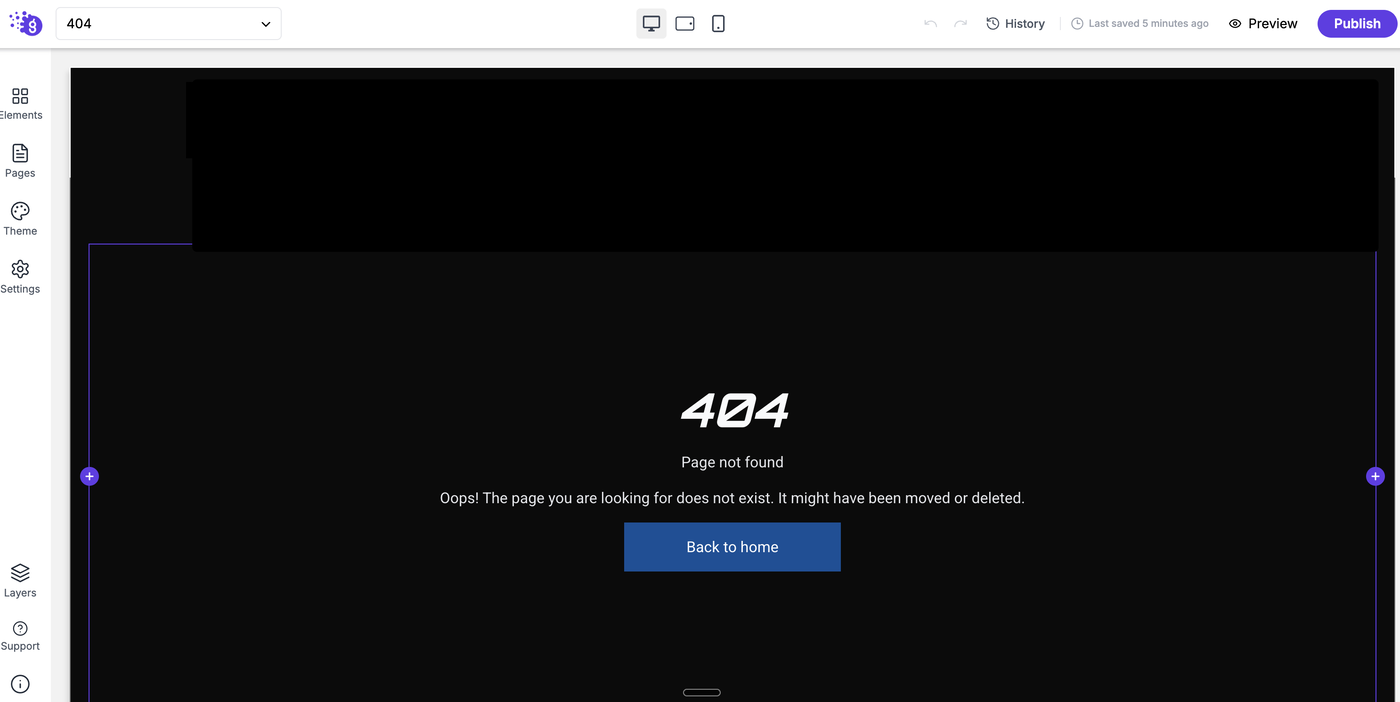
Once added, the 404 page will appear in your Pages list on the left sidebar.
Click on it to open it in the editor. You can now use the standard Blocks system (Text, Images, Containers, etc.) to design the page to match your brand.
Pro-tip: Add a "Back to Home" button or a search bar to help users find their way back.
Step 4: Save and Publish
Once you are happy with the design, click Save.
Click the Publish button in the top right corner to make the changes live.
⚠️ Important Requirement
Custom Domain: Please note that a custom 404 page currently only functions correctly if you have a custom domain connected to your Grigora website. If you are using a Grigora subdomain, the default system 404 page will be displayed instead.