

The Grigora Site Editor is a powerful tool that allows you to customize and design your website with ease. Here's a comprehensive guide to help you navigate and use the Site Editor effectively:
1. Access the Site Editor:
Log in to your Grigora dashboard.

Open the website you want to edit.

Click on the "Site Editor" card in the top right corner of your dashboard.
2. Understanding the Site Editor:

The Site Editor is based on a block system. Each block represents a specific element on your website, such as text, images, containers, columns, and more.
By arranging and customizing these blocks, you can create the desired layout and design for your website.
3. Editing Blocks:

Click on any block you want to edit. This will open the settings panel on the right-hand side.
Use the settings panel to modify the block's properties, such as content, style, size, and position.
4. Adding Elements:

Click on the "Add Element" button in the left-hand side navigation panel.
Choose the specific element you want to add (e.g., text, image, container).
Drag and drop the element into the desired location on your website.
5. Adding Sections:

Click on the "Add Sections" button to import pre-designed sections into your website.
Choose a section that matches your desired layout and customize it as needed.
6. Creating Components:

Use the "Components" section to define reusable elements like headers, footers, or sidebars.
This helps you maintain consistency across your website and streamline the design process.
7. Designing Custom Pages:

Go to the "Pages" section to create and design custom pages for your website.
You can use the same blocks and editing tools to design these pages.
8. Customizing Typography:
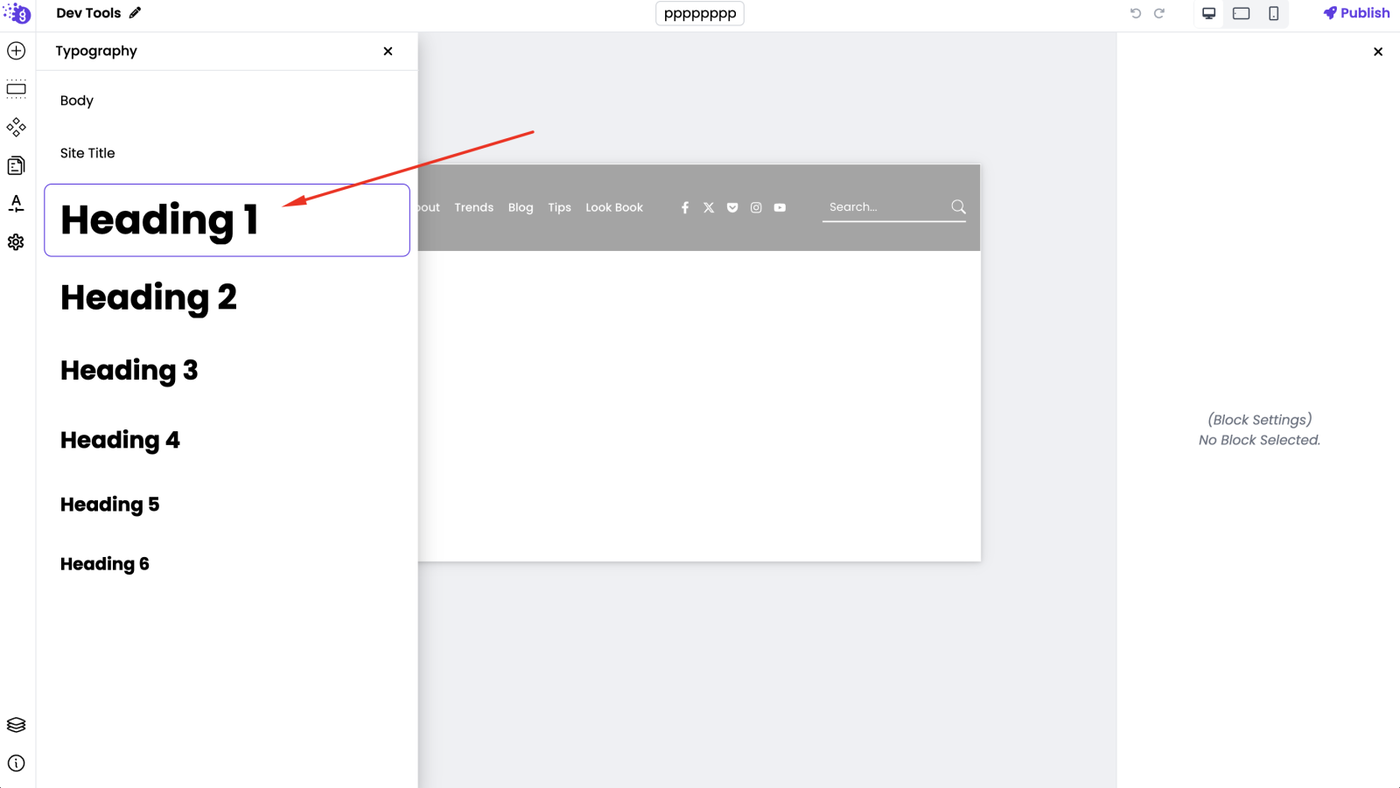
Visit the "Typography" section to define your website's body font, heading font, and other typography settings.

9. Changing Project Settings:

In the "Settings" section, you can modify the project name, favicon, site colors, and other general website settings.
10. Publishing:

Use the top bar to switch between desktop, tablet, and mobile previews to ensure your website looks great on different devices.
Once you're satisfied with your changes, click the "Publish" button in the top right corner to make your updates live.
By following these steps and exploring the Site Editor's features, you can create a visually appealing and functional website that meets your specific needs.