

Adding a gallery is a great way to showcase multiple images at once and enhance the visual appeal of your website. You can also enable a lightbox to give visitors a high-quality, zoomed-in view of each image.
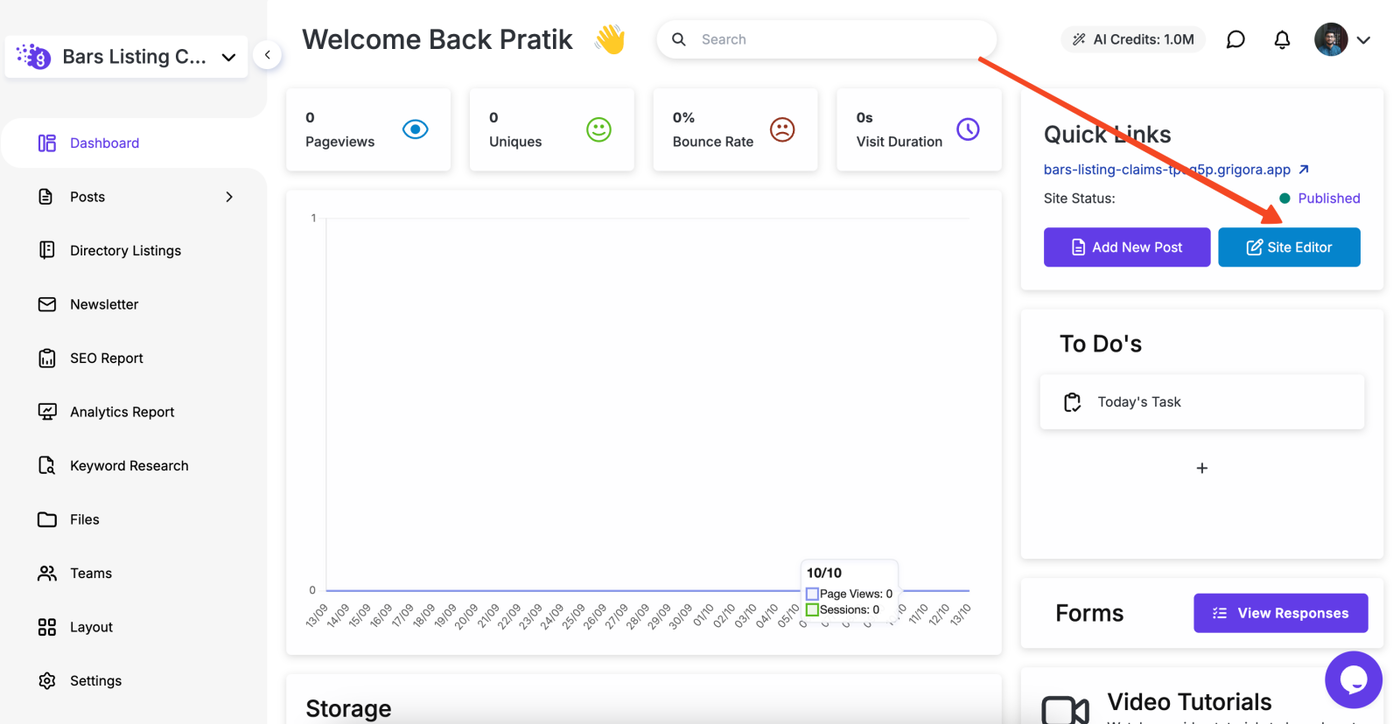
Step 1: Access the Site Editor
-
Log in to your Grigora dashboard and navigate to your website.
-
Click on Site Editor to open your page builder.
Step 2: Add the Gallery Element

-
In the Site Editor, look for the Add menu (usually represented by a
+icon). -
Click on Add > Gallery.
-
Drag the Gallery element and drop it into the desired location on your page.
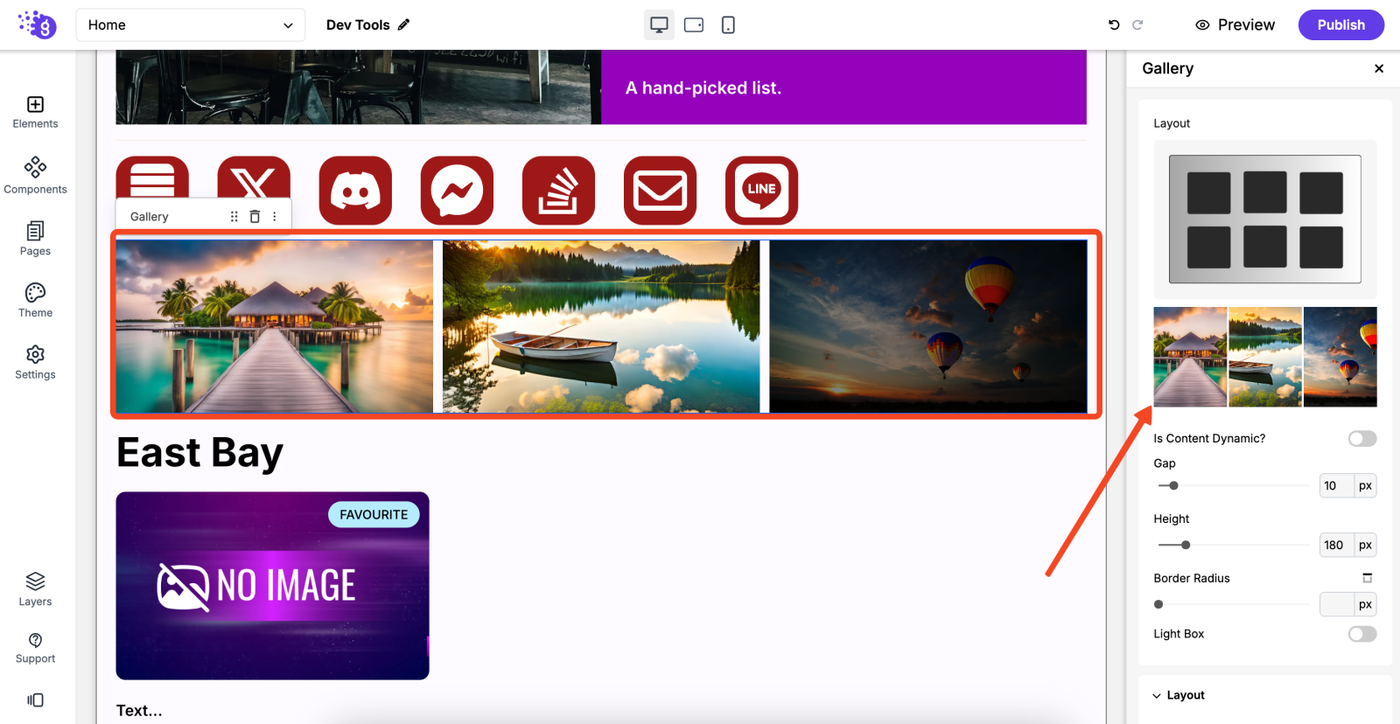
Step 3: Configure Images and Lightbox
-
Once the Gallery element is on the page, the settings panel will appear on the right sidebar (or you can click on the element to open its settings).
-
In the right sidebar settings:
-
Edit the images: Upload or select the images you want to feature in the gallery.
-
Enable Lightbox: Find the Lightbox option and toggle it ON. This allows users to click on any image in the gallery to open it in a full-screen pop-up viewer.
-
Step 4: Save & Publish
-
Click Save to apply the changes to your page.
-
Click Publish to make the new gallery live on your website.
Bonus: Dynamic Directory Galleries
You can connect the gallery to a "Multi Image" input field within your Directory structure. This allows each of your directory listings (e.g., product pages, property listings) to automatically display a unique gallery of images based on the data you enter for that listing.