Grigora allows you to easily incorporate your own custom fonts to give your website a unique look and feel. Follow these steps to upload and use your desired font families:
Step 1: Accessing the Custom Fonts Section
-
Open your website's dashboard: Log in to your WordPress or website administration area.
-
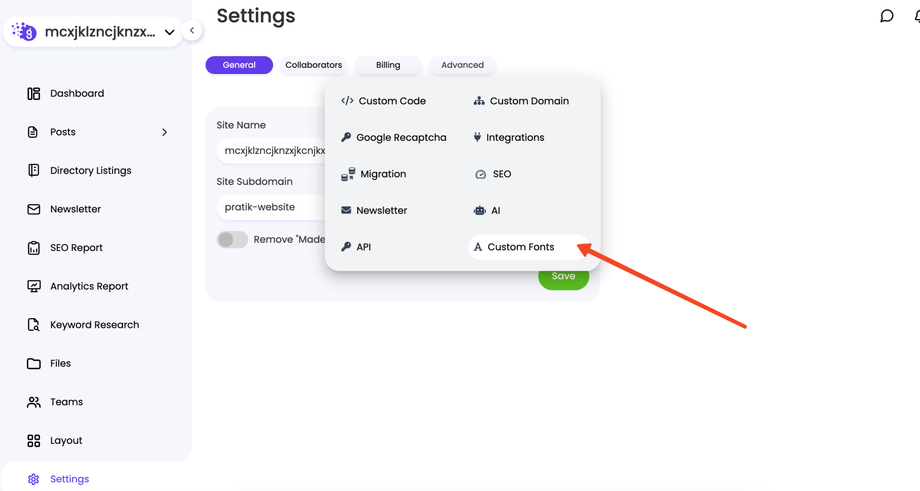
Navigate to Custom Fonts: From the left-hand navigation menu, go to Settings > Advanced > Custom Fonts.
Step 2: Uploading Your Font Family
-
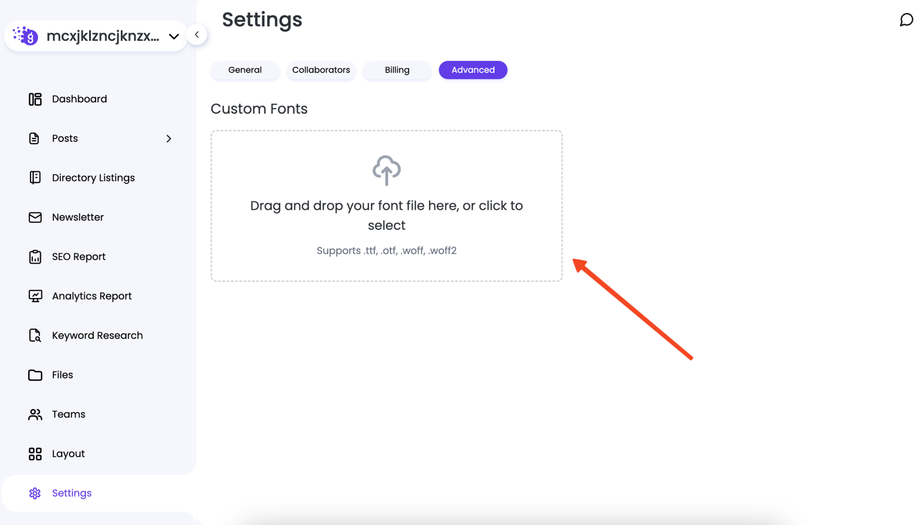
On the "Custom Fonts" page, you will find an option to upload your font files. Grigora typically supports common web font formats such as
.woff,.woff2,.ttf, and.otf. -
Click the "Upload" button and select the font files for your desired font family. If your font has multiple weights (e.g., Light, Regular, Bold), upload all the corresponding files.
Step 3: Configuring Your Font Family
After uploading, you'll need to configure the font details:
-
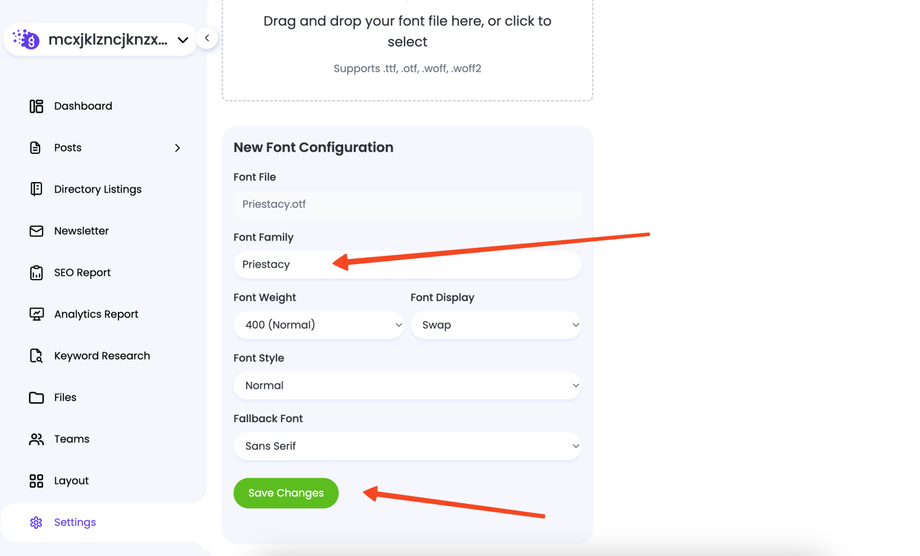
Change the name of the family: Give your font a descriptive name that you'll easily recognize in the editor (e.g., "My Custom Sans Serif").
-
Target Weight: For each uploaded font file, specify its corresponding font weight (e.g., 400 for Regular, 700 for Bold). This helps the browser apply the correct weight when rendering text.
-
Fallback: Define a fallback font. This is a system font that the browser will use if your custom font fails to load for any reason. Choose a generic font type that closely resembles your custom font (e.g.,
sans-serif,serif,monospace).
Step 4: Saving Your Changes
-
Once you have uploaded all the font files and configured their names, weights, and fallbacks, click the Save button to apply your changes.
How to Use Your Custom Font Across Your Project
Now that your custom font is uploaded and saved, you can apply it to your website's text:
Step 1: Going to the Editor and Typography Settings
-
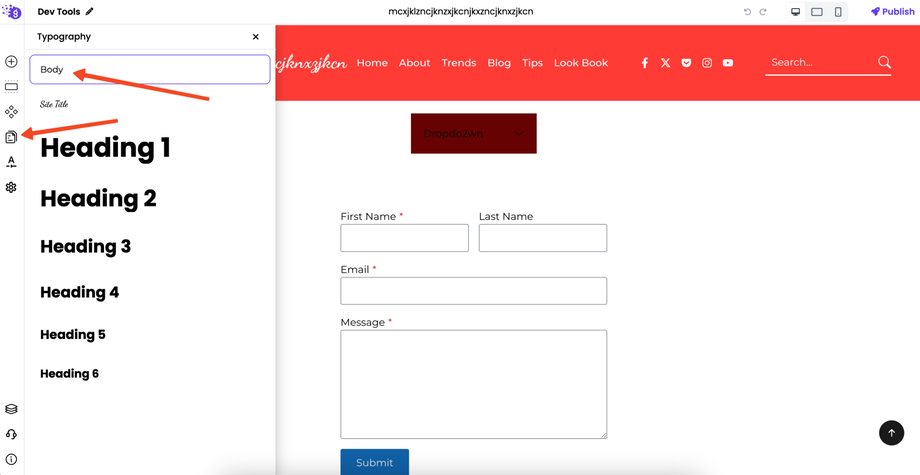
Go to the editor: Navigate to the page or post where you want to use the custom font, and open it in the Grigora editor (e.g., Elementor, Gutenberg, or customizer).
-
Access Typography Settings: Look for the "Typography" or "Font" settings within the editor. The exact location may vary depending on the specific page builder or theme options you are using.
Step 2: Selecting Your Custom Font
-
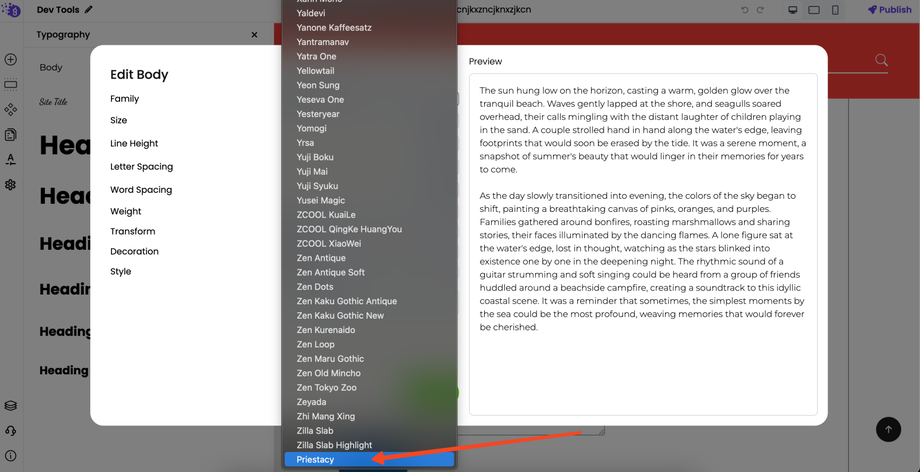
In the font family options, you will now see your custom font family listed alongside the default and Google Fonts.
-
Select your custom font family from the list.
Step 3: Publishing Your Website
-
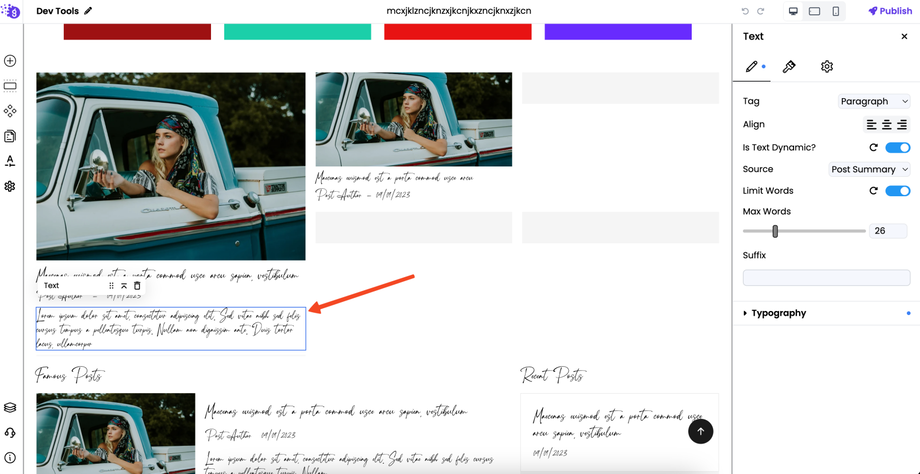
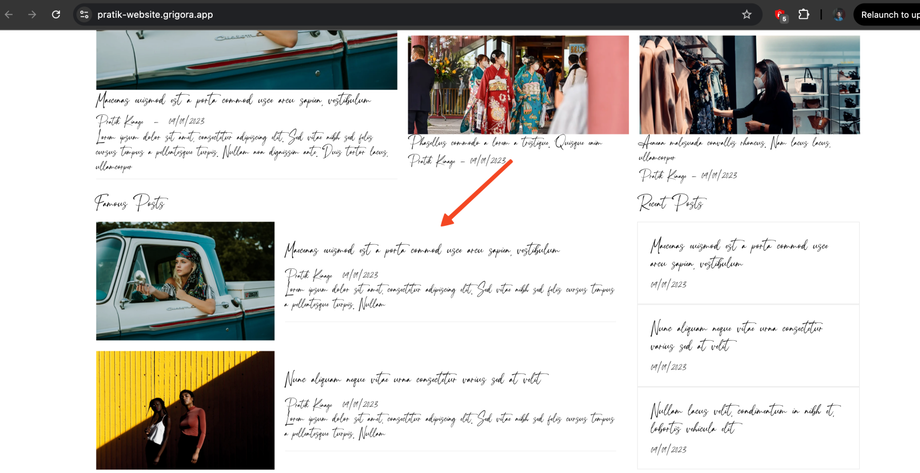
After applying the custom font to your desired text elements, publish or update your website to make the changes live.
Your custom font should now be visible on your website!


