

Learn how to manually add new items to your collections in Grigora. This guide walks you through filling out field data, uploading images, and ensuring your entries are complete and ready to display on your website.
Accessing Your Directory Collections
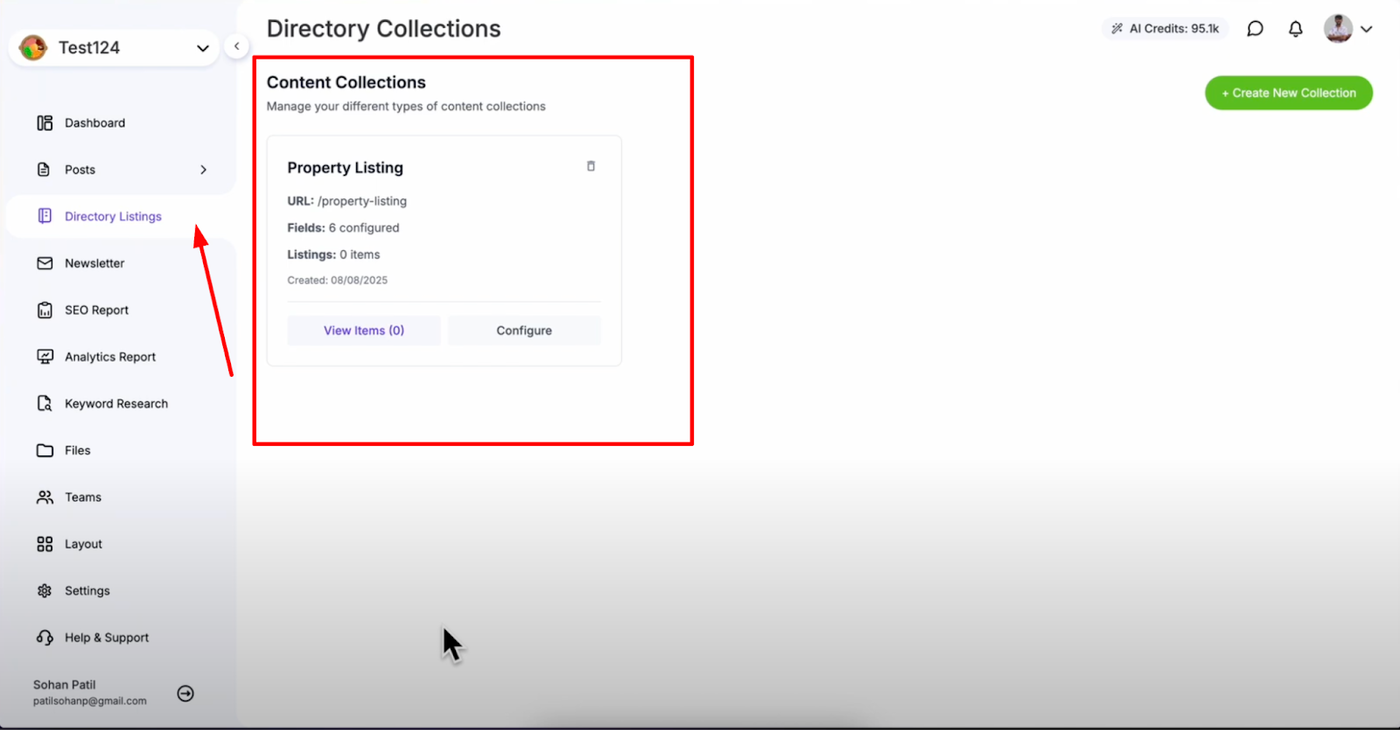
Open "Directory Listing" to access your directory management area. This will show you all your created directory collections in one organized view where you can manage your content.
Finding Your Target Collection

Find the collection you want to add content to from your list of created collections. Click "View Items" next to that specific collection to open the collection content management area where you can see existing items or add new ones.
Adding New Items
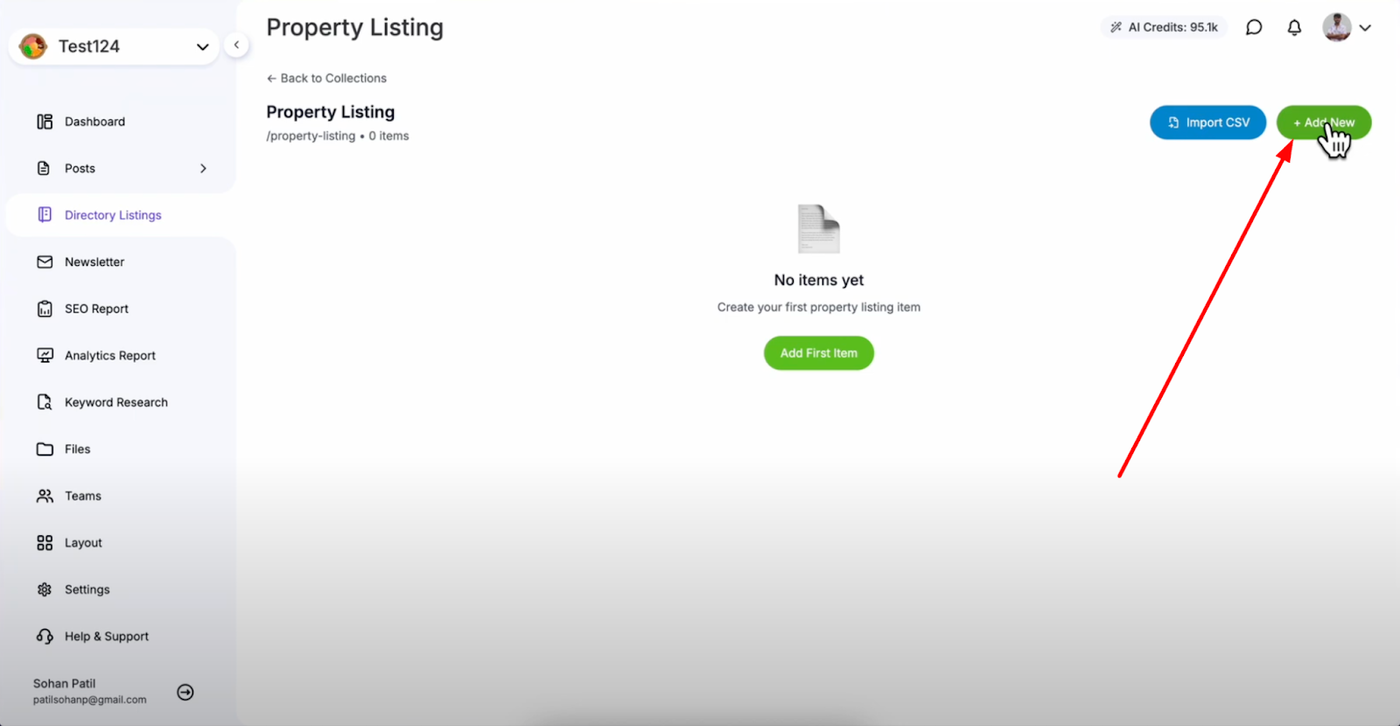
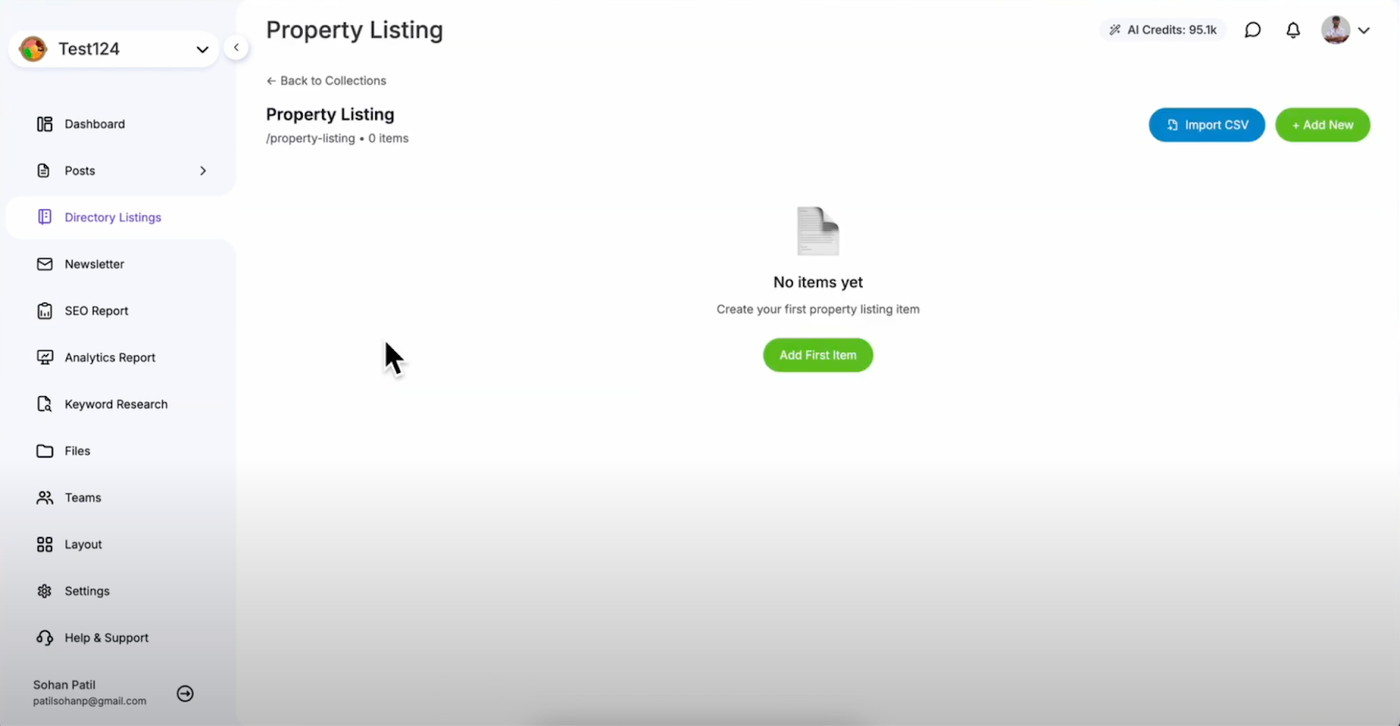
Click the "Add Item" option (or "Add First Item" if this is your first entry). This will open the item creation interface where you can input all the details for your new directory entry.
Filling Out Item Details
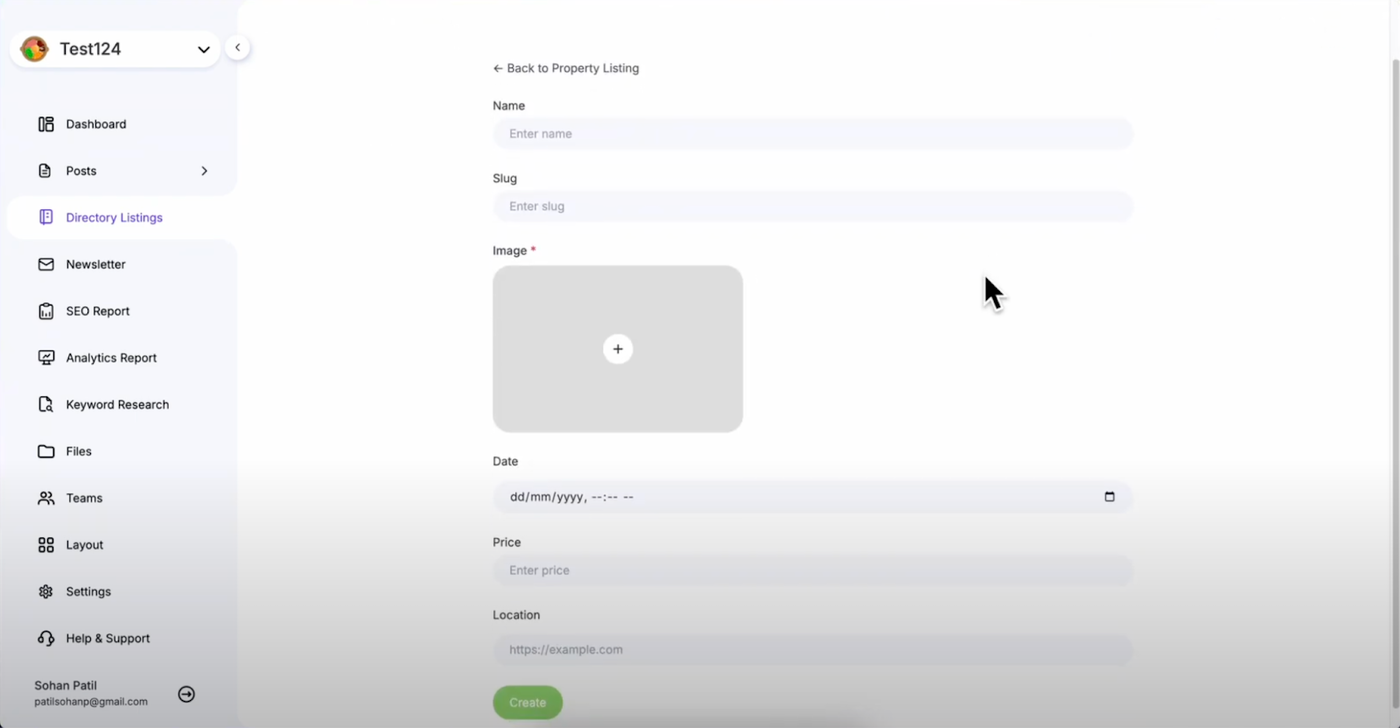
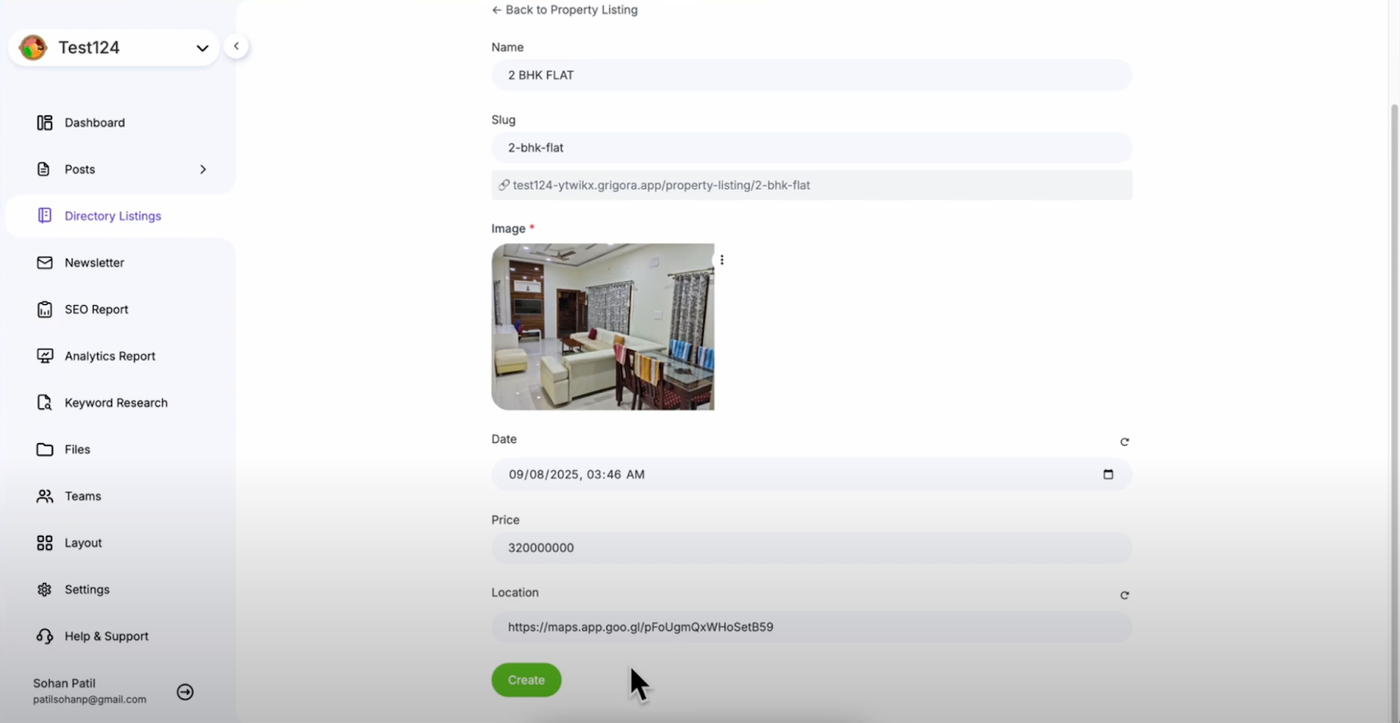
After clicking "Add Item," you'll see the item creation form which displays all the custom fields you configured for your collection. Fill out the details one by one for each field in your collection, ensuring you provide accurate and complete information for all required fields.
Creating and Confirming Your Item

Review all information to ensure it is accurate and complete before submitting.
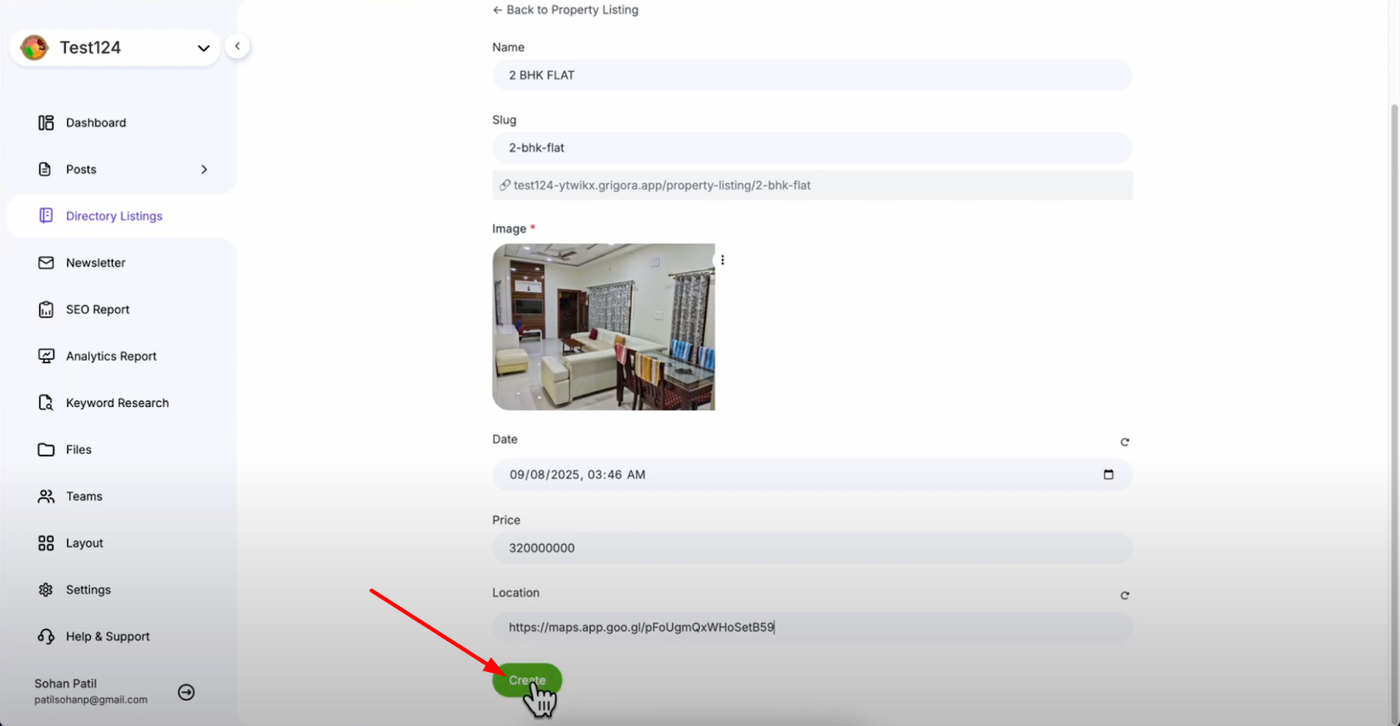
Click the "Create" button to add the item to your collection. You'll see a confirmation once the item is successfully created, and your new item will be listed in the collection items for future management.
Your new directory item is now ready and will automatically appear on your website wherever you've displayed that collection, maintaining the professional presentation and organized content structure of your site.