

Learn how to create and manage collections with ease! This guide will walk you through creating a new directory collection, naming it, and defining its purpose so you can organize your items effectively — perfect for structuring content and streamlining workflows.
Accessing Directory Management
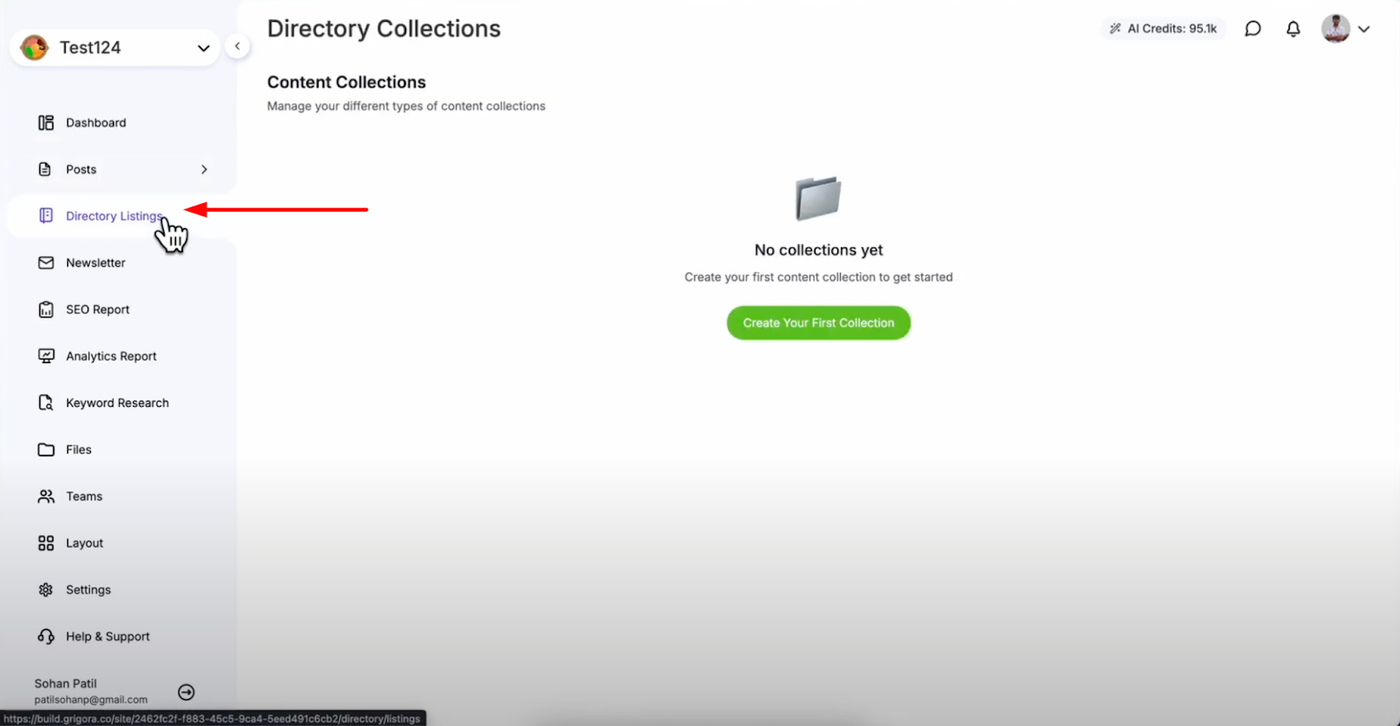
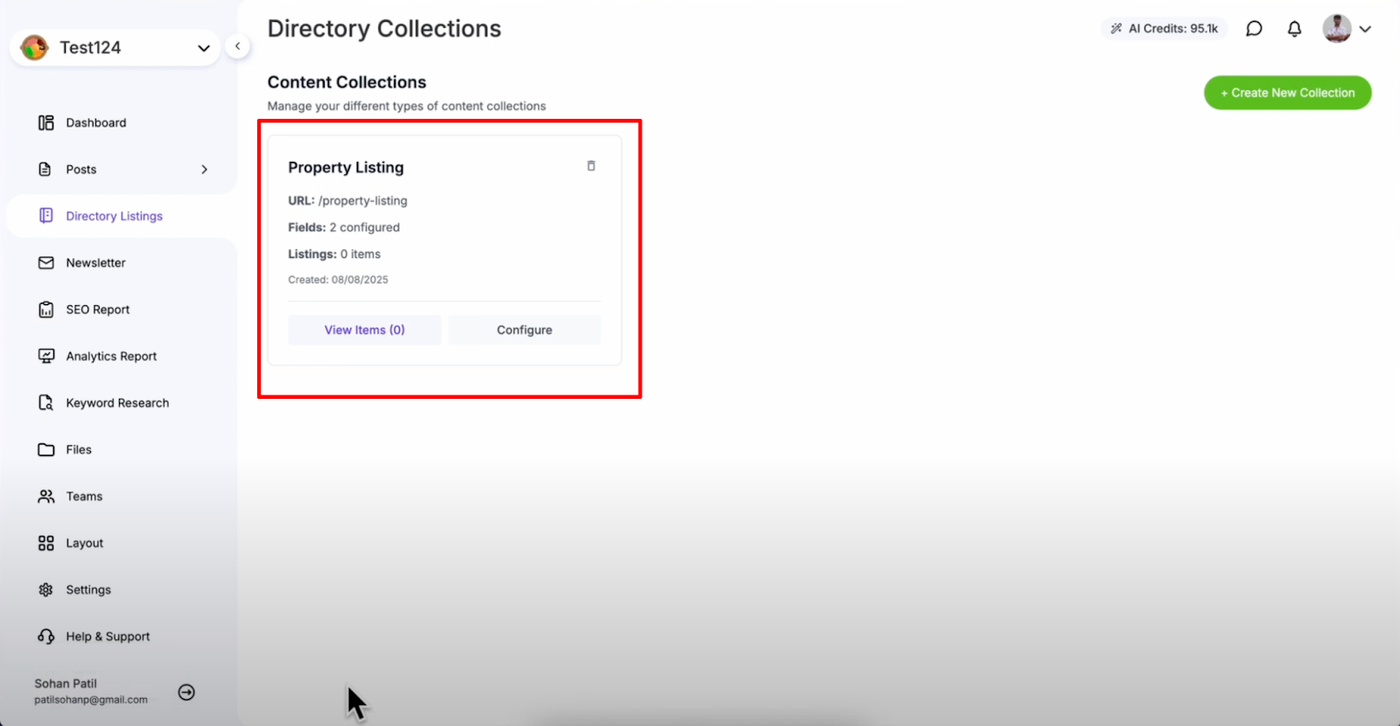
Go to your Grigora dashboard and click on "Directory Listing" to access the directory management area. This will take you to the directory collections section where you can create and manage all your collections in one organized location.
Starting Your First Collection
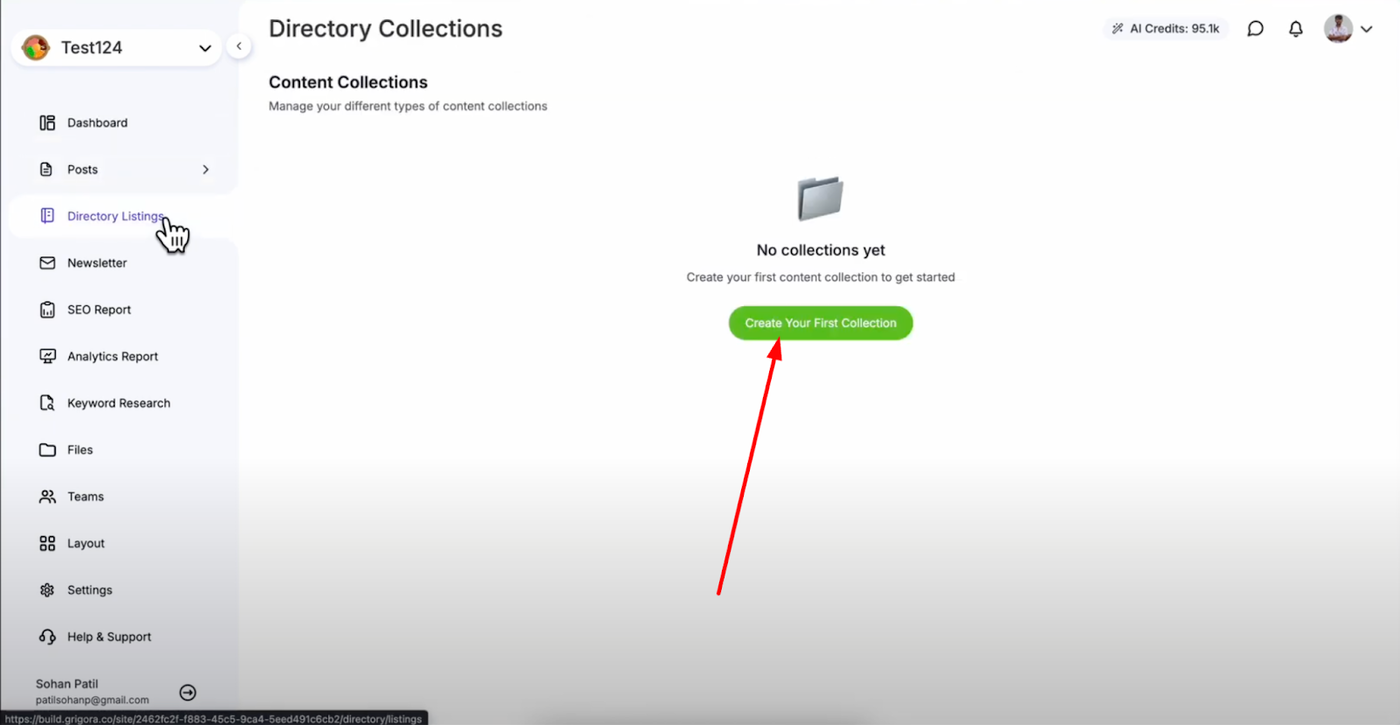
In the directory listing section, you'll see the option to create your first collection. Click on "Create Your First Collection" to begin the setup process. This opens the collection creation interface where you'll configure your new directory system.
Naming Your Collection
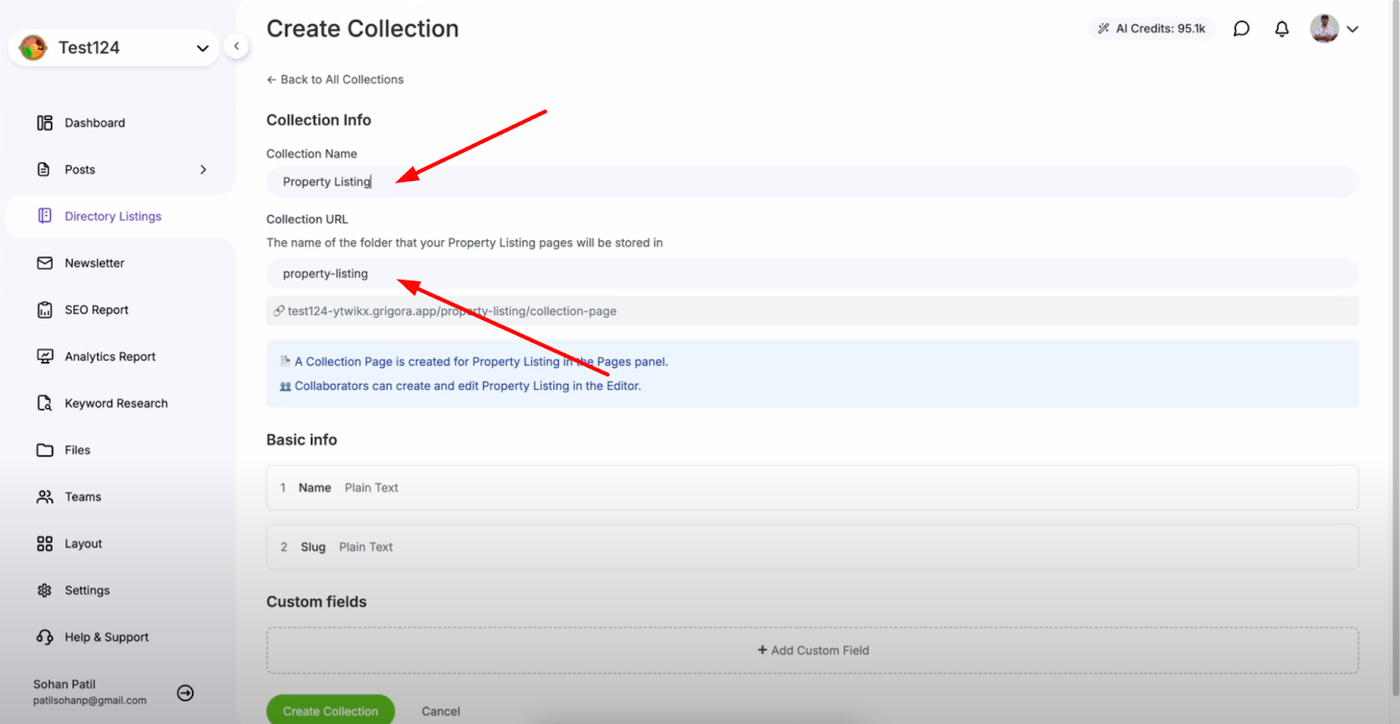
Give your collection a descriptive name that clearly identifies its purpose. For example, if you're creating a property listing directory, you might name it "Property Listings" or "Real Estate Directory." Choose names that make it easy for you and your visitors to understand the collection's content.
As soon as you enter your collection name, Grigora automatically generates a collection URL based on the name you provided. This URL will be used to access your collection on your website, creating clean and SEO-friendly web addresses for your content.
Creating Your Collection
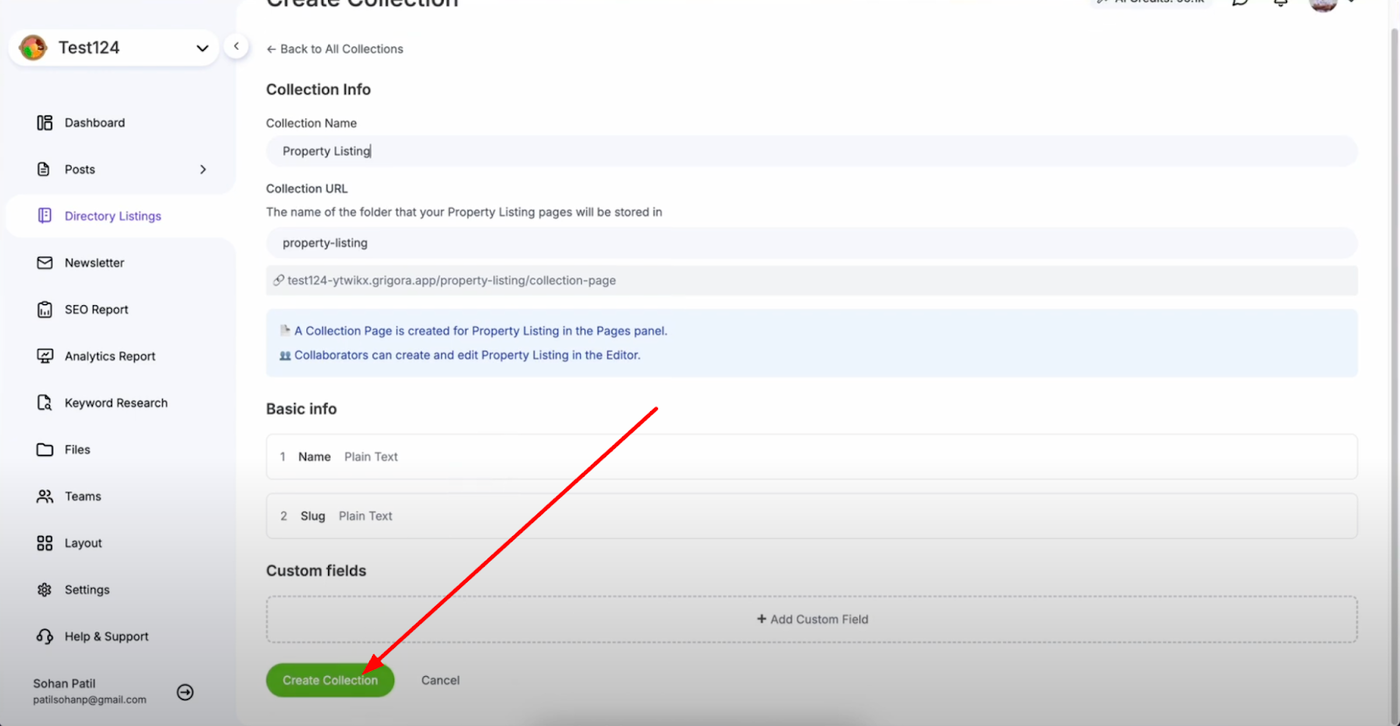
After entering your collection name, click "Create Collection" to finalize your directory collection. Your directory collection is now successfully created with a clear name and purpose, providing the foundation for organized, professional content presentation.
This system makes it easy for visitors to browse and discover information while giving you complete control over how your content is structured and displayed across your website.