

Grigora makes it easy to upload custom files to your website's root directory, which is often required for website verification, such as ads.txt for ad networks or verification files for Google Search Console.
Step 1: Access Your Website Dashboard
-
Log in to your Grigora dashboard.
-
Navigate to the specific website where you need to upload the files.
Step 2: Go to the Files Section
-
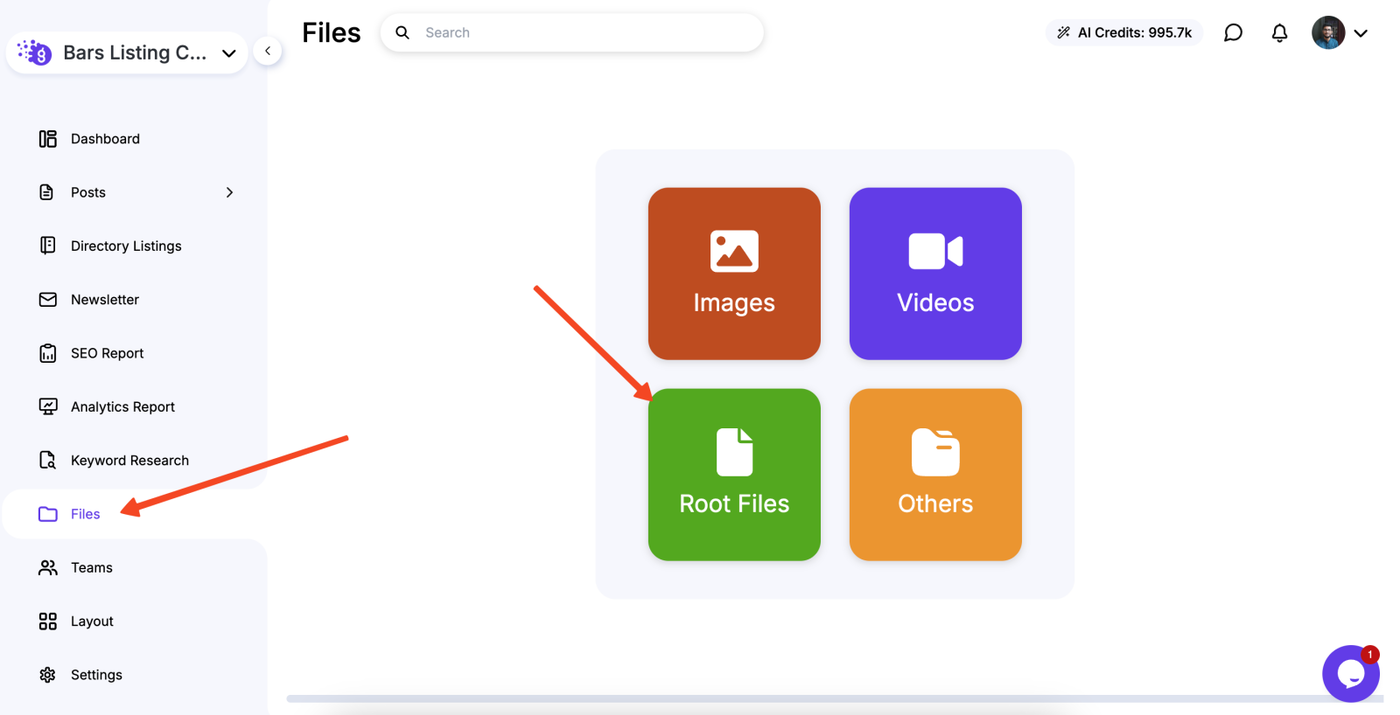
In the left-hand sidebar menu of your website's dashboard, click on Files.
-
This will take you to the file management section.
Step 3: Upload to the Root Files Folder
-
Within the Files section, you'll see a dedicated Root Files box or folder. Click on it.
-
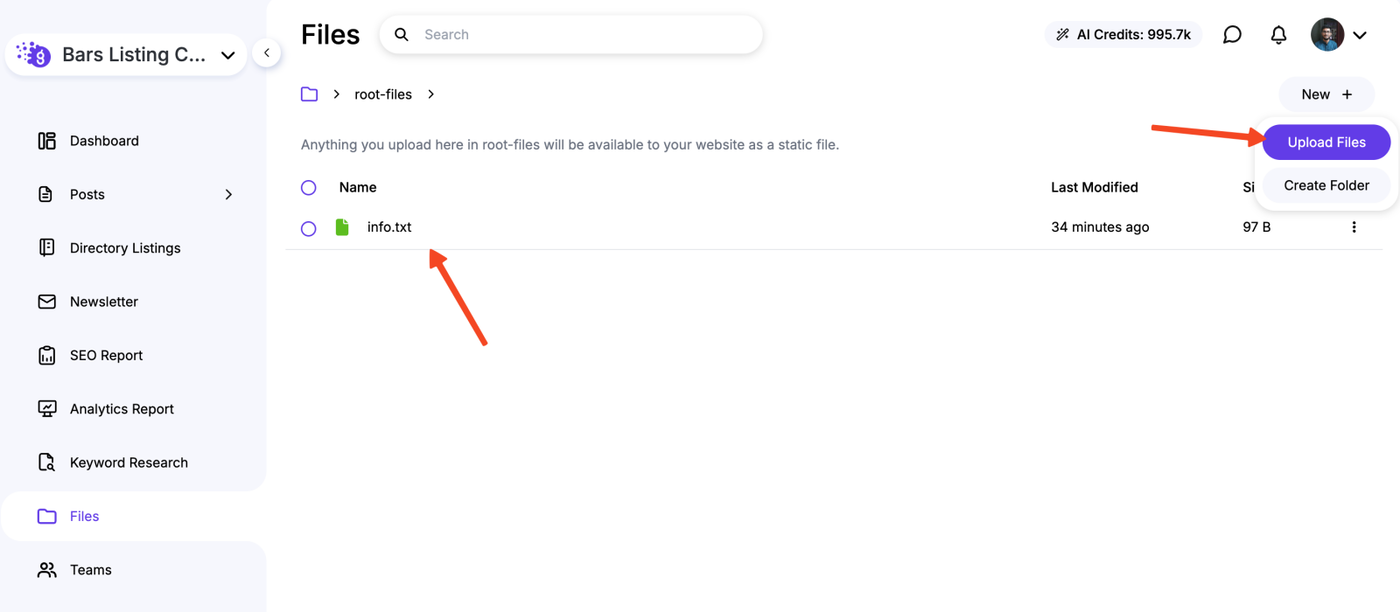
Drag and drop or upload the files you need to place in your website's root directory.
-
Any file you upload here will automatically be placed in your site's root directory.
Step 4: Publish Your Website
-
After uploading the files, you need to publish your website again for the changes to take effect.
-
Go to the Site Editor and click Publish.
Step 5: Verify the Upload
-
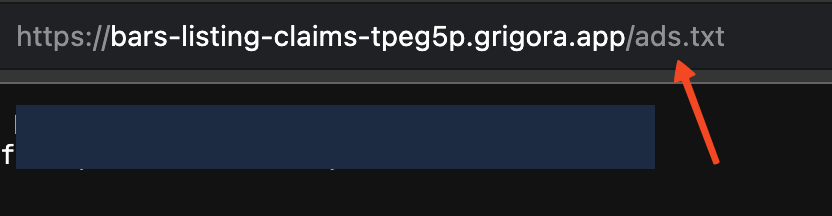
You can verify that the files have been successfully uploaded by visiting your website's domain followed by the file name in your browser. For example, if you uploaded
ads.txt, you would go toyourwebsite.com/ads.txt.
By following these steps, you can easily manage custom files at the root level of your Grigora website without needing a separate FTP client or coding knowledge.