

Learn how to add and set up a custom domain email address in Grigora Mail. This guide walks through connecting your domain, adding the required DNS records, and finalizing your inbox so you can send professional emails from your own domain.
Starting the setup
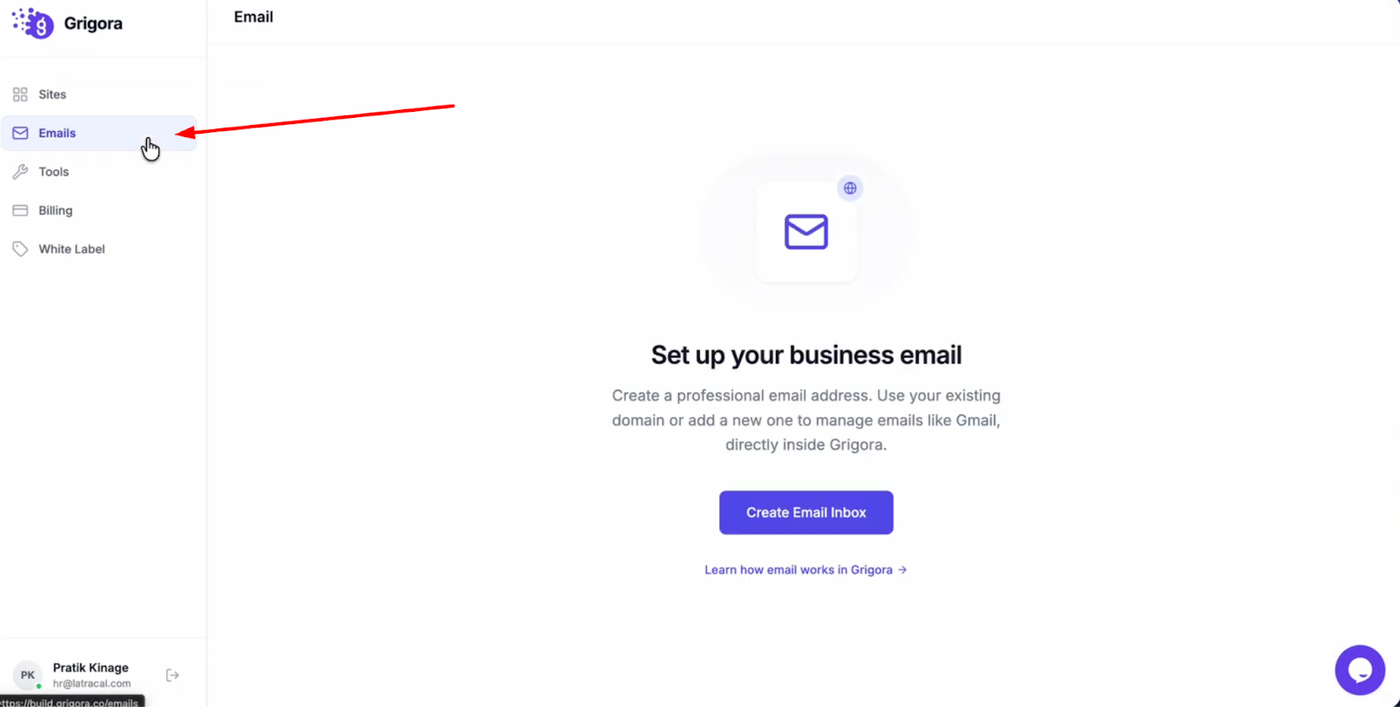
Log in to your Grigora account and switch to the Emails tab from the left sidebar.
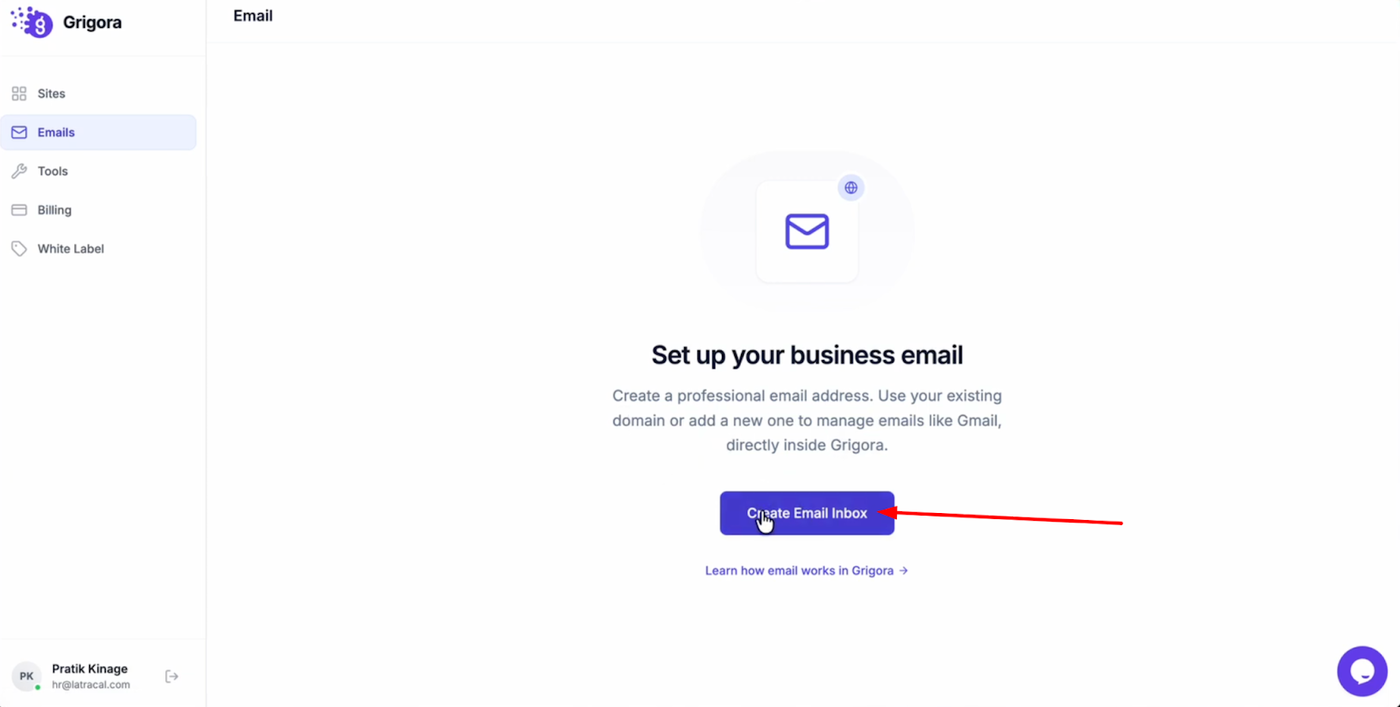
On the Emails page, click “Create Email Inbox” to begin the setup flow.
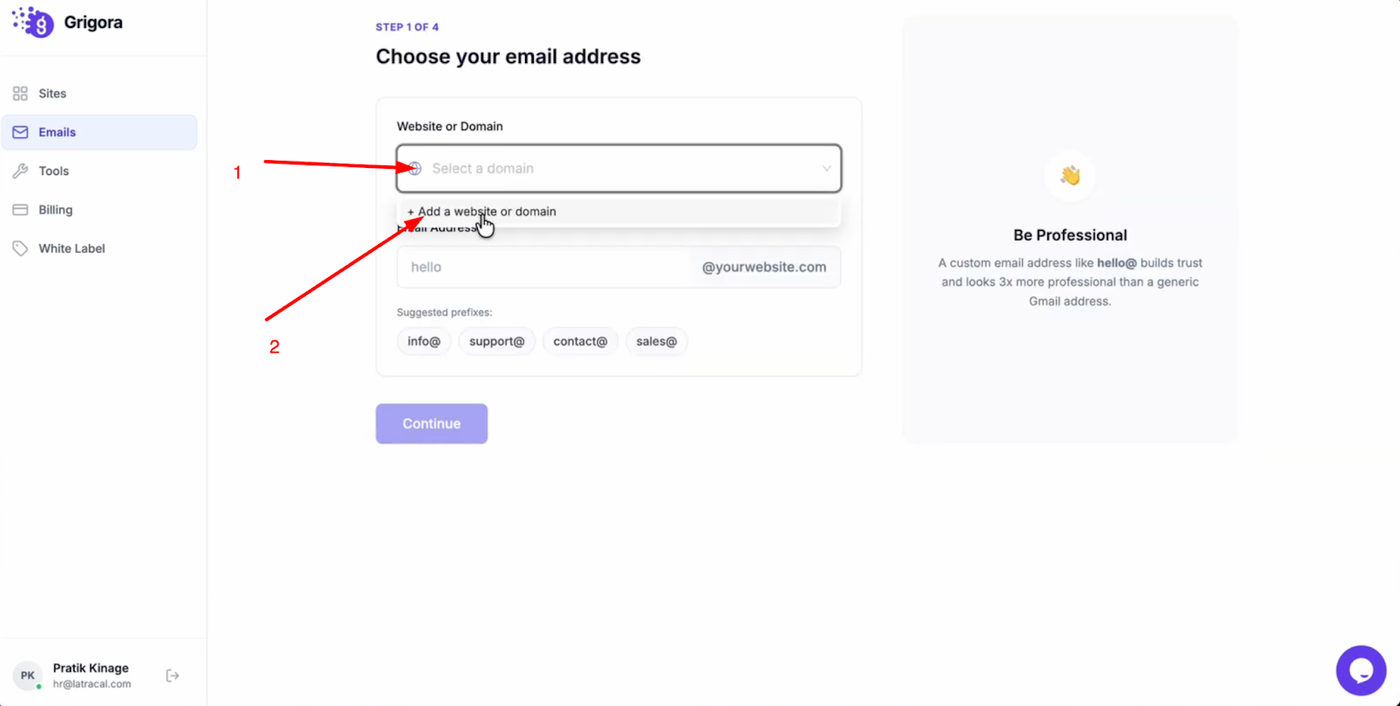
Click the “Select domain” dropdown and choose “Add website.”
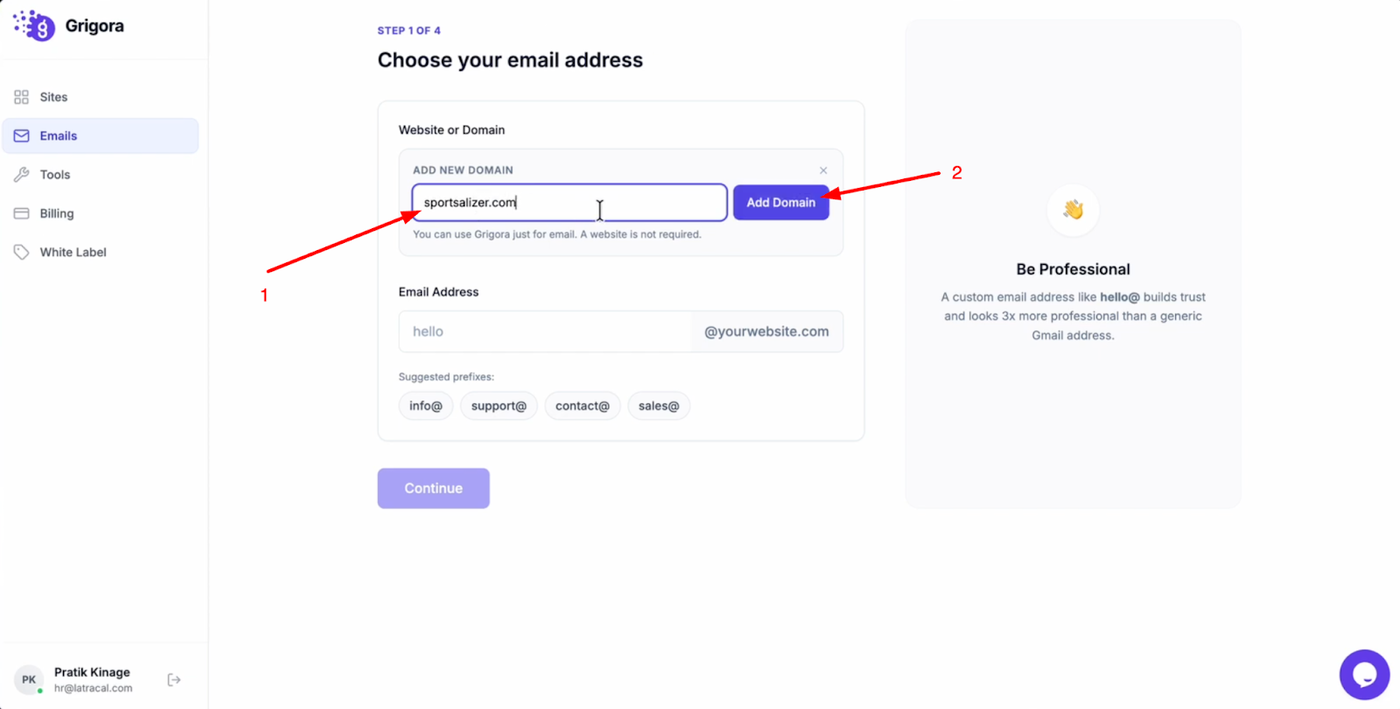
Paste or type your custom domain name into the input field, then click “Add domain”.
Creating the email address
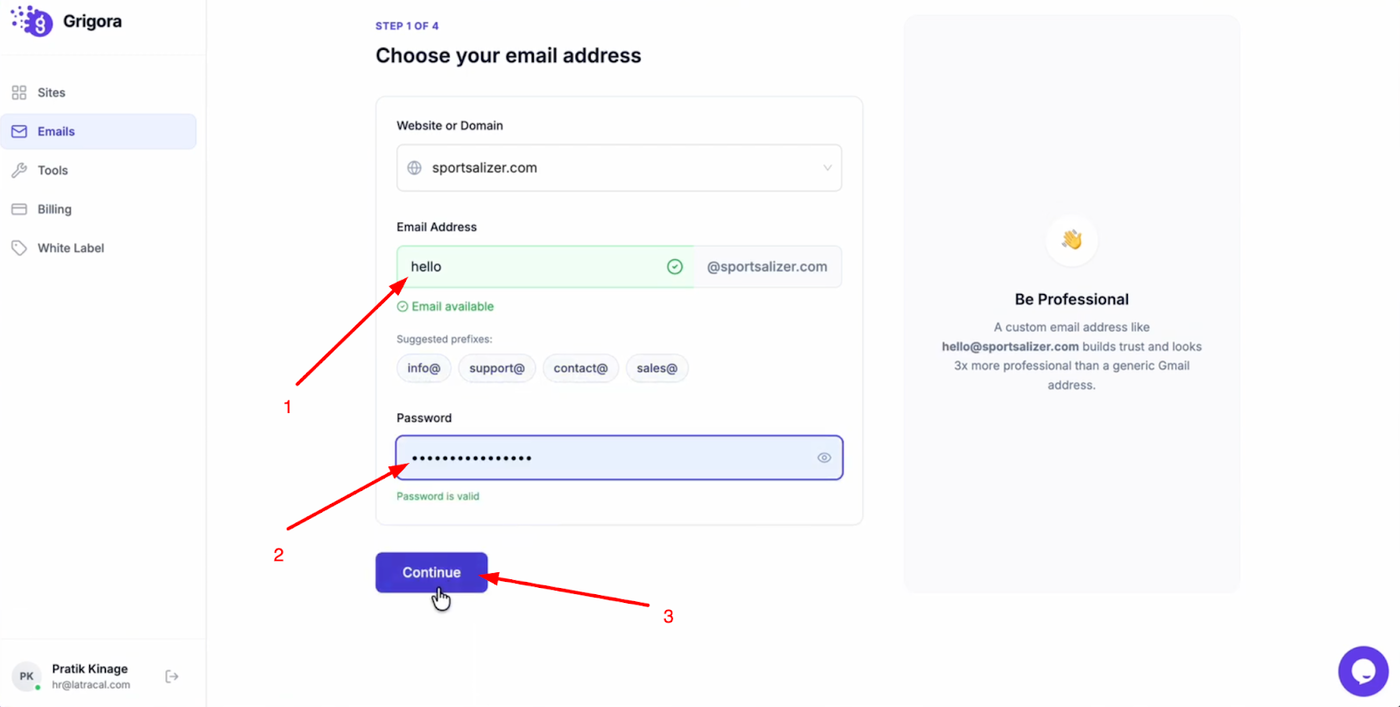
Choose the email prefix from the suggested options or type your own prefix. Create a secure password for the new email account, then click “Continue” to move to the domain verification step.
Verifying DNS records
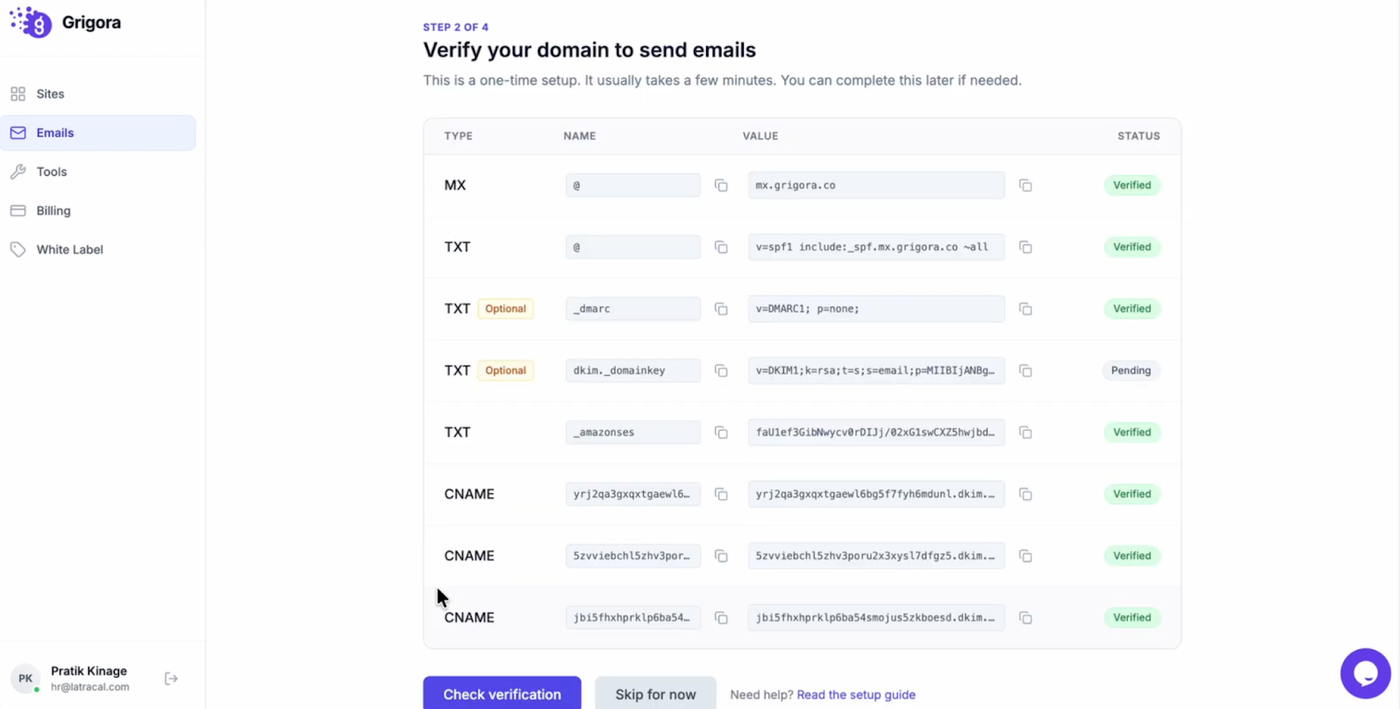
Copy the DNS records shown in Grigora and add them to your domain management settings (where the domain was purchased). After adding the records, click “Check verification”.
Finalizing your inbox
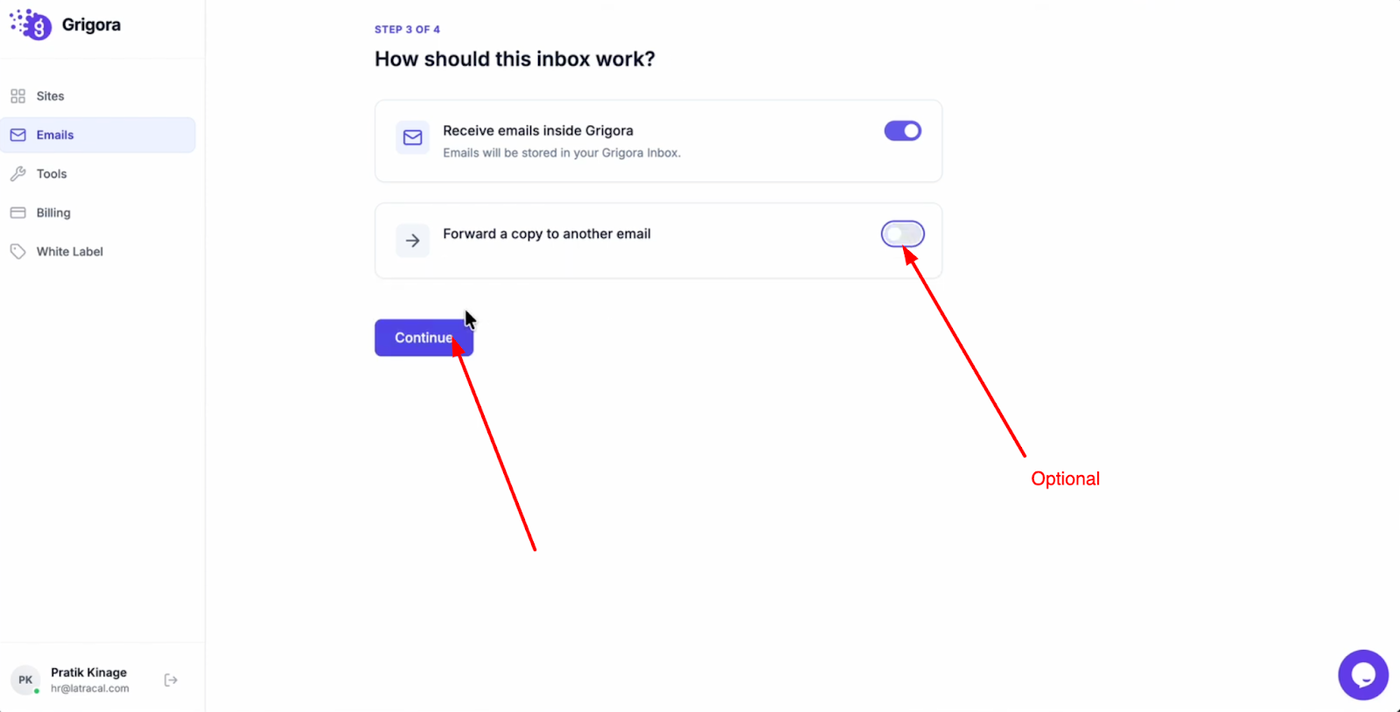
(Optional) Enter a forwarding address if you want to “Forward a copy” of incoming emails to another inbox, then click “Continue.”
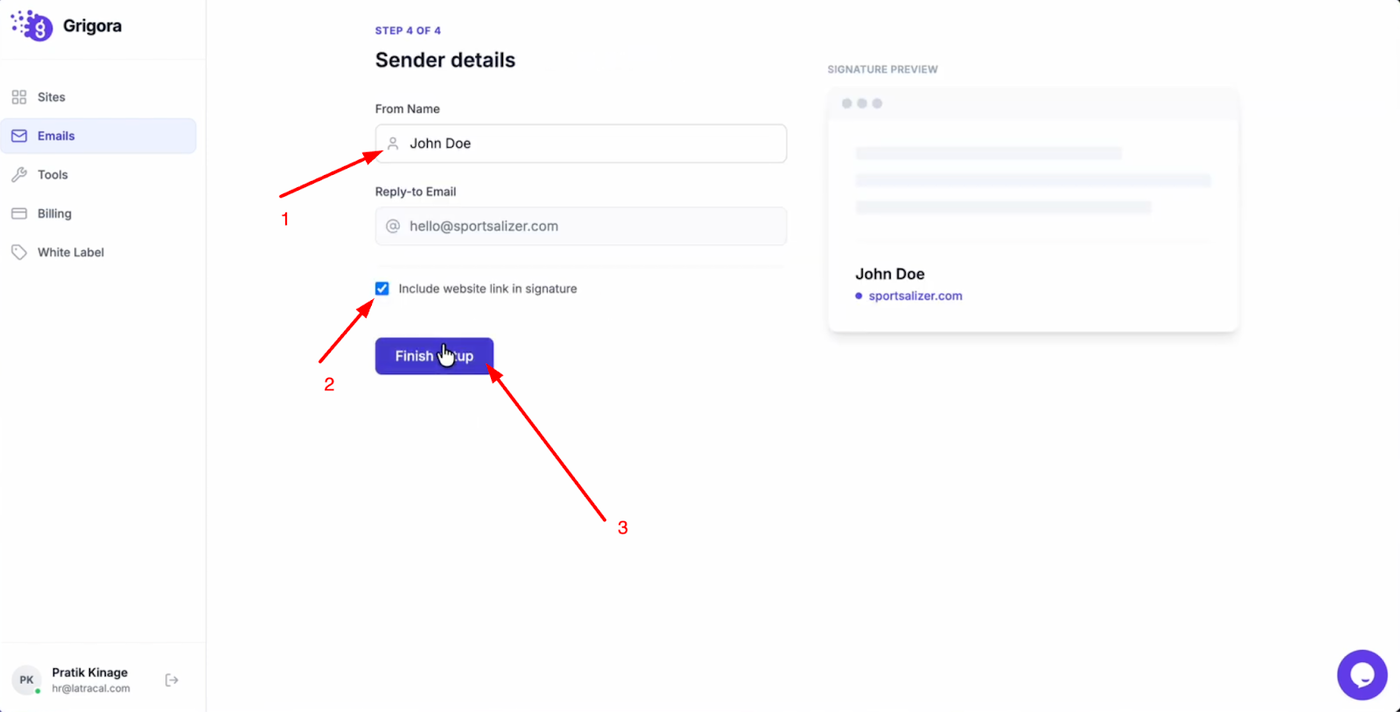
Enter the sender name recipients will see, and optionally enable “Include website link in signature” to add your site link automatically. Click “Finish setup” to complete the process and add your custom domain email to Grigora Mail.