

Learn how to effectively categorize and manage your emails using custom labels. This guide will show you how to create, apply, and remove labels with specific colors, allowing you to identify and filter important messages at a glance.
Creating New Labels
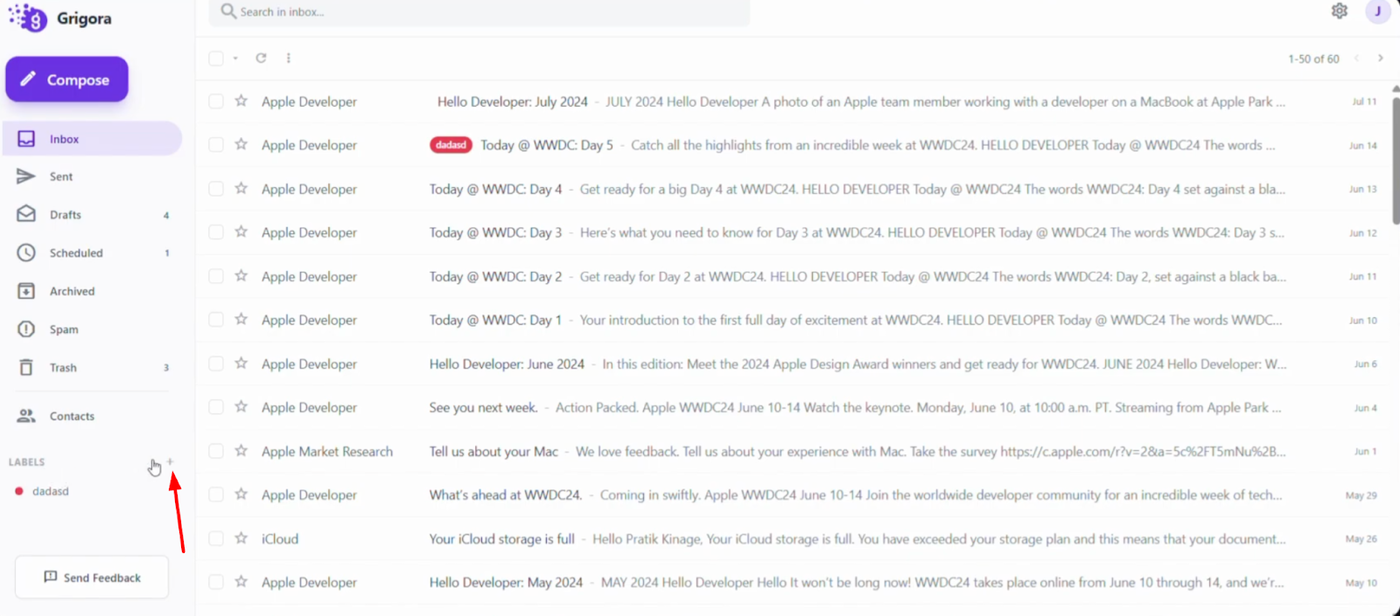
Look at the bottom of the left sidebar to find the "Labels" section.
Click the plus symbol (+) next to the labels title to open the creation pop-up.

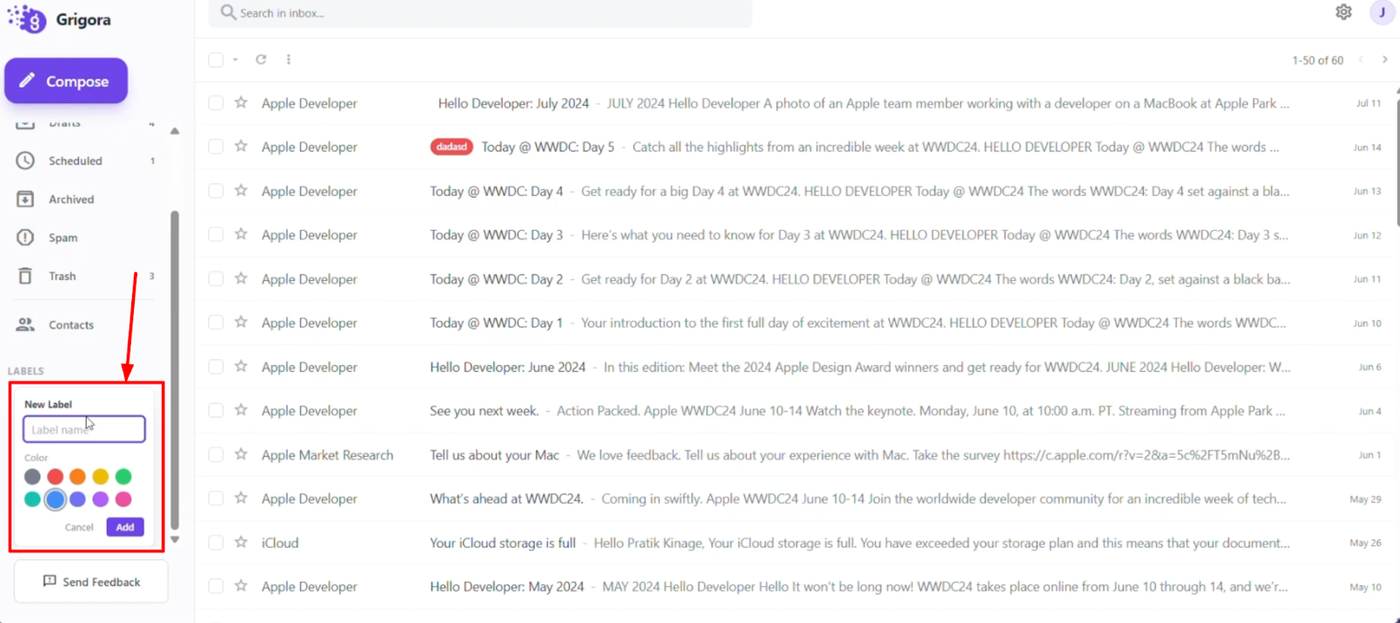
Enter a name for your new label and select a specific color to represent it. Click "Add" to save your new label (or "Cancel" if you change your mind).
Applying and Managing Labels
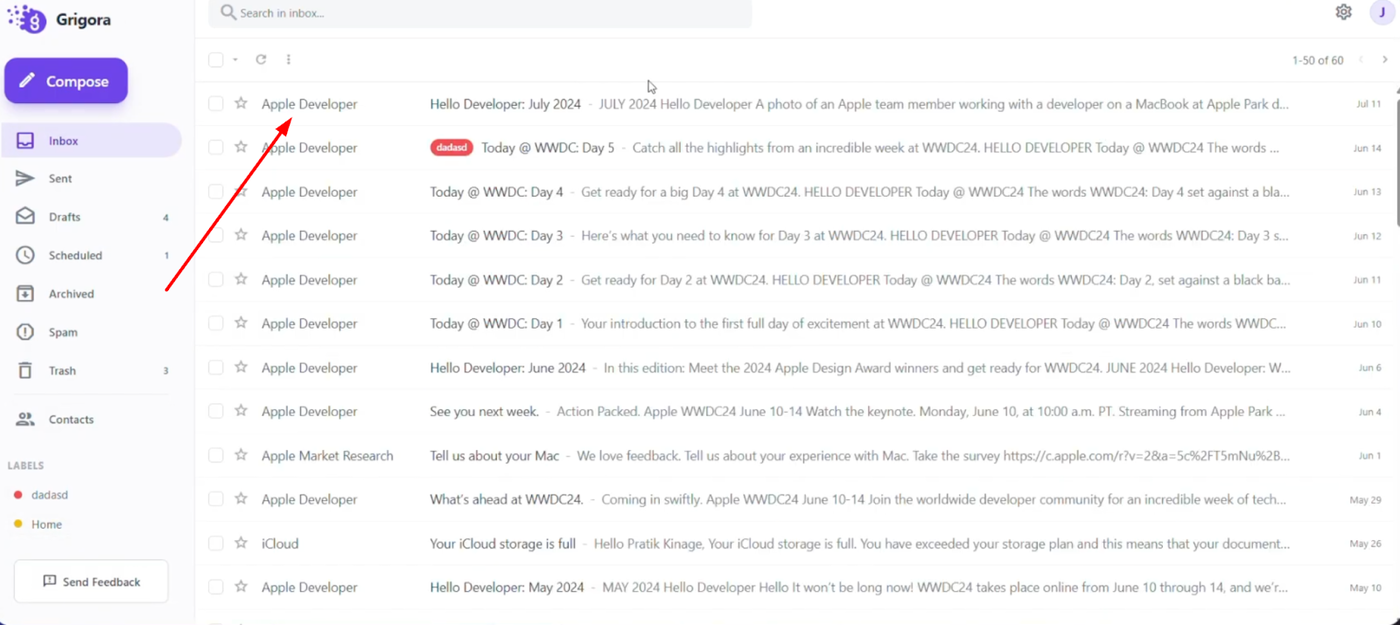
Go to your inbox and open the email you want to add label.
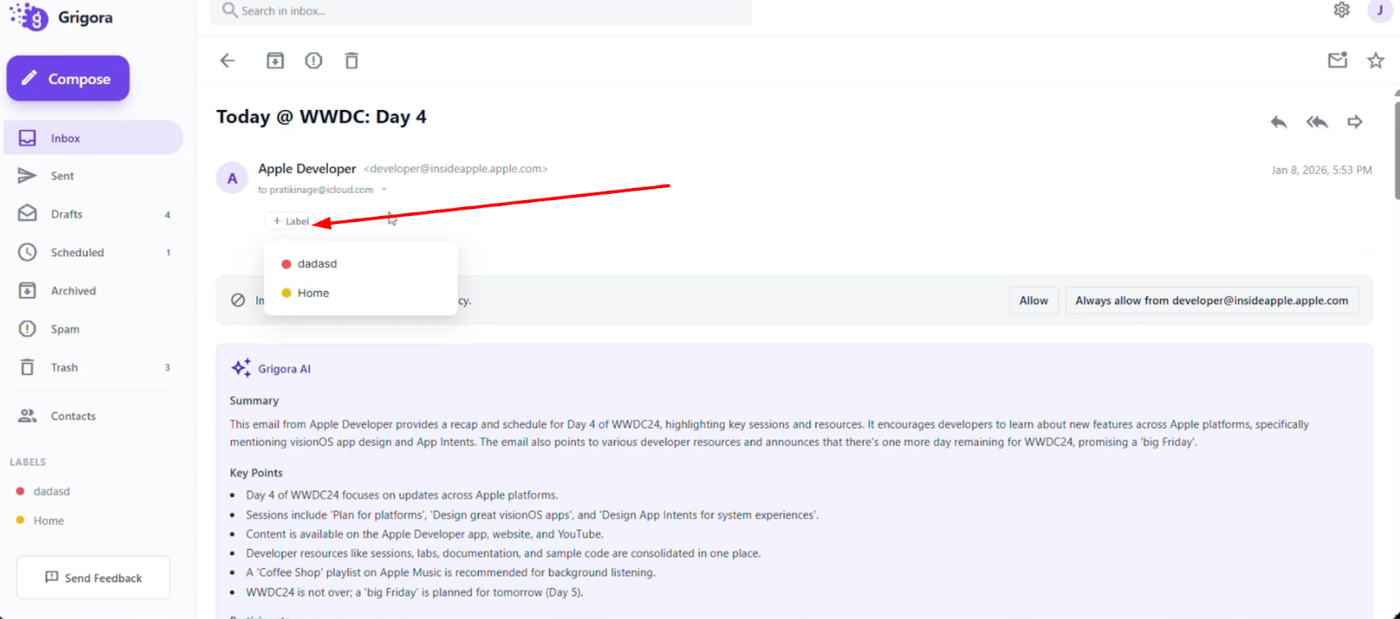
Under the sender's details, click the "+ Label" button to reveal a list of your existing labels.
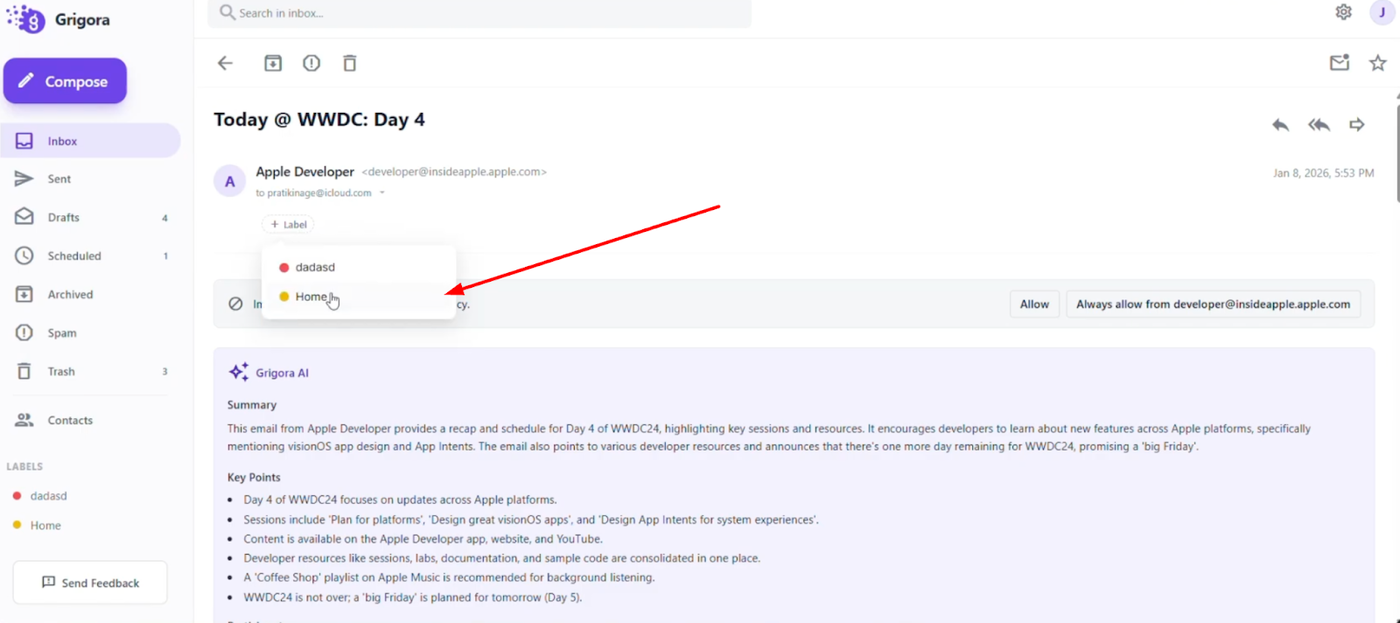
Select the label you wish to attach.
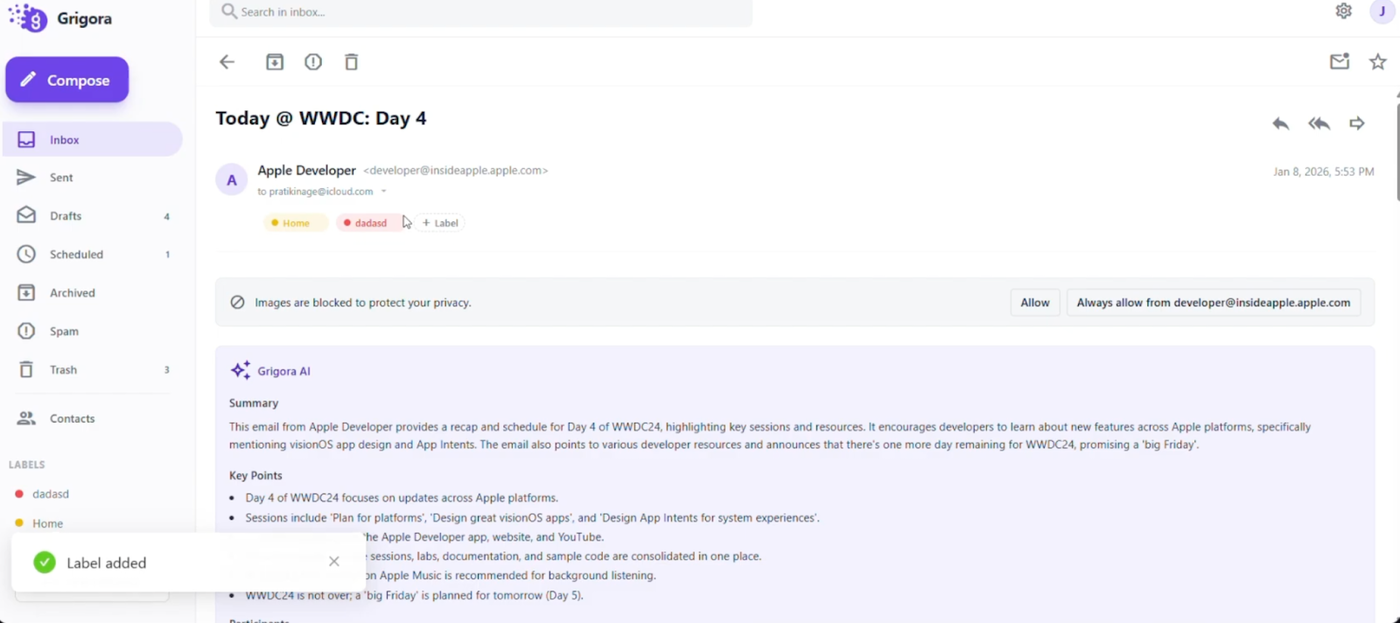
You can apply multiple labels to a single email for better organization.
Once applied, labels will appear clearly on the right side next to the sender's name.