

Ready to switch to a more focused email experience? This guide will show you how to move your emails from Proton Mail to Grigora Mail seamlessly. You will learn how to export your existing data and import it directly into your new inbox so you can hit the ground running without losing important conversations.
Exporting Your Proton Mail Data
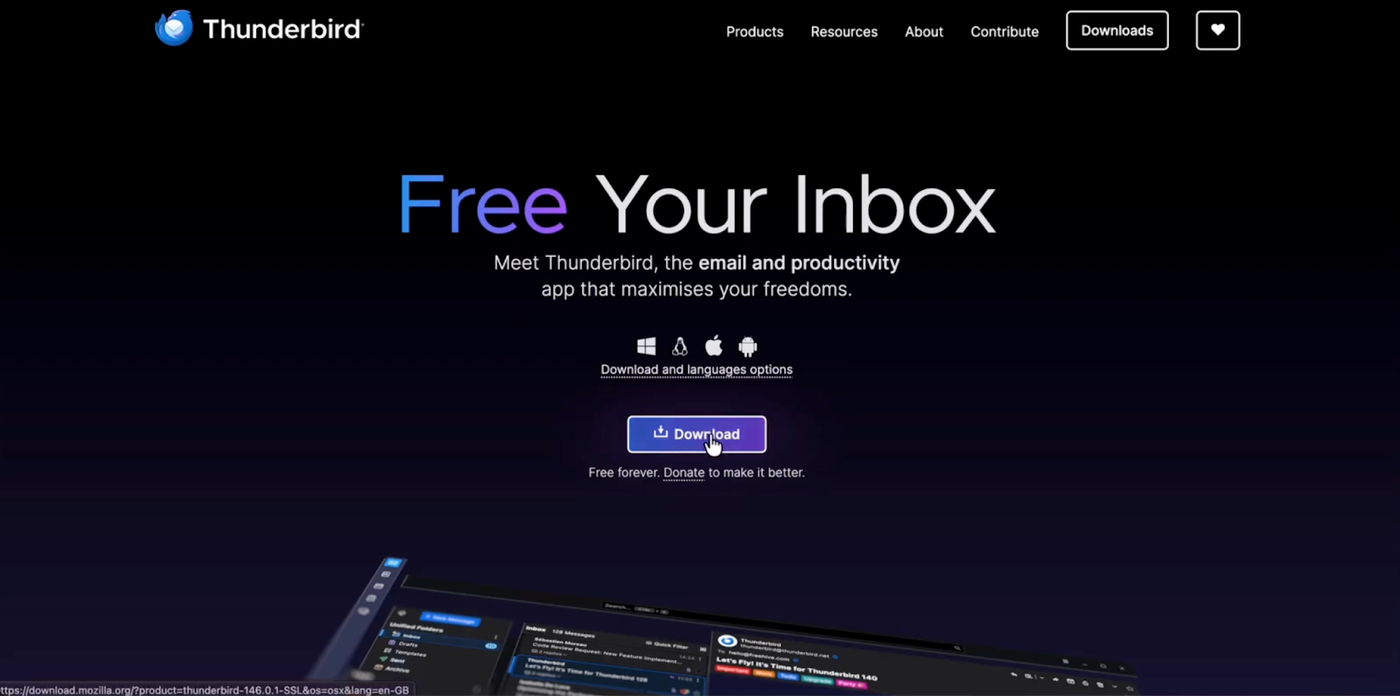
Start by downloading and installing the free Thunderbird application on your computer.
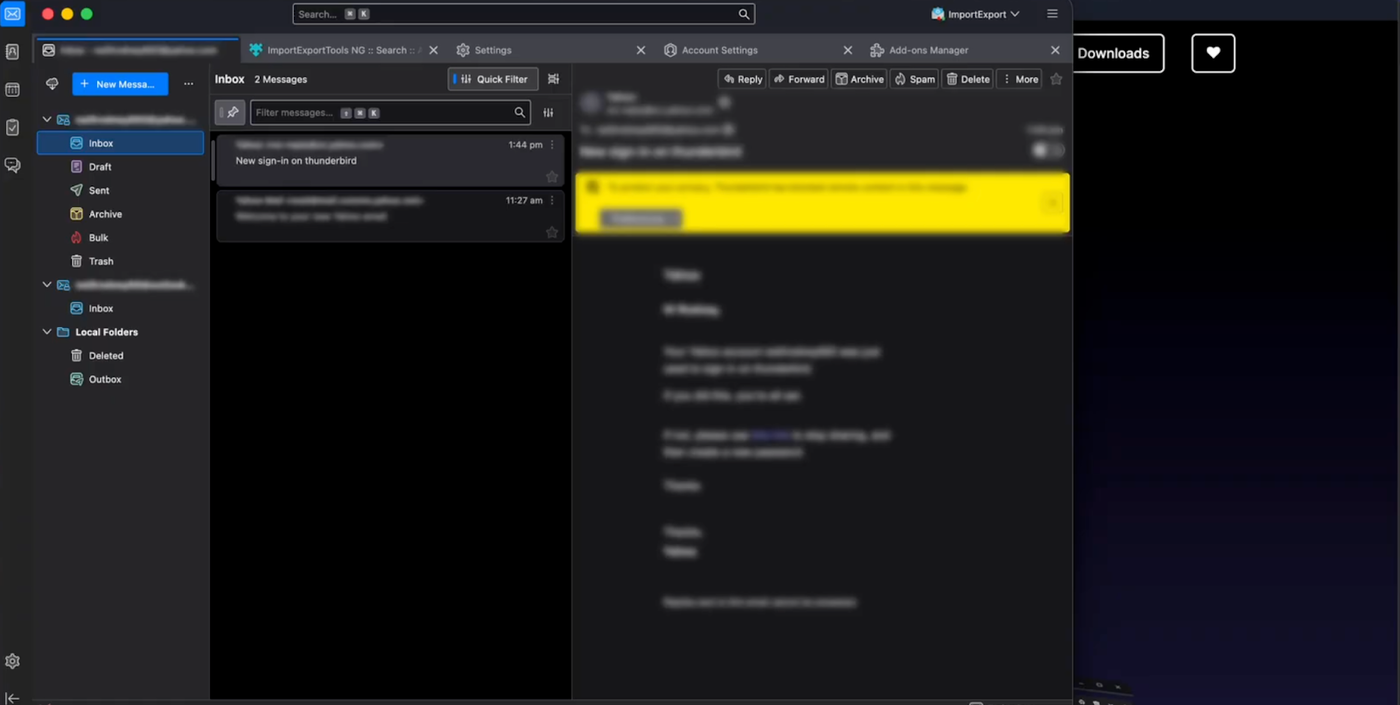
Open Thunderbird and log in with your Proton Mail account credentials.
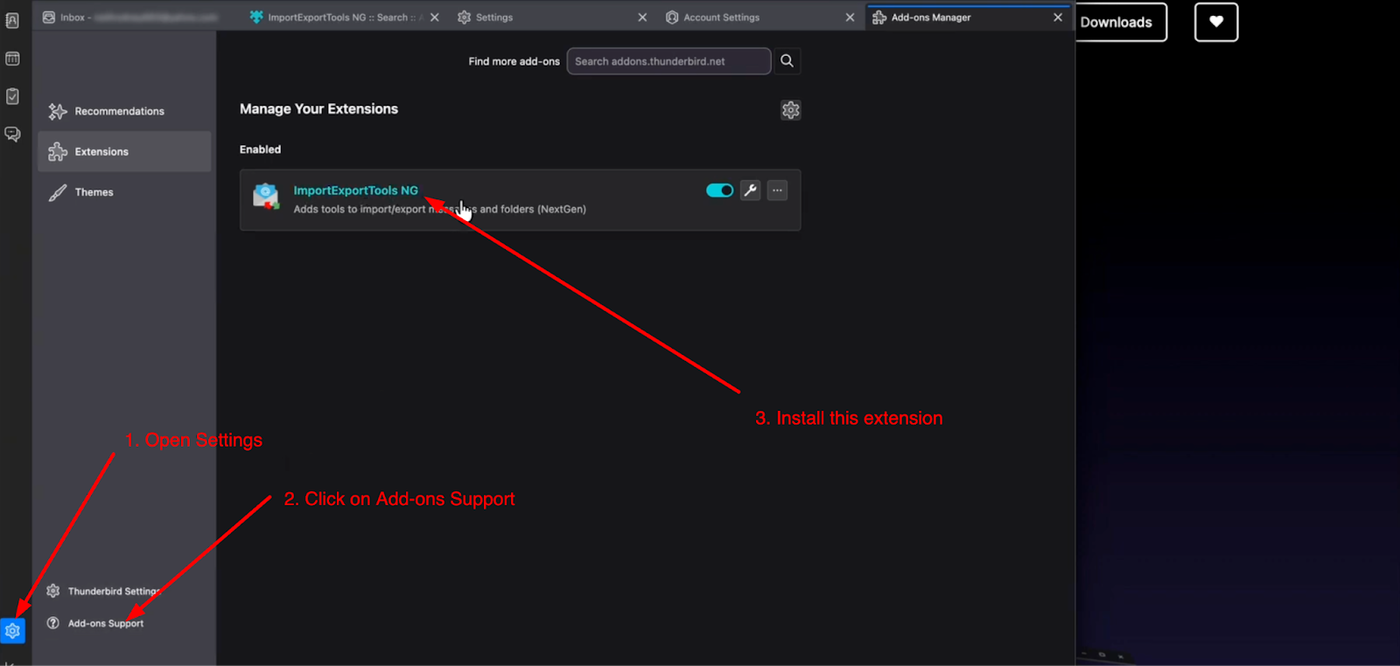
Once logged in, click the Settings (gear icon) at the bottom left and select Add-ons and Themes. Search for "ImportExportTools NG" and install it to enable export functionality.
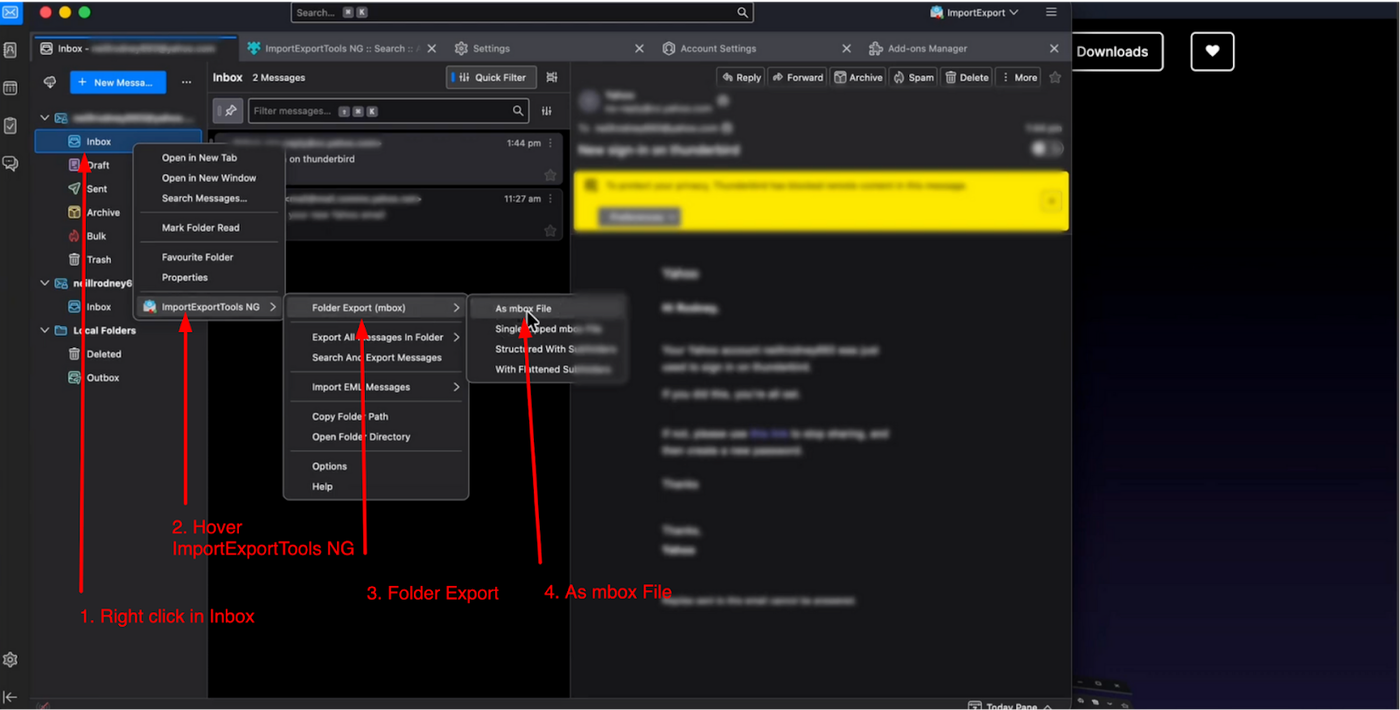
Go back to your mail folder list, right-click on the specific folder you want to move, and select ImportExportTools NG > Export folder > as mbox file. Save the file to your computer.
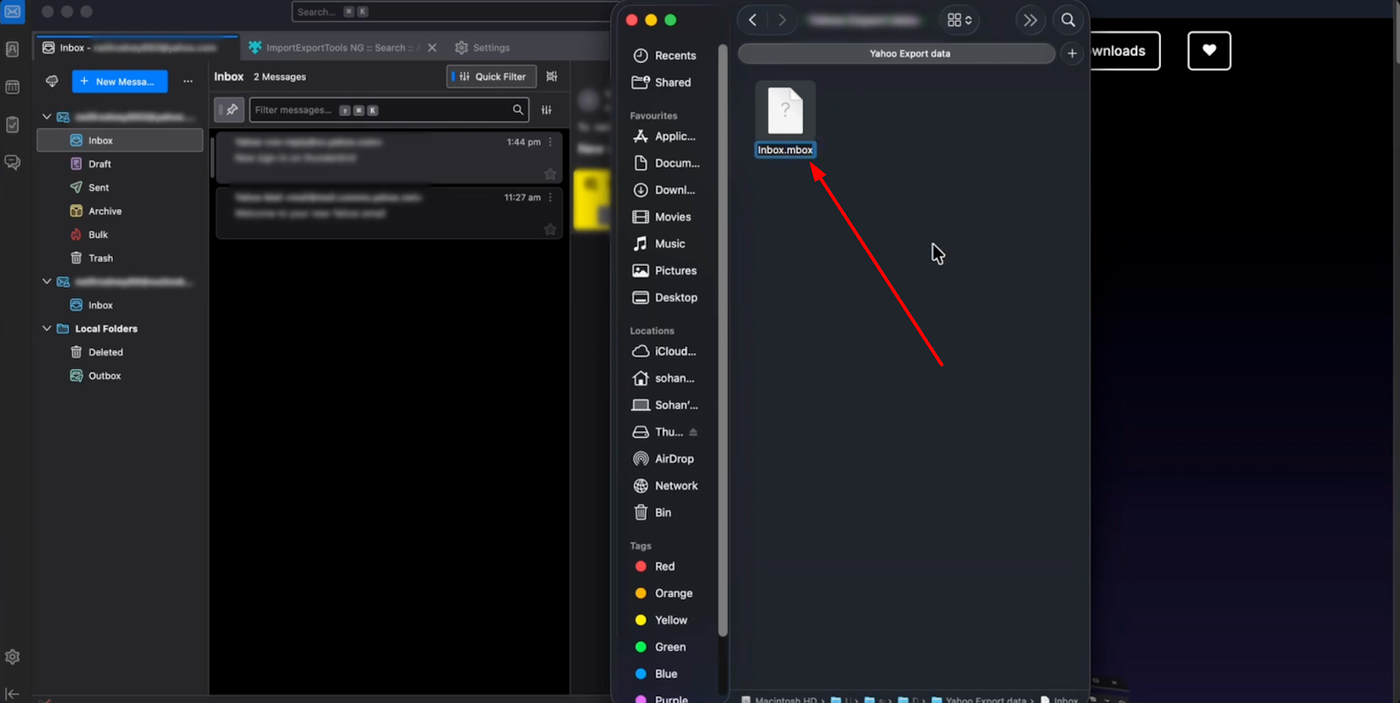
If the saved file does not have a file extension, rename it and add .mbox to the end of the filename.
Setting Up Your Grigora Mailbox
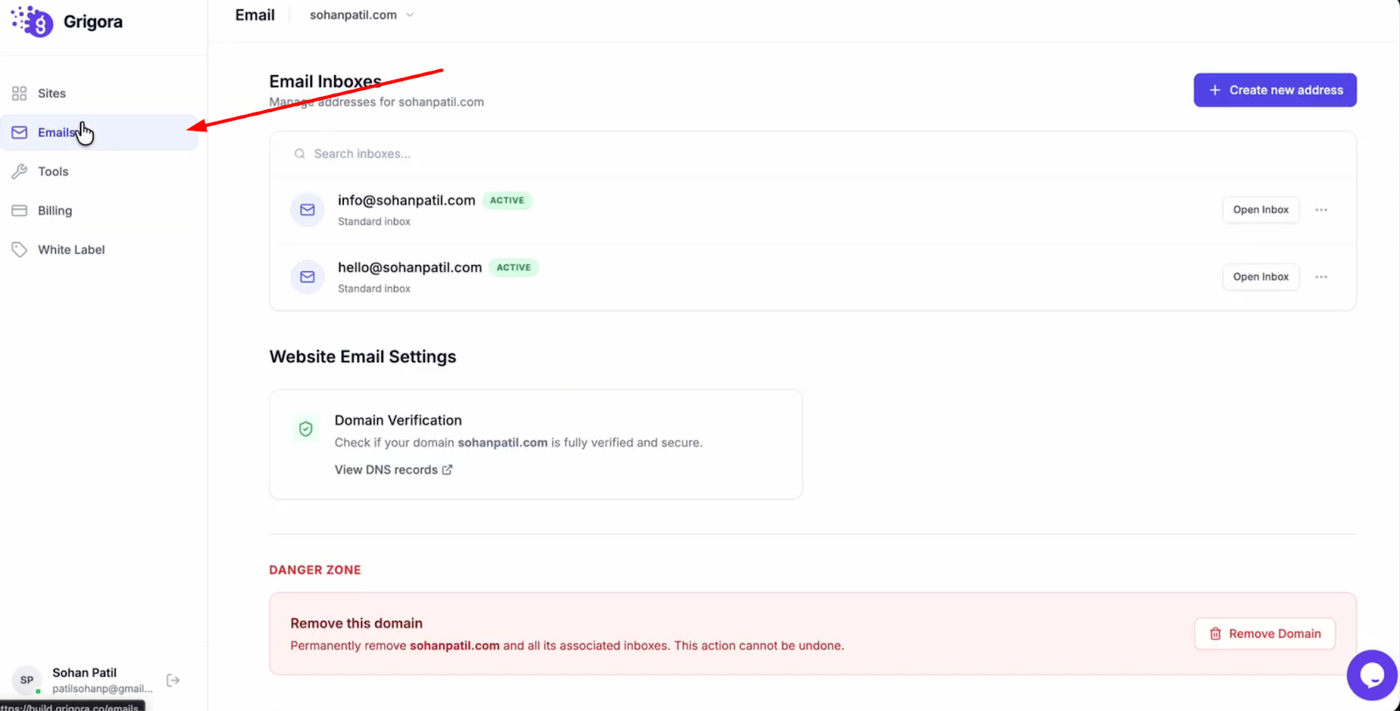
Navigate to the Grigora dashboard and click on "Mails".
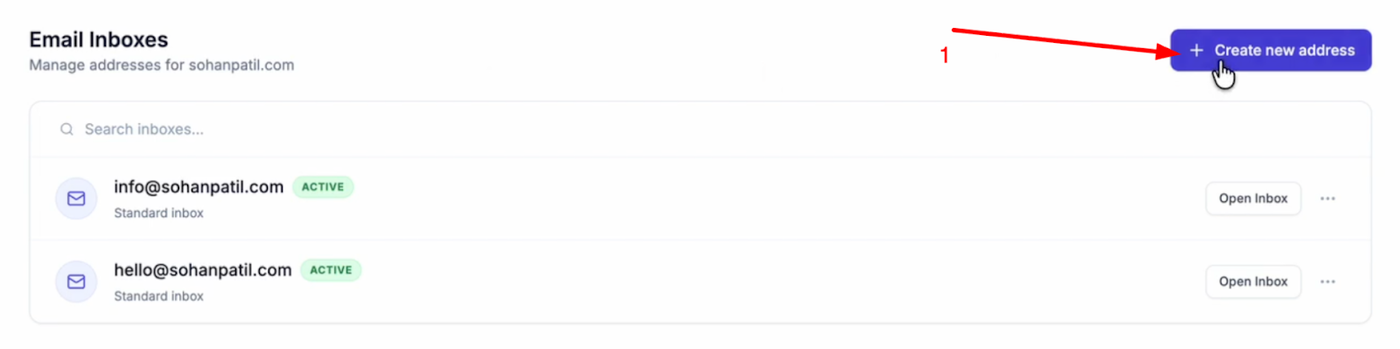
Select "Create New Address".
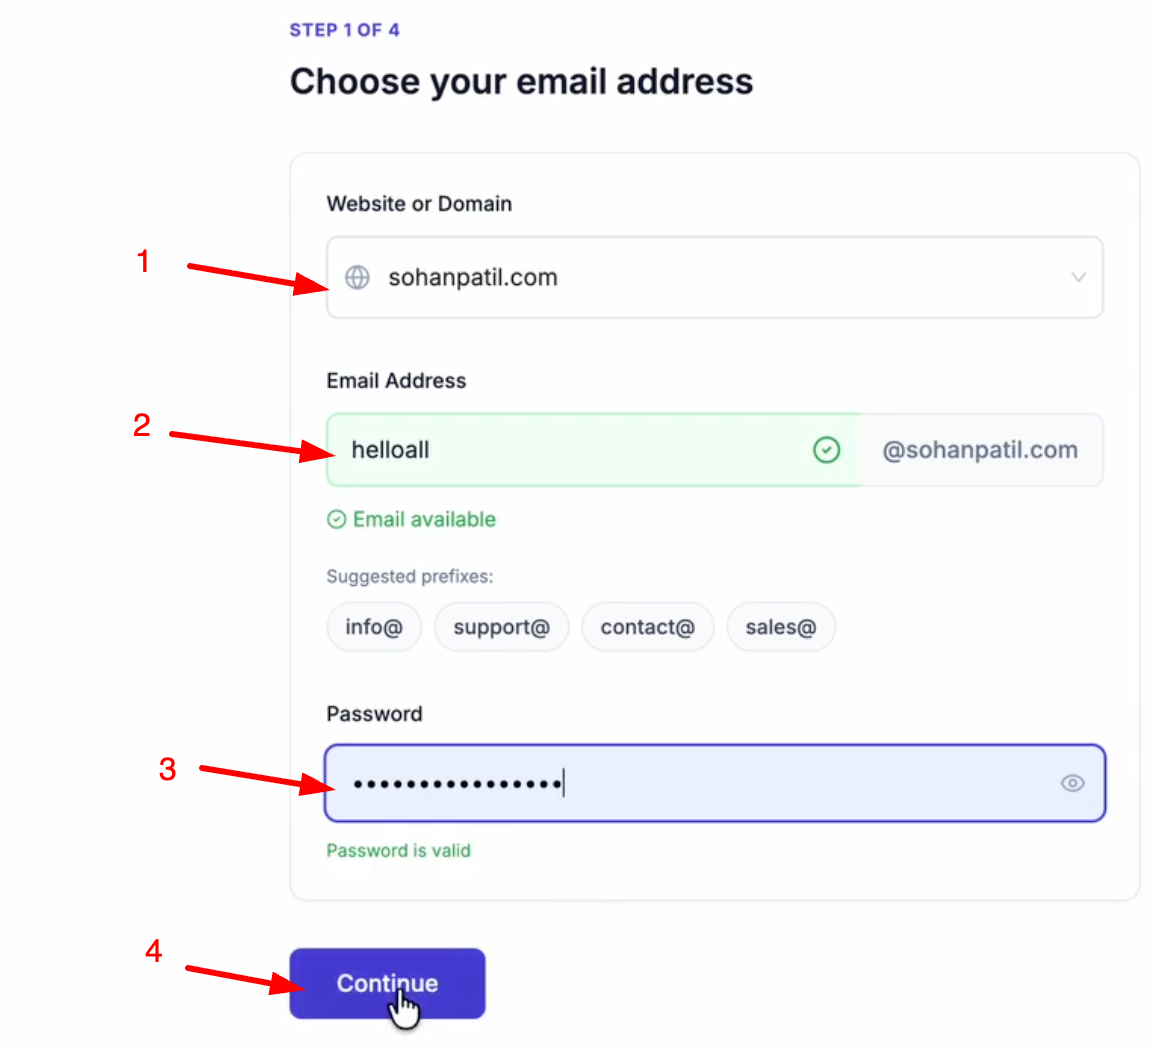
Choose your domain (add it by clicking Add a Website or Domain), and enter your desired email prefix. Create a password for the account and click "Continue".
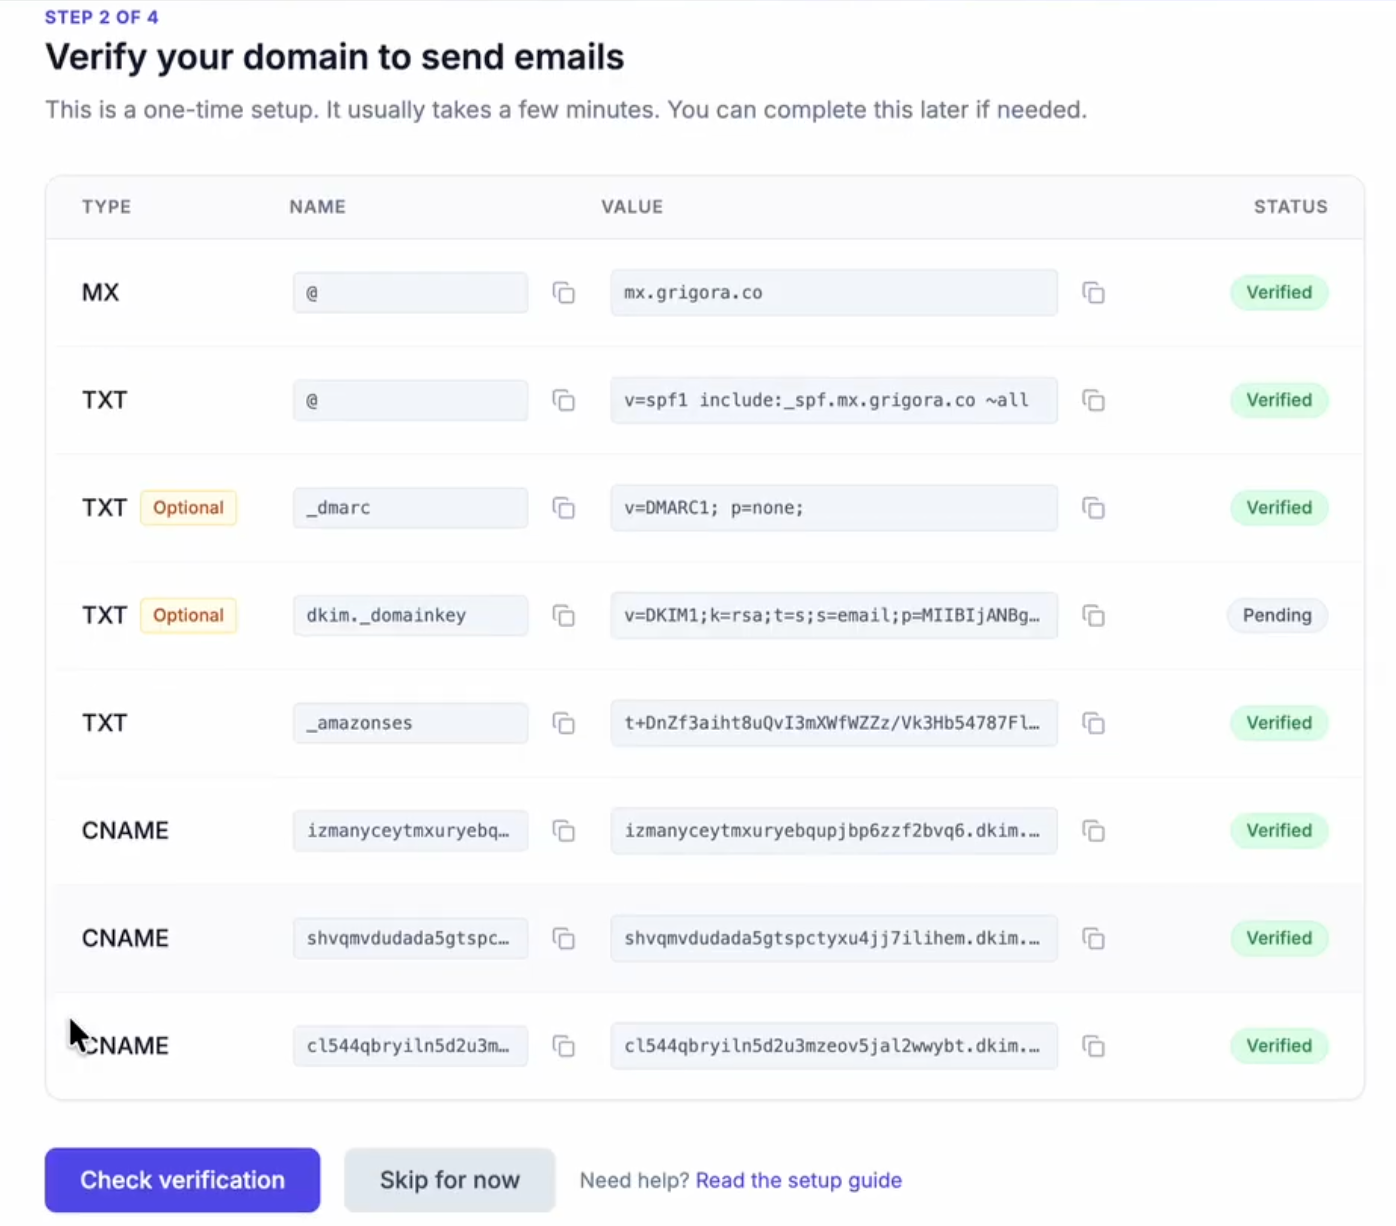
Ensure you have added the required DNS records to your domain manager.
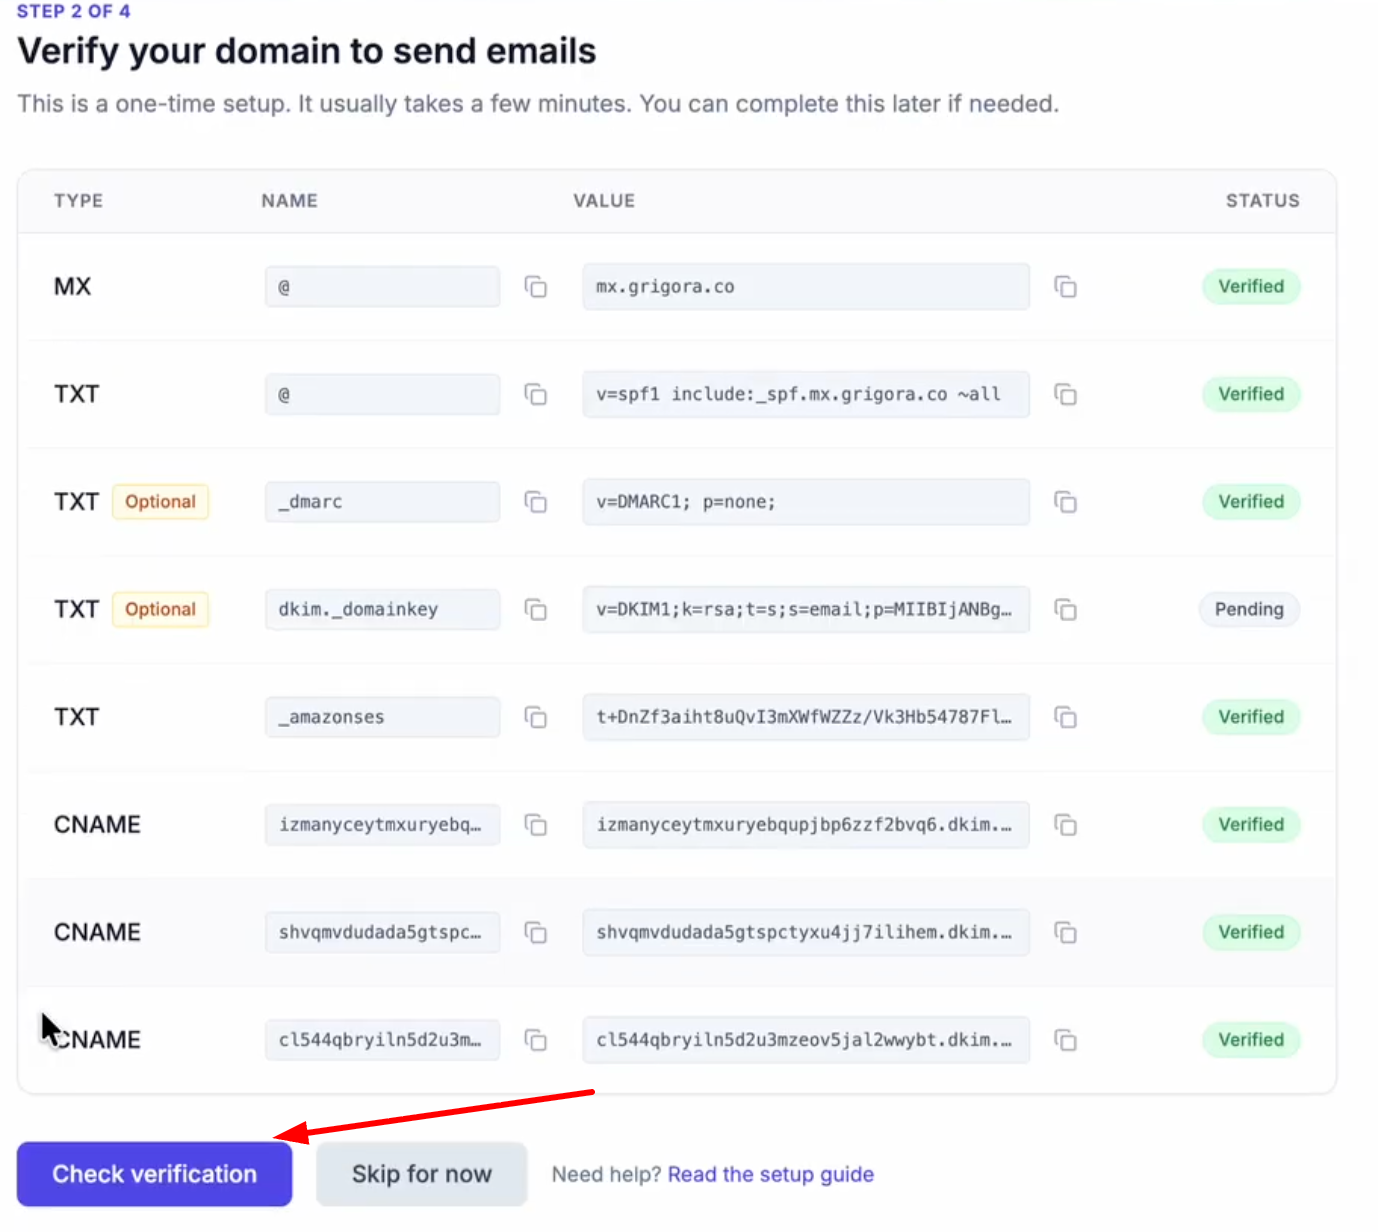
After adding, click Check Verification.
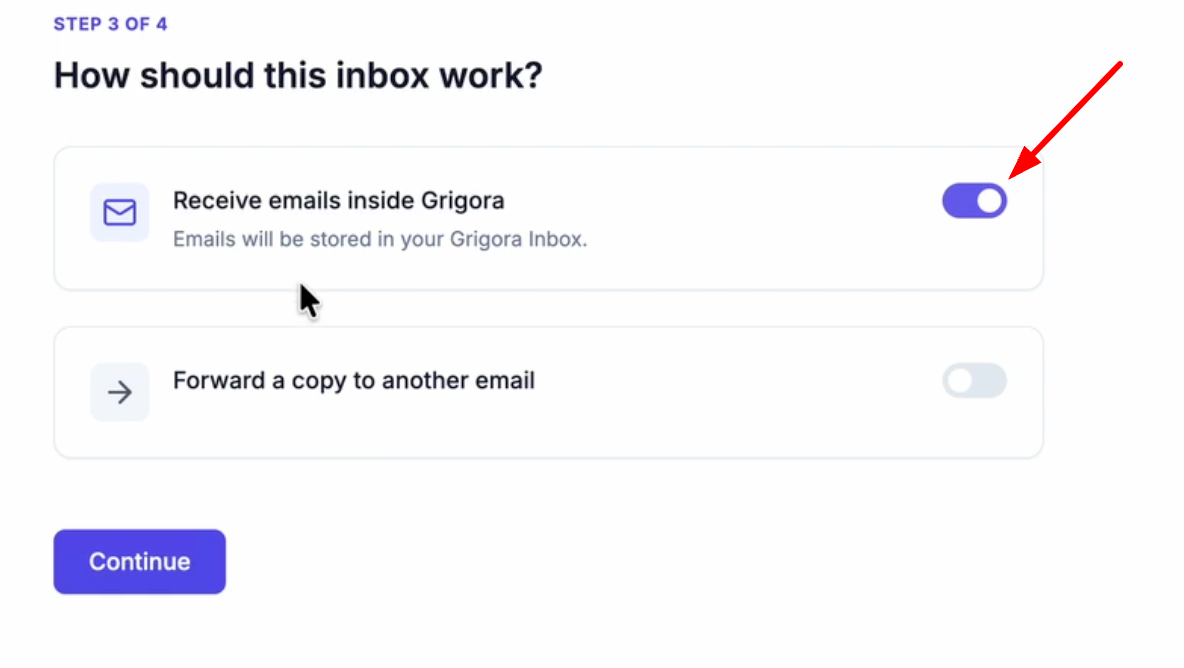
Verify that the "Receive emails inside Grigora" toggle is turned on so emails are stored in your inbox.
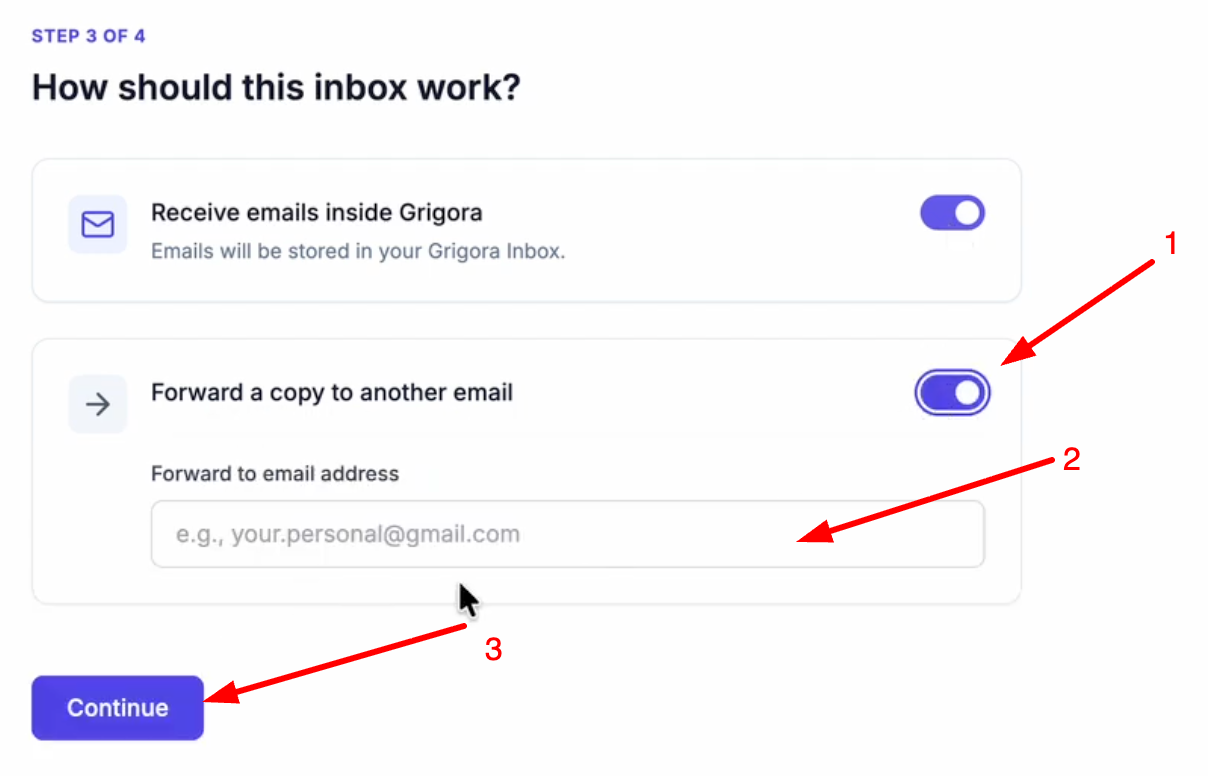
If you want to forward a copy to another email, turn on the toggle, enter the email address(optional) and click continue
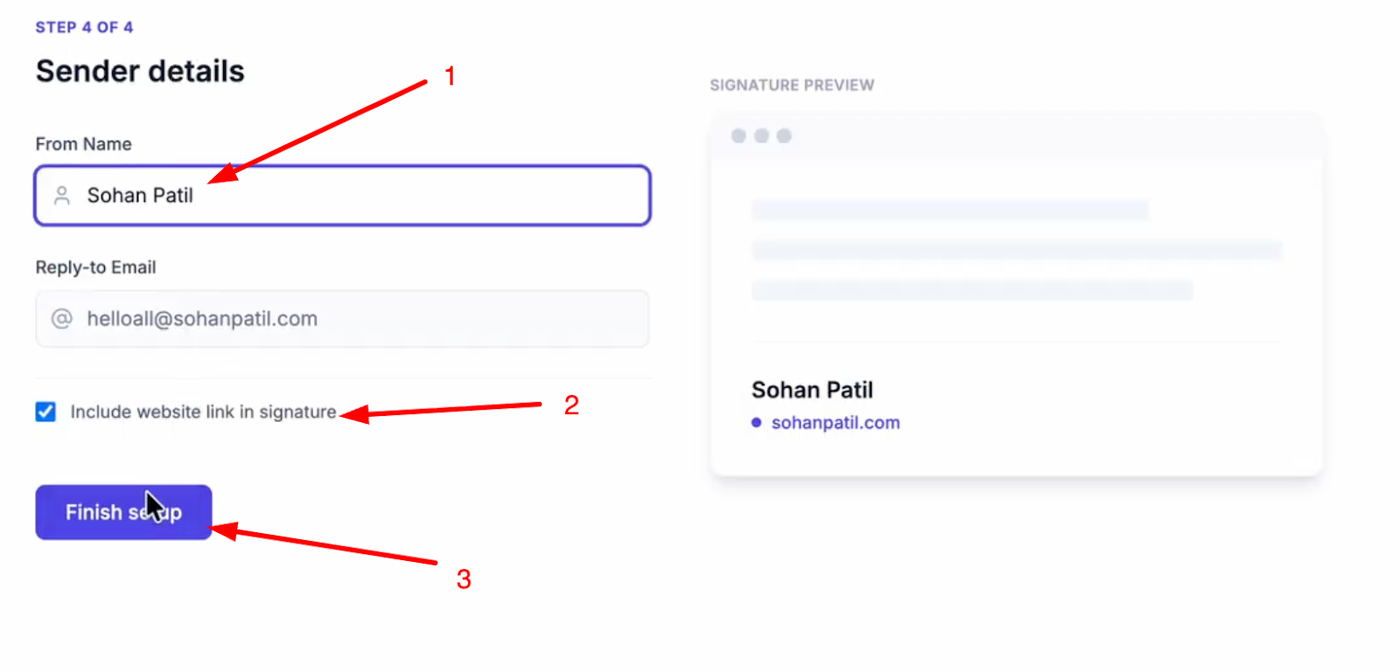
Enter a name for your email account, check if you want to include a website link in your signature, and click "Finish Setup".
Import Data to Grigora
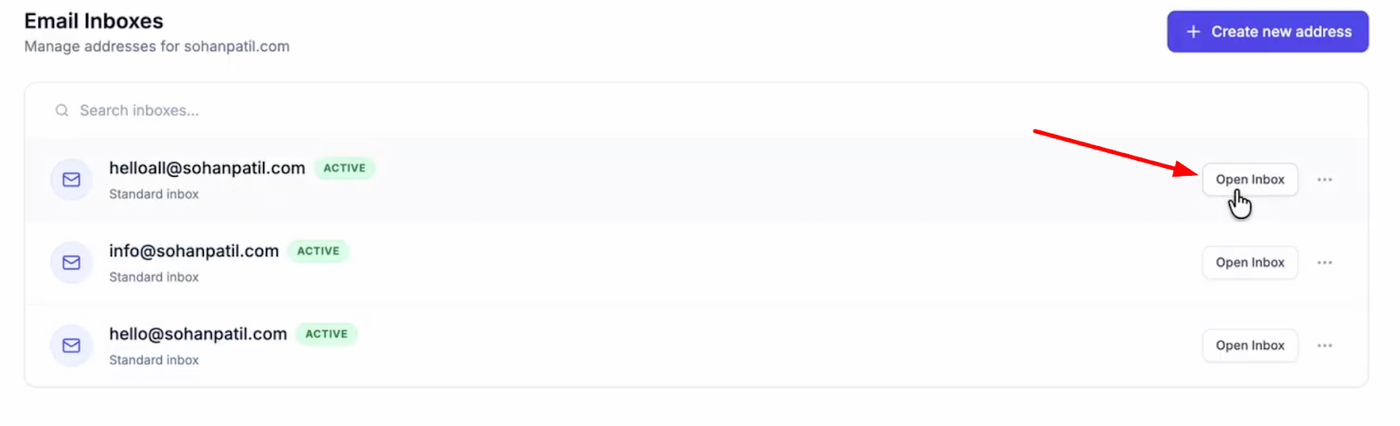

Open your new inbox and log in with your credentials.
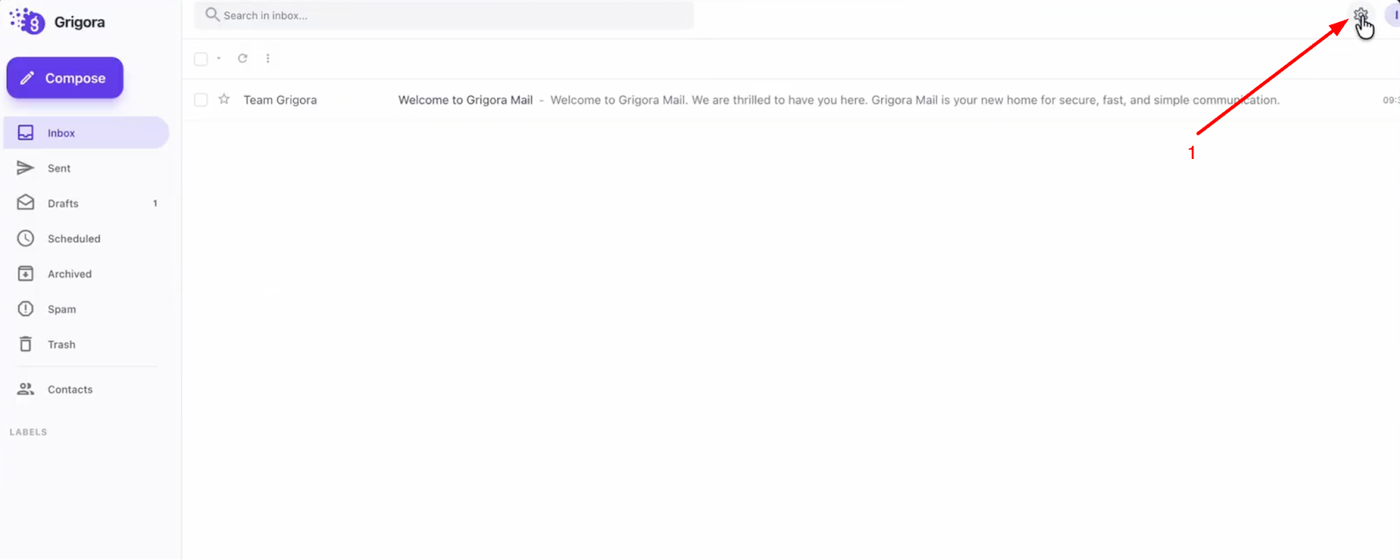

Go to "Settings" and on the settings page, click on "Import data".
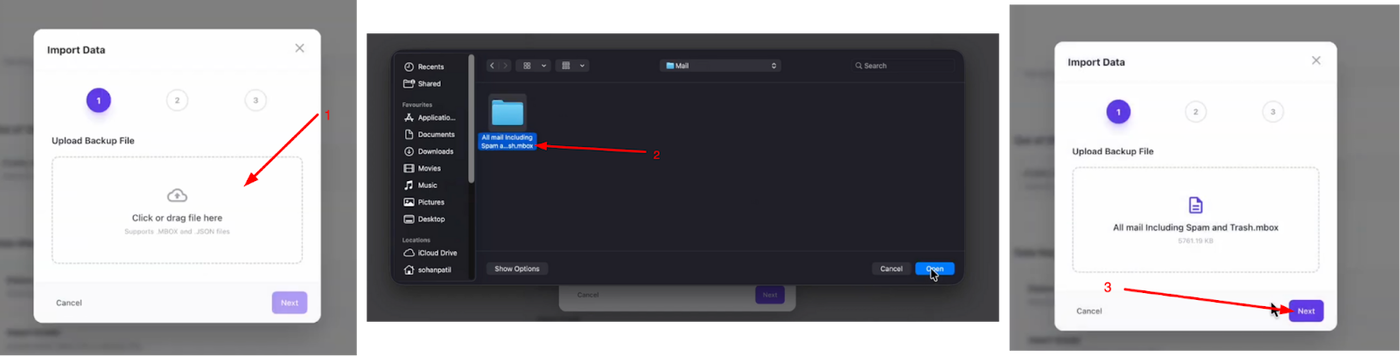
Click "Choose File", select the .mbox file you extracted earlier, and click next.
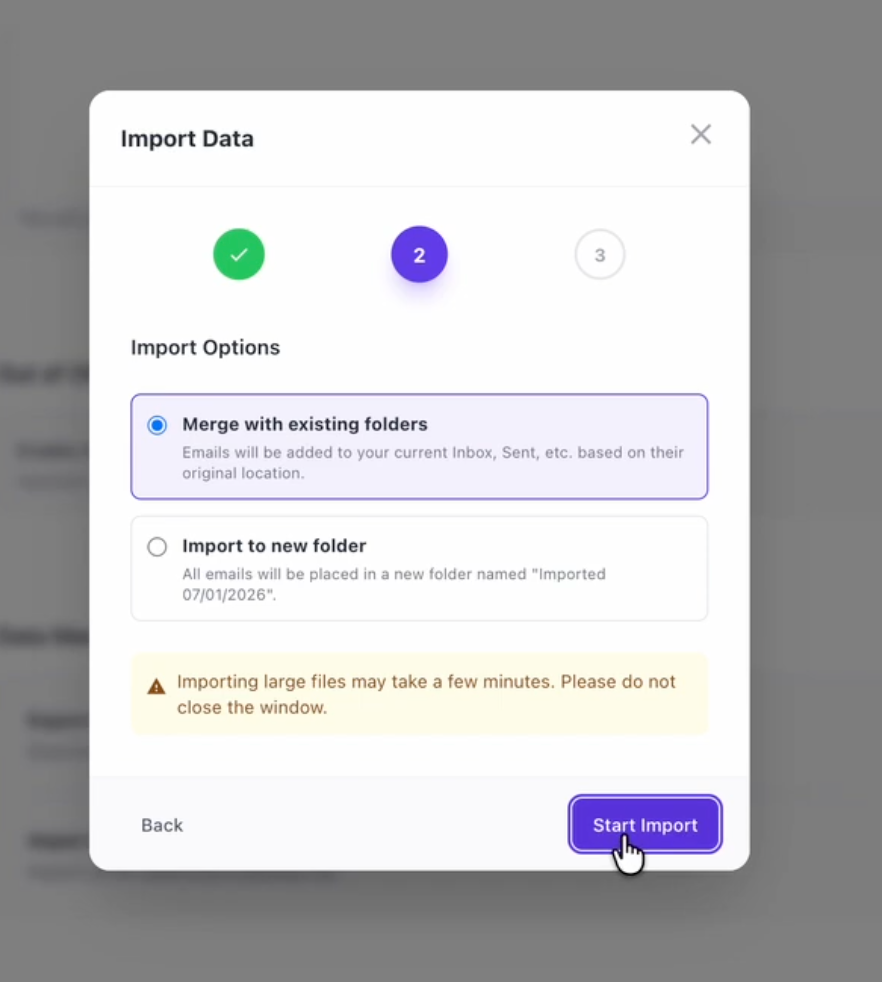
You can choose to "Merge with existing folders" or "Import to new folder". Select your preference and click "Start Import".
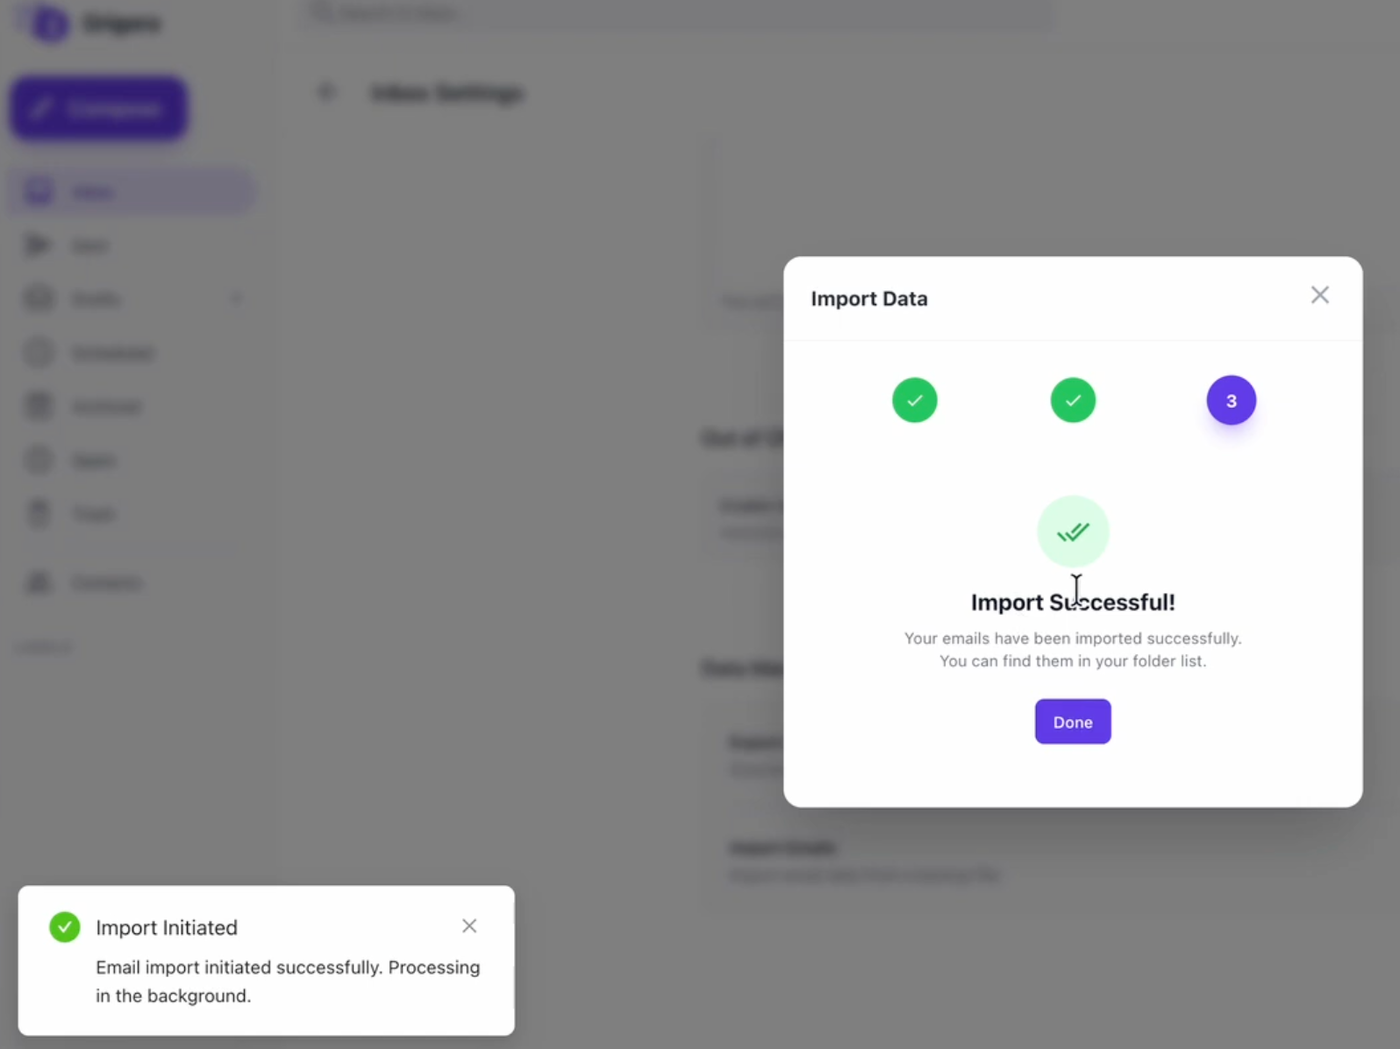
Once the process is complete, you will see a success message.
Your emails from Proton Mail are now fully migrated and accessible within Grigora Mail, allowing you to manage your communications efficiently from Grigora Mail.