

Learn how to write emails now and have them sent automatically at a later time using Grigora Mail's scheduling feature. This guide will show you how to set up scheduled sends, choose specific dates and times, and manage your queued messages to ensure timely communication.
Creating a Scheduled Email
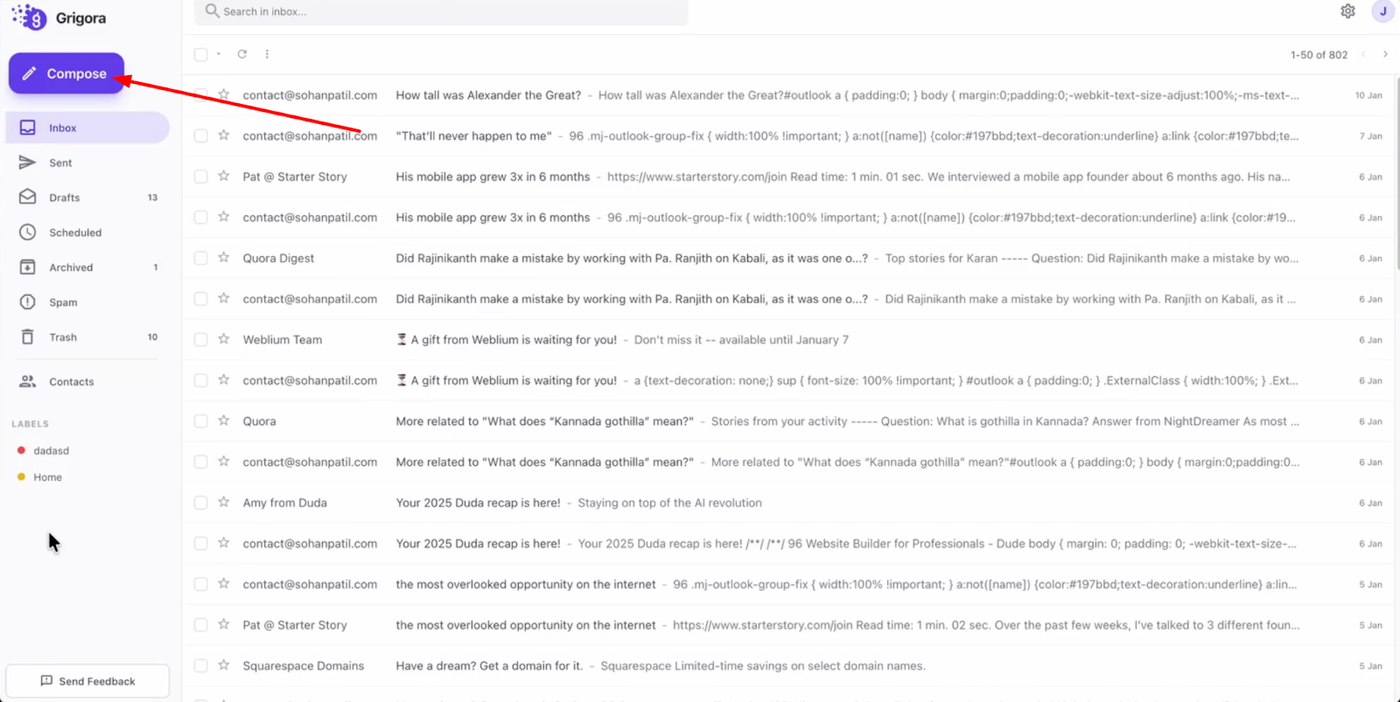
Log in to your Grigora Mail account and click on the "Compose" button in the left sidebar to start a new email.
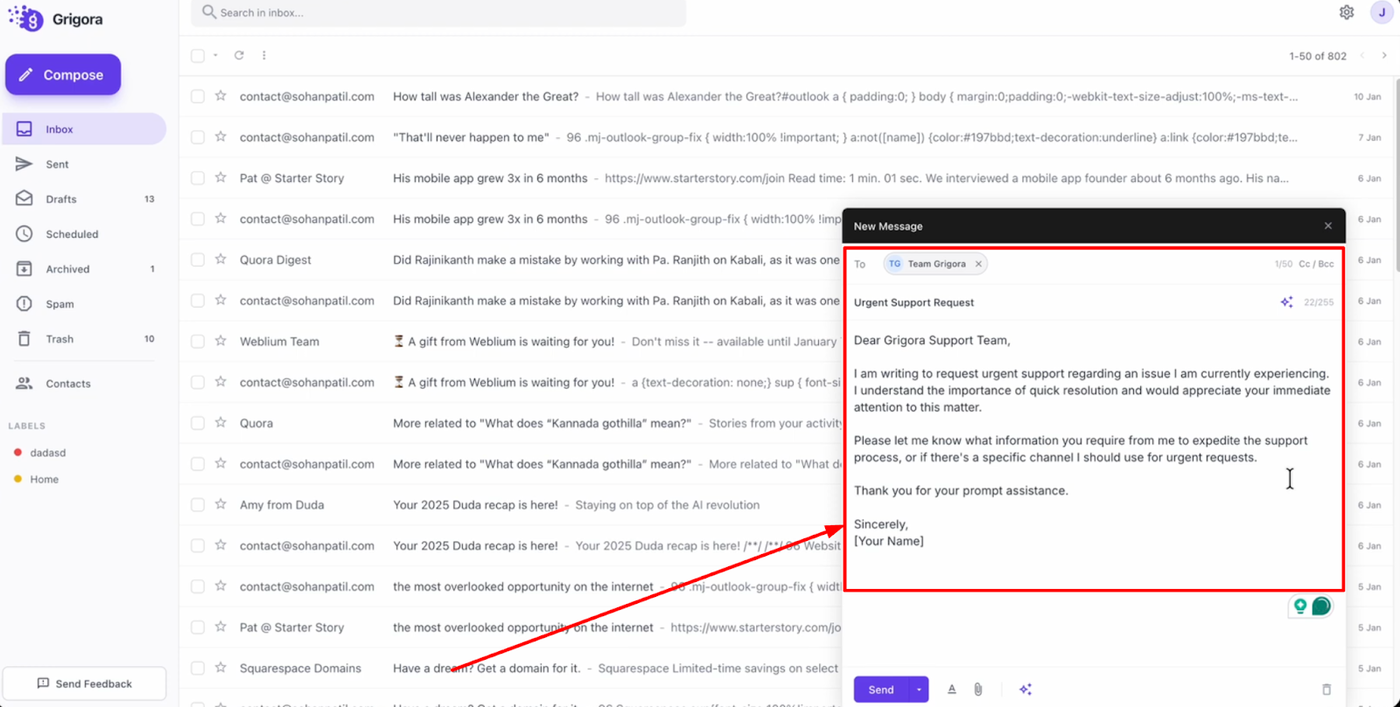
Fill in the recipient's address, subject line, and email body as you normally would.
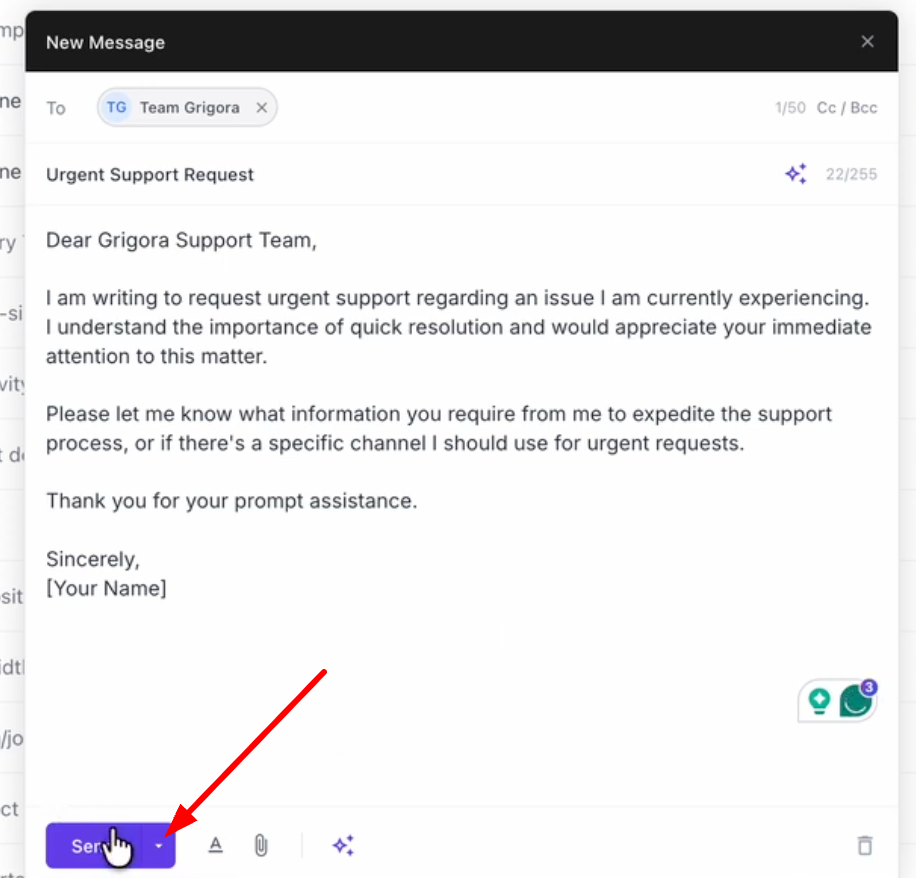
Once your email is ready, click the small arrow next to the "Send" button.
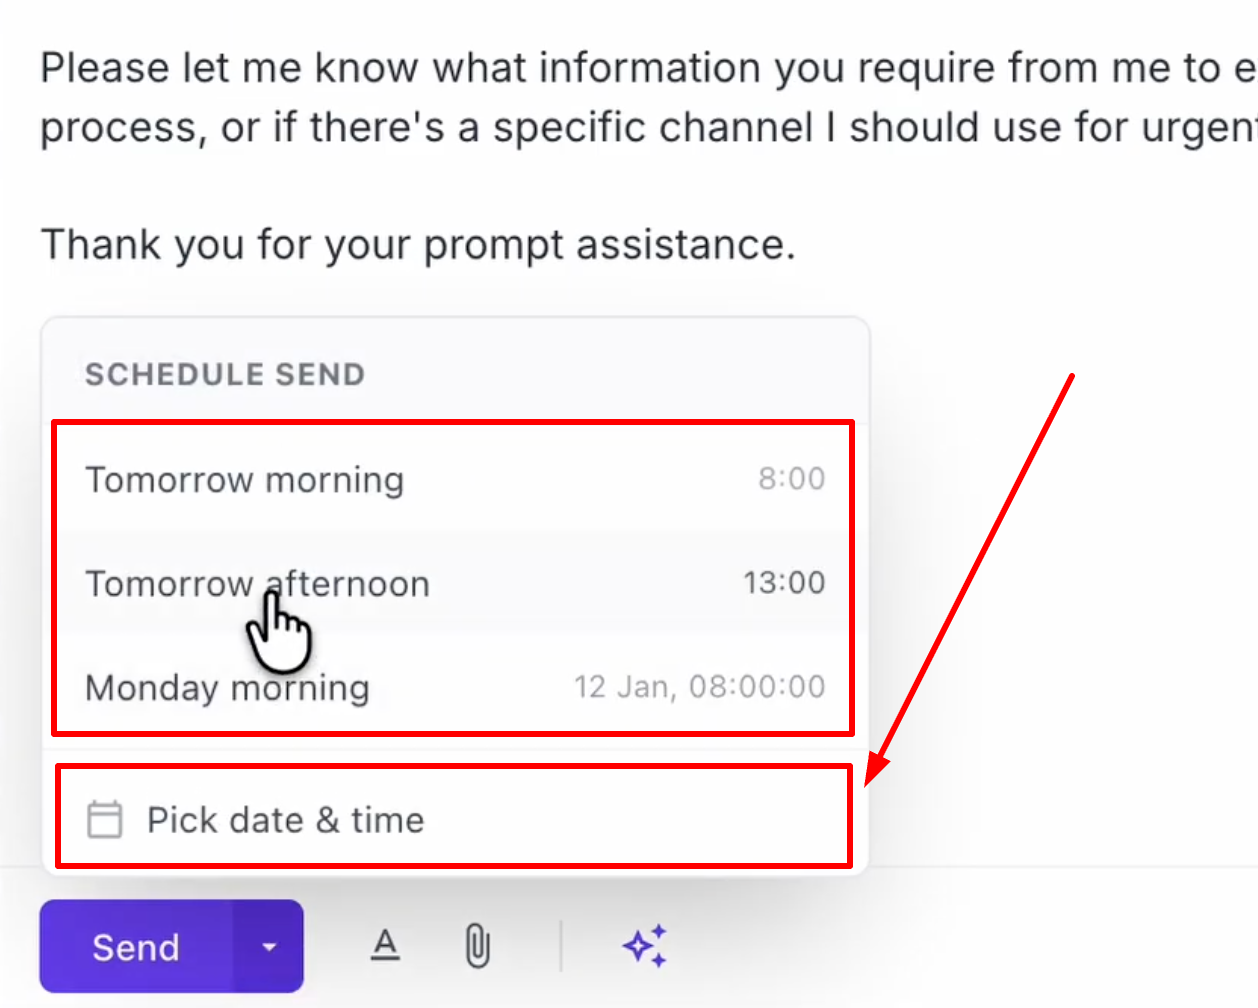
From the menu, you can choose a quick preset time or select "Pick date and time" to choose a specific slot.

Select your required date and time, then click "Schedule send" to queue your email.
Managing Scheduled Emails
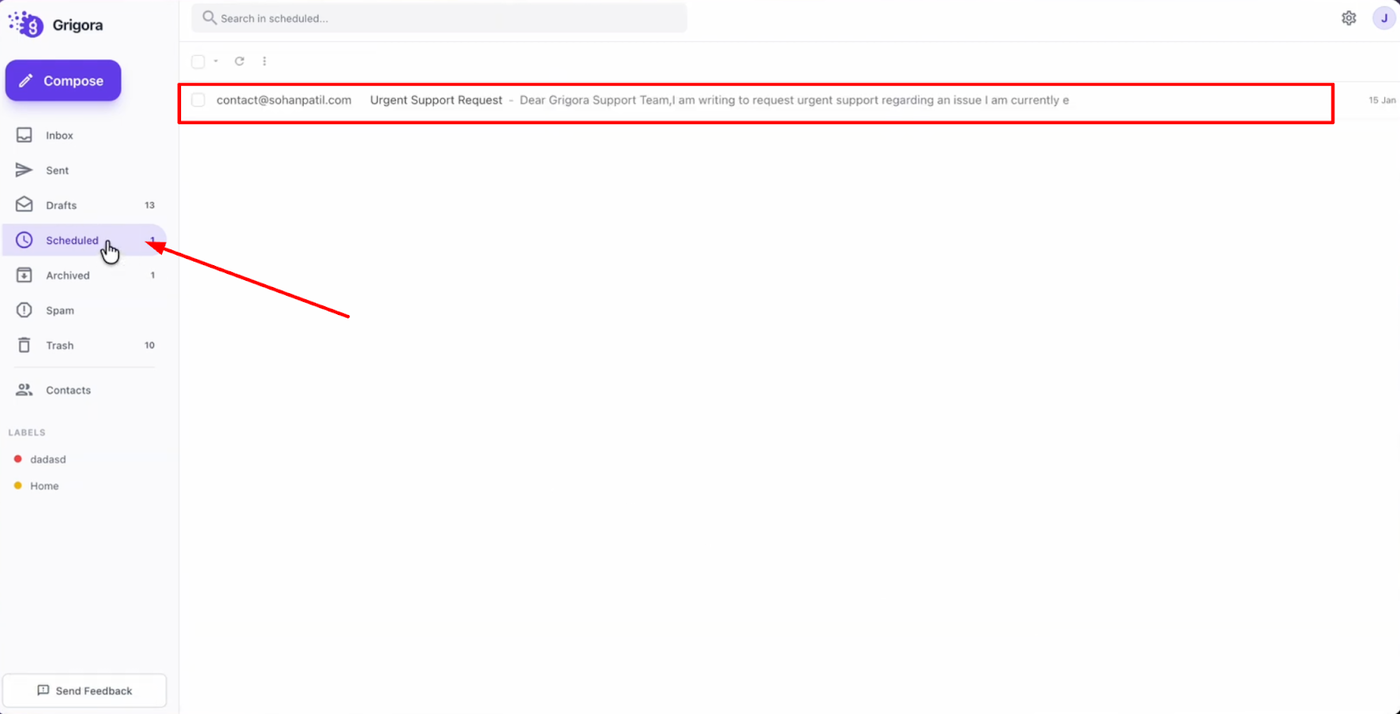
To view or manage your queued emails, go to the "Scheduled" tab in the left sidebar. Click on any scheduled email to open it.
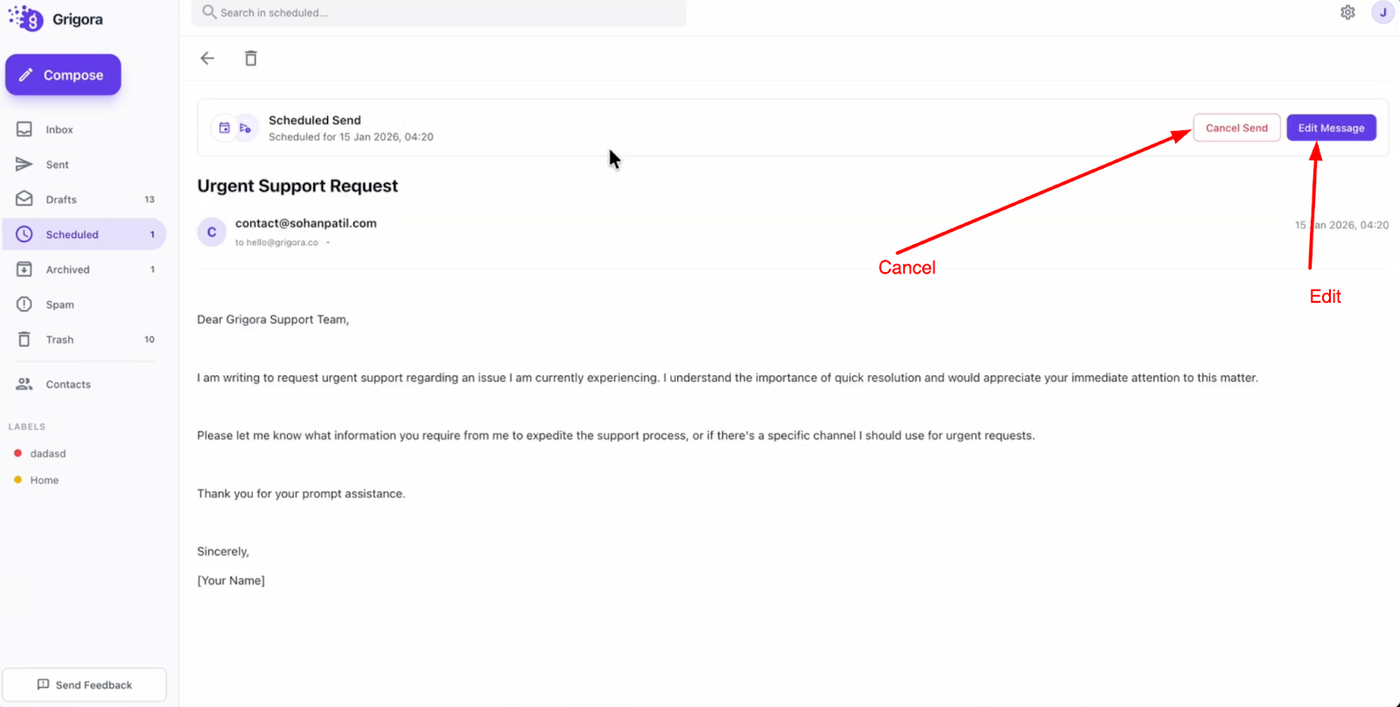
From here, you can select "Cancel send" if you want to stop the email from being sent, or click "Edit message" to modify the content. Editing the message also allows you to update the scheduled date and time before finalizing your changes.