

Grigora Mail lets you create a professional email inbox on your own custom domain in just a few minutes. This quick start guide walks you through creating your first inbox, verifying your domain, and signing in to start sending emails right away.
Accessing Grigora Mail setup
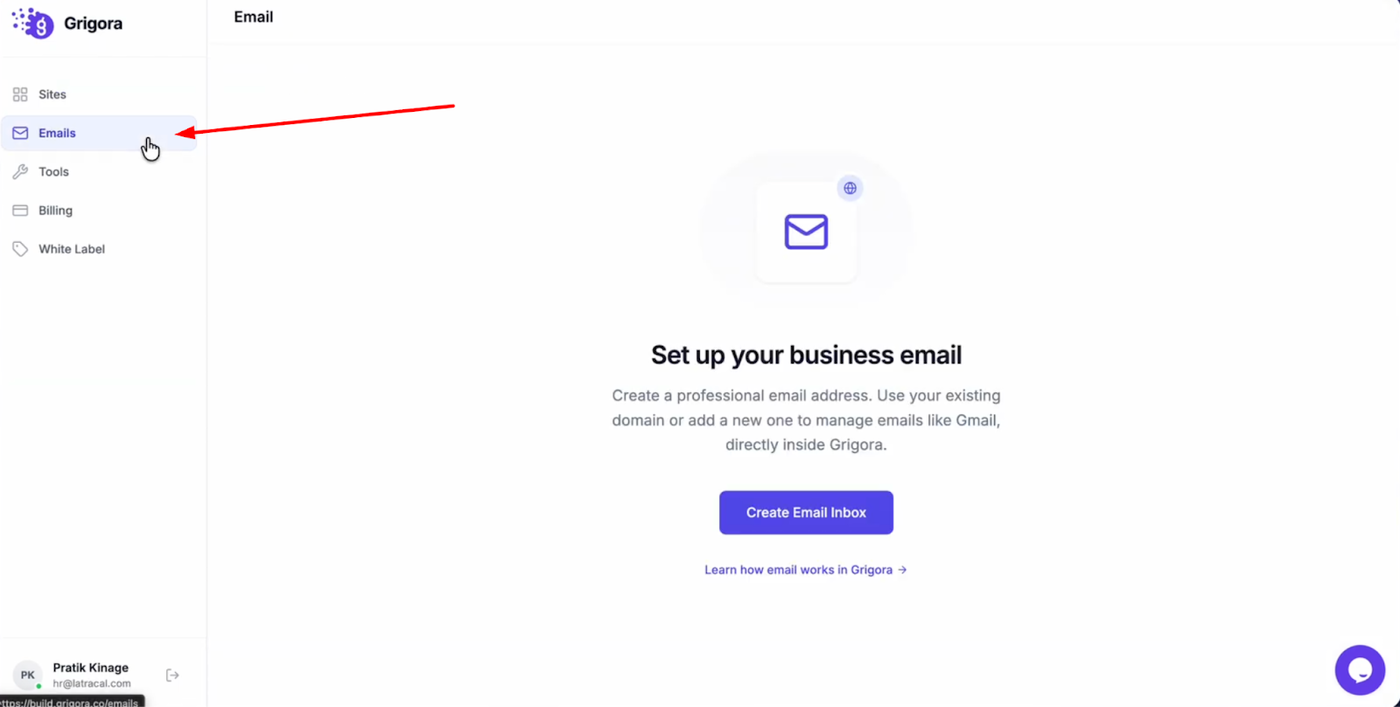
Log in to your Grigora dashboard and switch to the Emails tab from the sidebar.
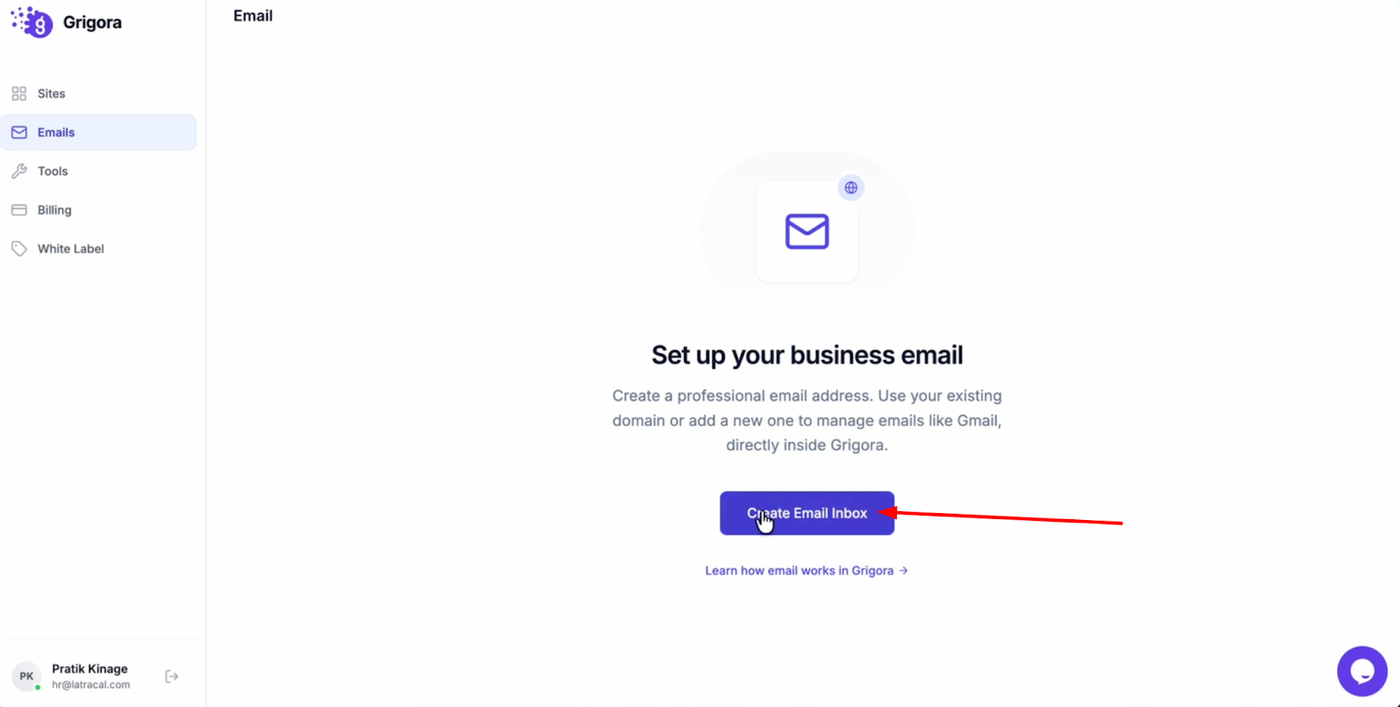
On the “Set up your business email” page, click the Create email inbox button to begin.
Adding your domain
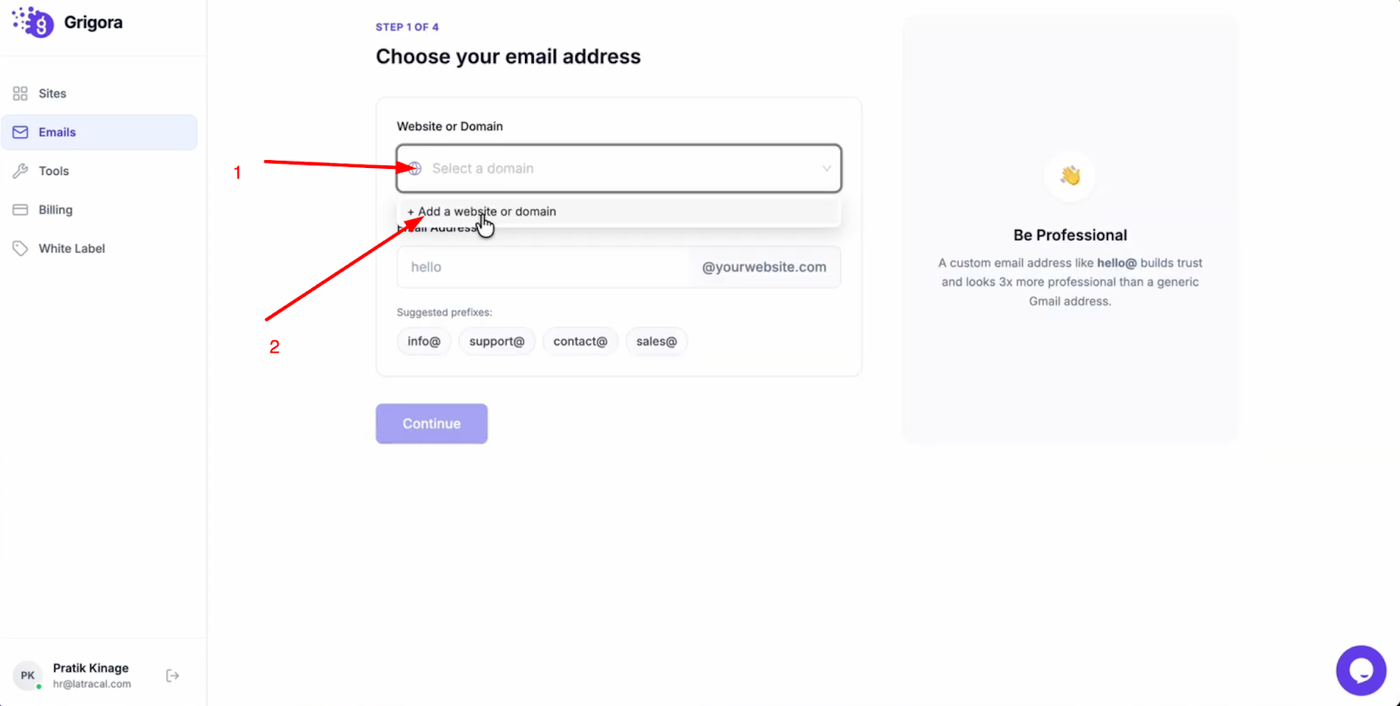
Click Select domain and choose Add a website or domain.

Enter your domain name in the input field, then click Add domain.
Creating your email address
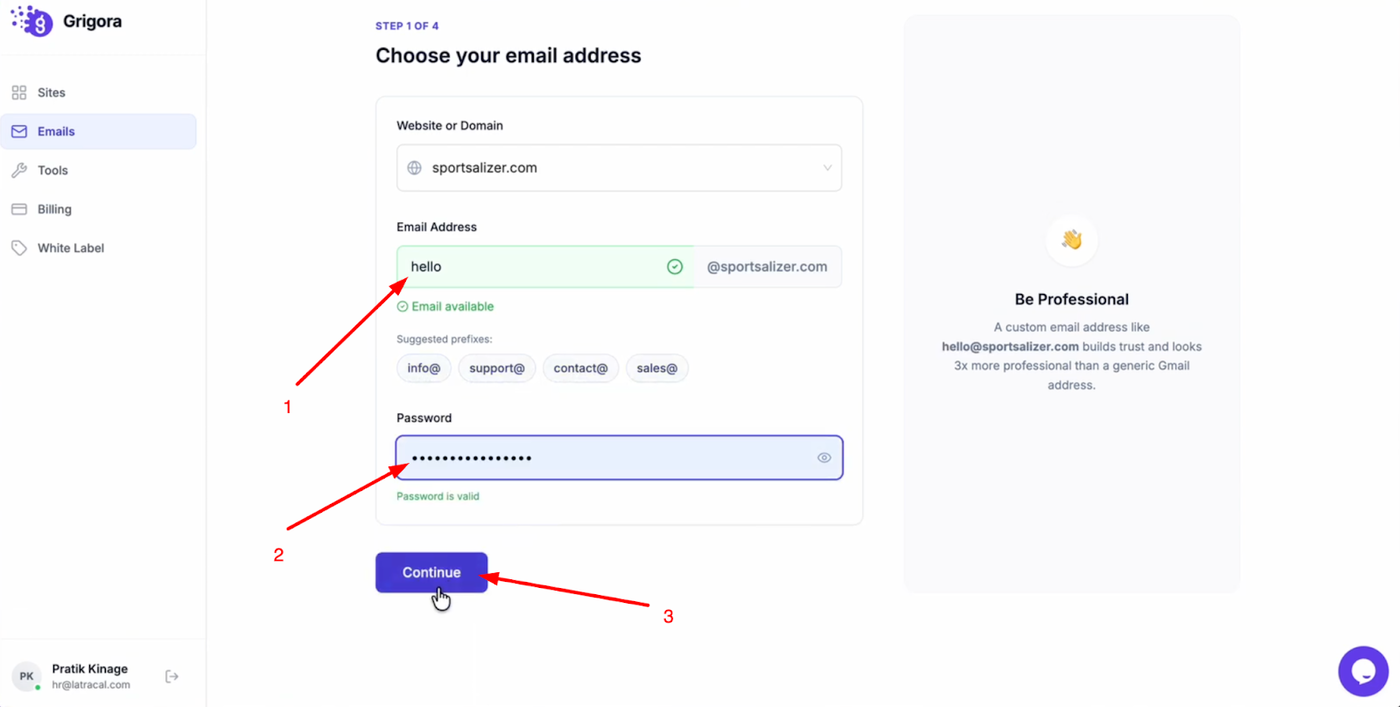
Choose a prefix for your email address (you can type your own or pick from the suggested options). Create a secure password for the mailbox and click Continue.
Verifying DNS records
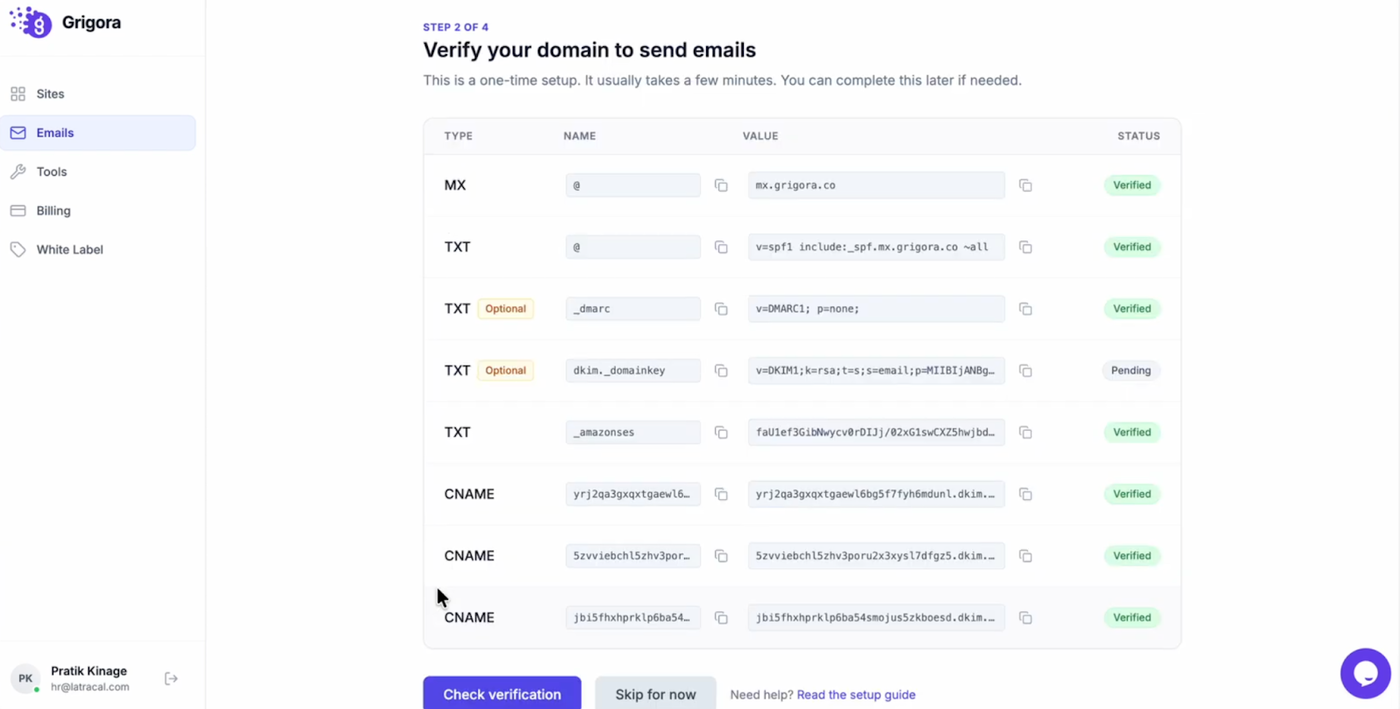
Copy the DNS records shown in Grigora and add them to your domain manager (registrar) settings. After adding them, click Check verification.
Optional forwarding and signature
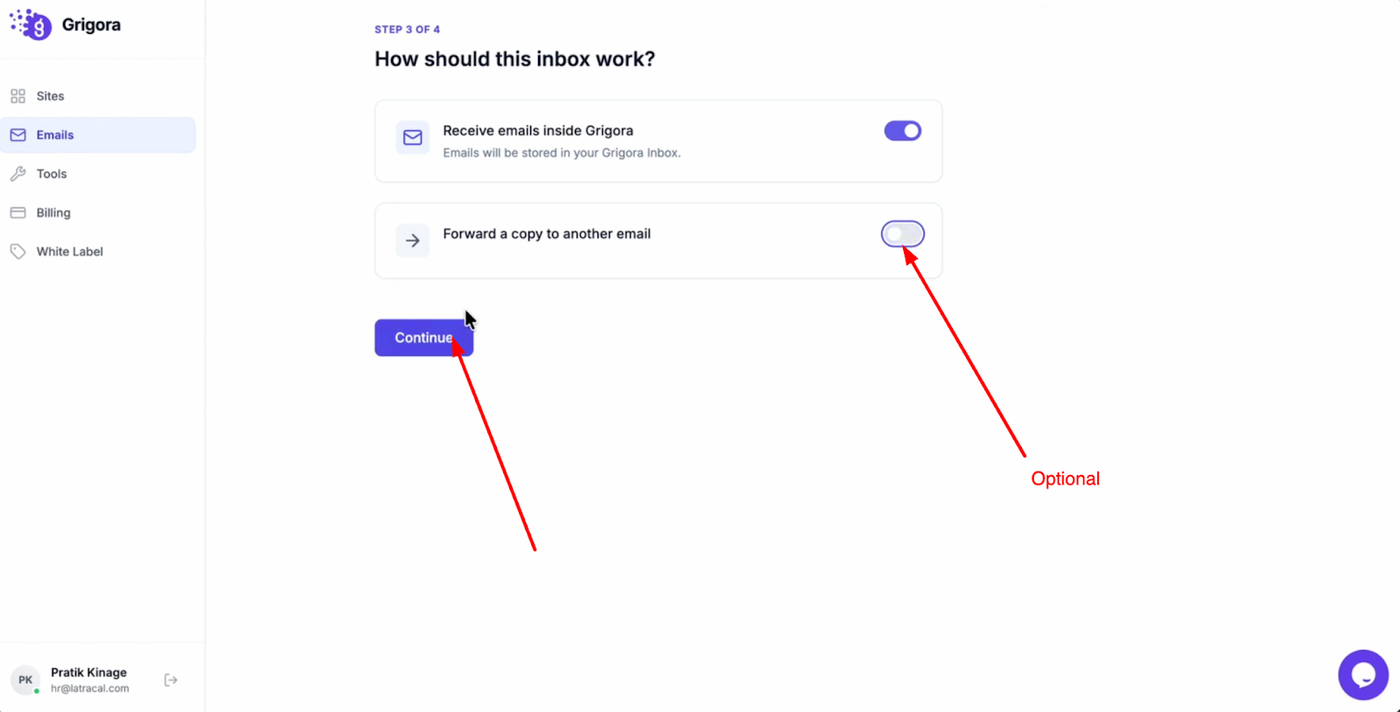
On the next step, enable Forward a copy if you want incoming emails forwarded to another address, or click Continue to skip.
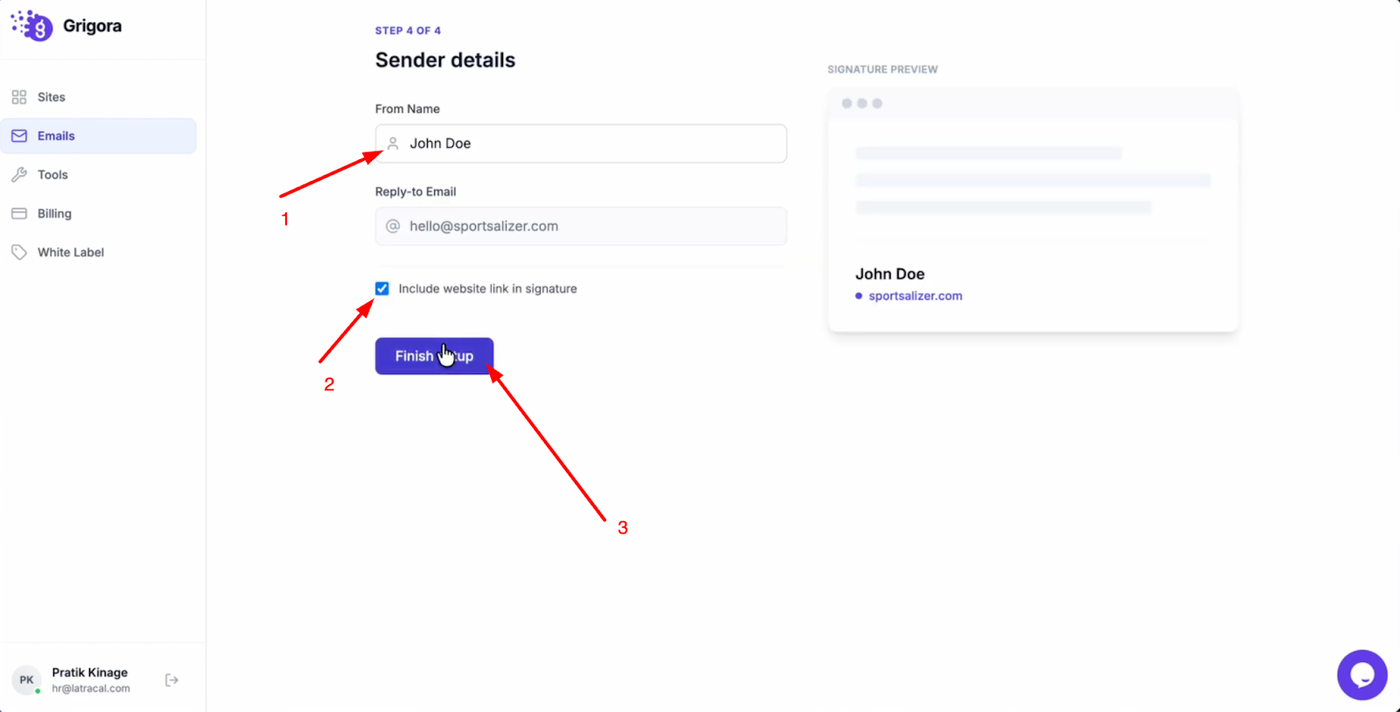
Enter the name recipients should see, and optionally enable the checkbox to Include website link in signature. To finalize everything click finish setup.
Opening your inbox
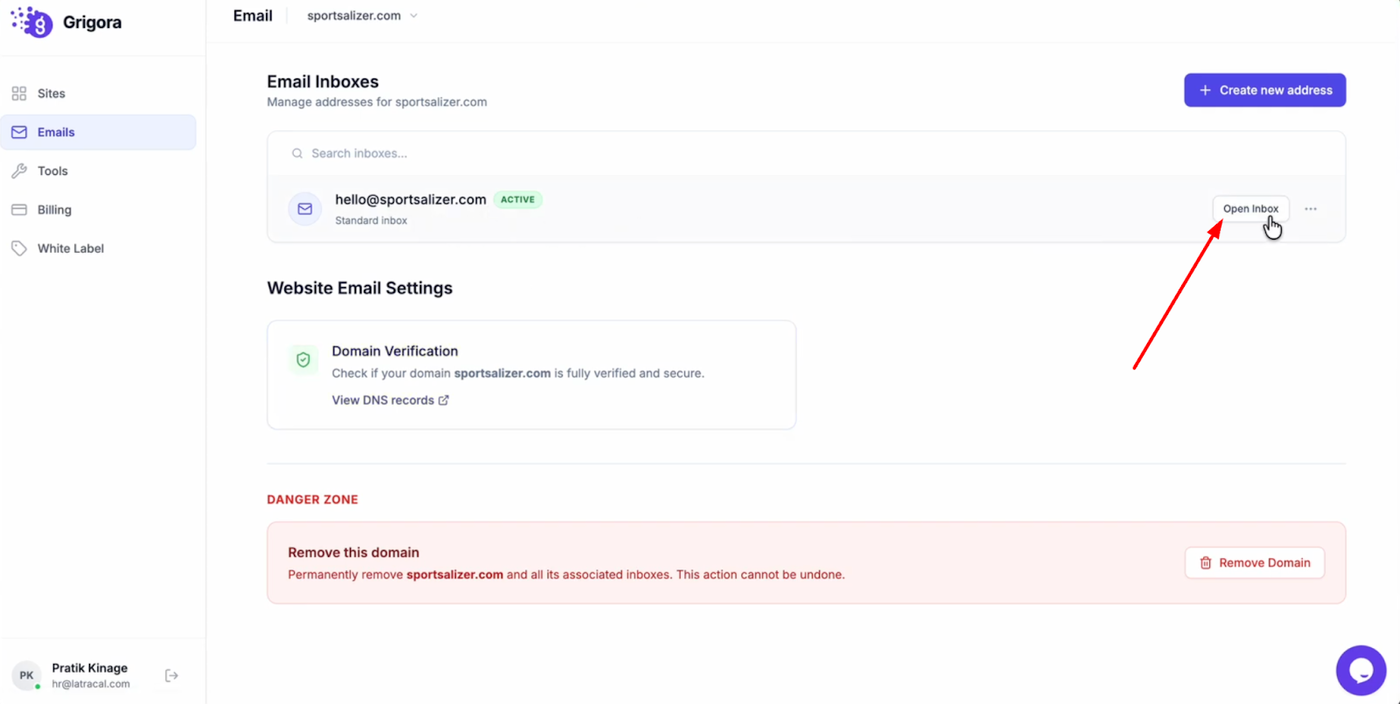

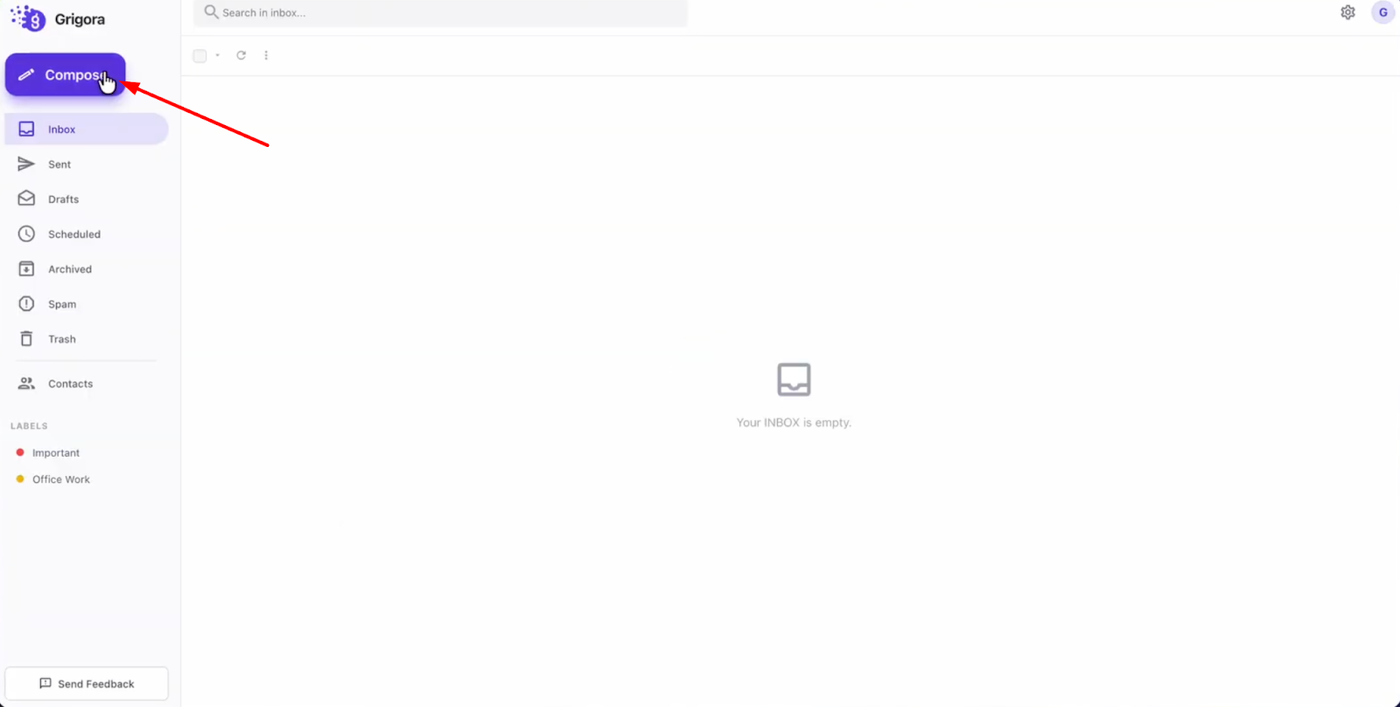
Now click Open inbox to access your mailbox. On the login page, enter your credentials and click Sign in, then start composing and sending emails immediately.