

Learn how to establish credibility with a branded email address and streamline your client interactions using Grigora’s AI tools. This guide covers setting up your professional inbox and utilizing smart features to summarize threads and draft faster replies.
Setting Up Your Professional Email
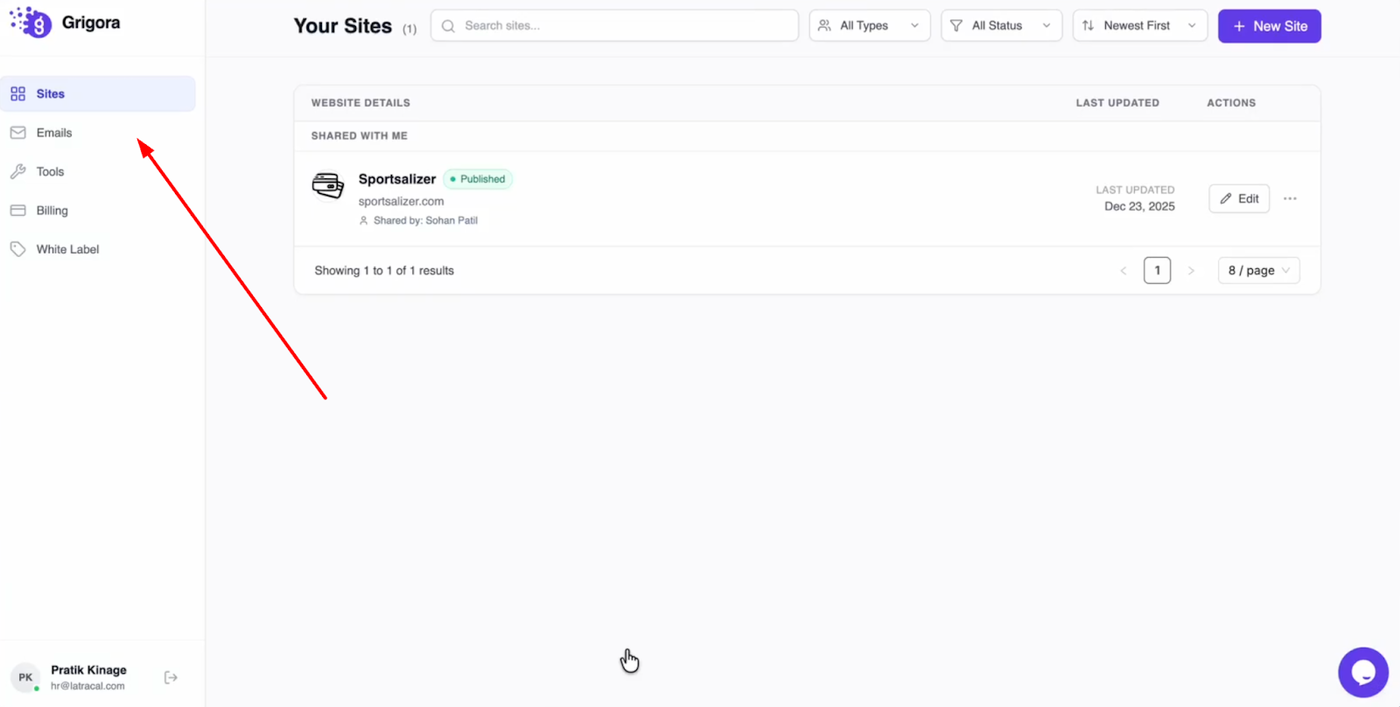
Head over to your Grigora dashboard and click on the "Emails" tab.
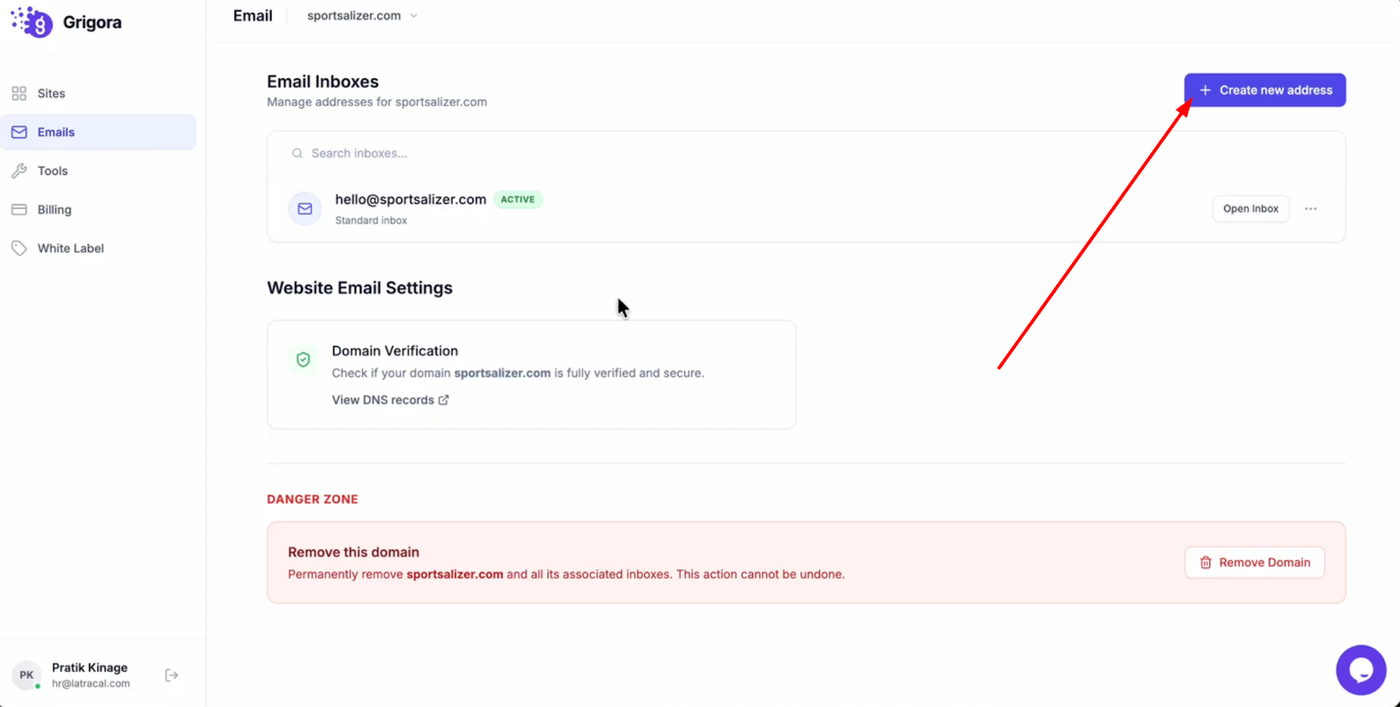
Click on "Create New Address" to begin.
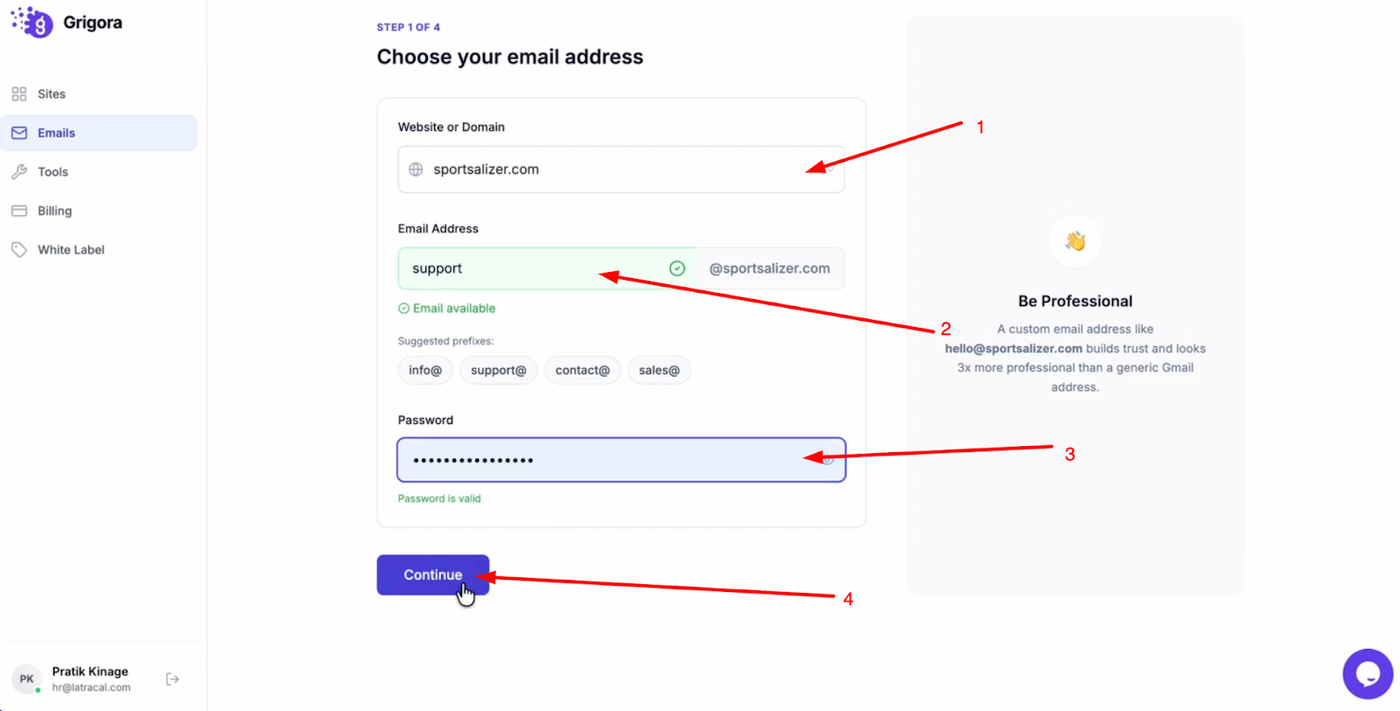
Select your website domain from the dropdown menu, type in your desired email prefix, and set a secure password before clicking "Continue."
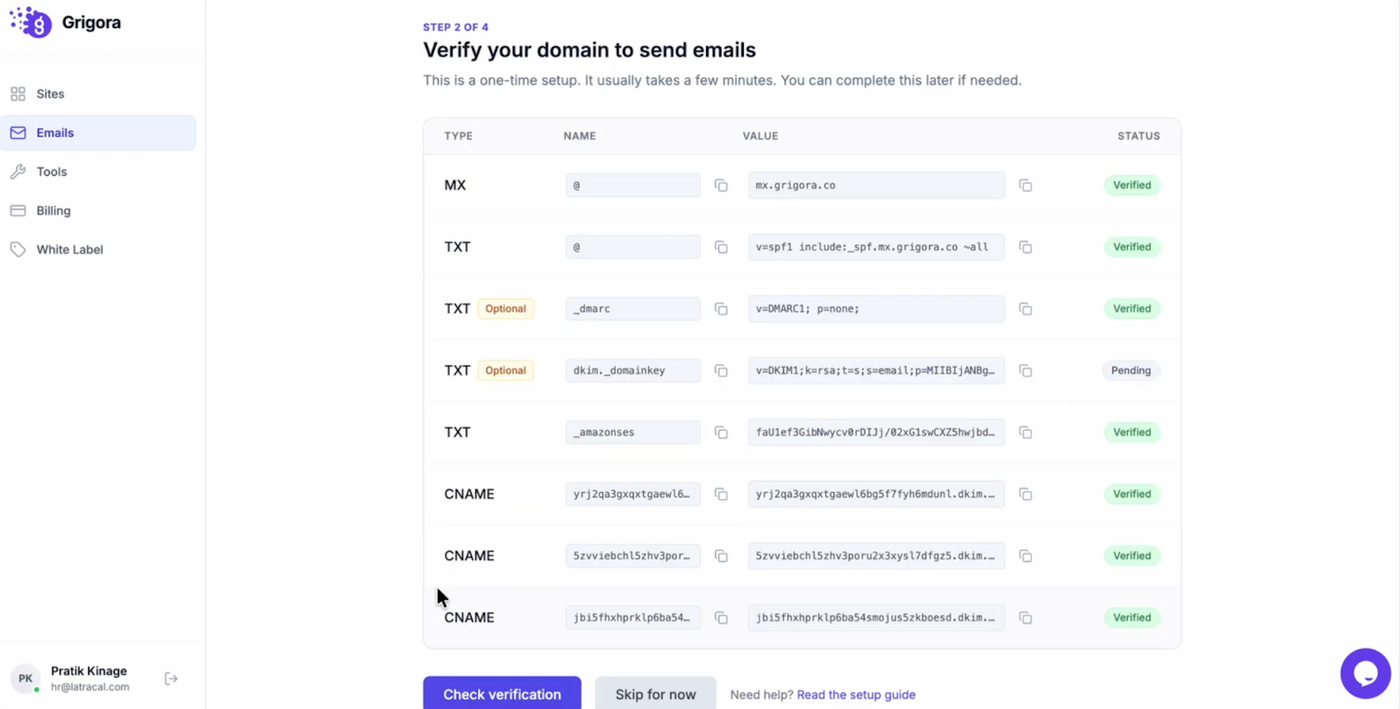
Verify your domain by adding the provided DNS records to your domain manager and after adding, click check verification.
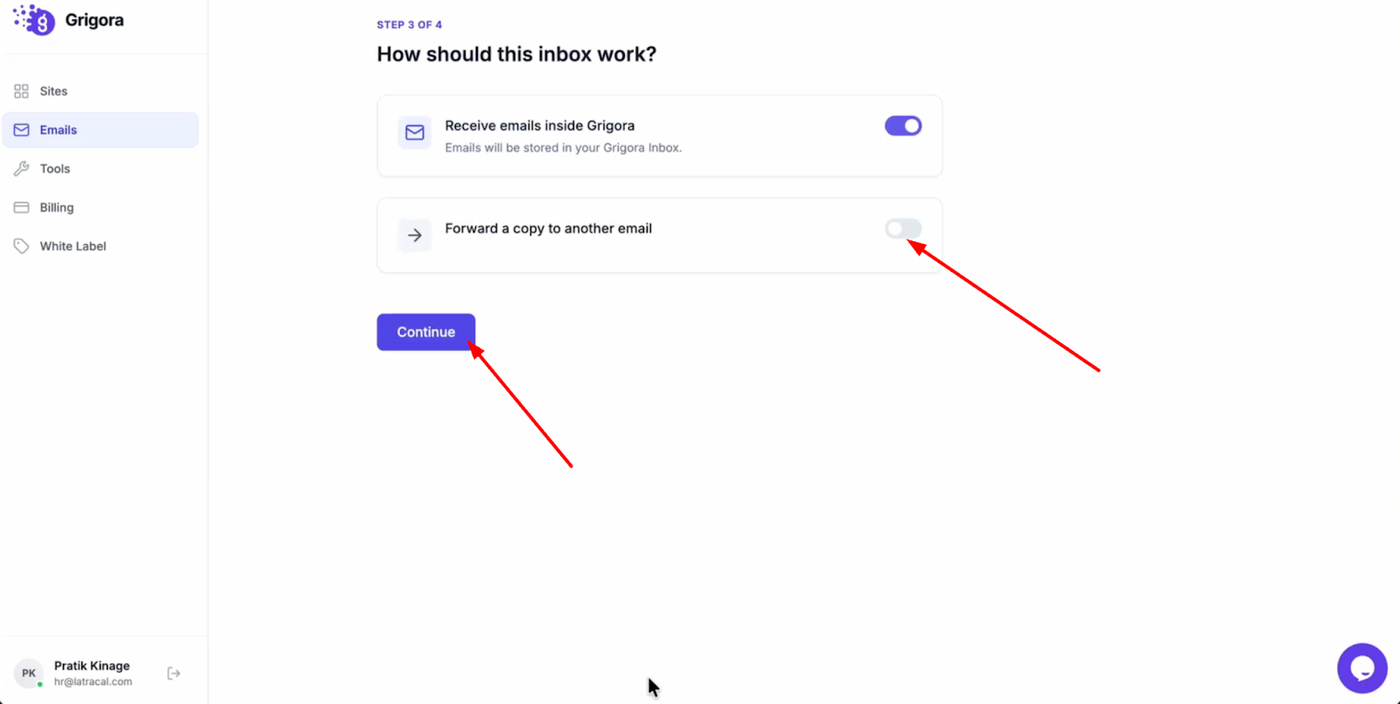
You can then choose to forward incoming emails to another address for centralization(optional), click continue.
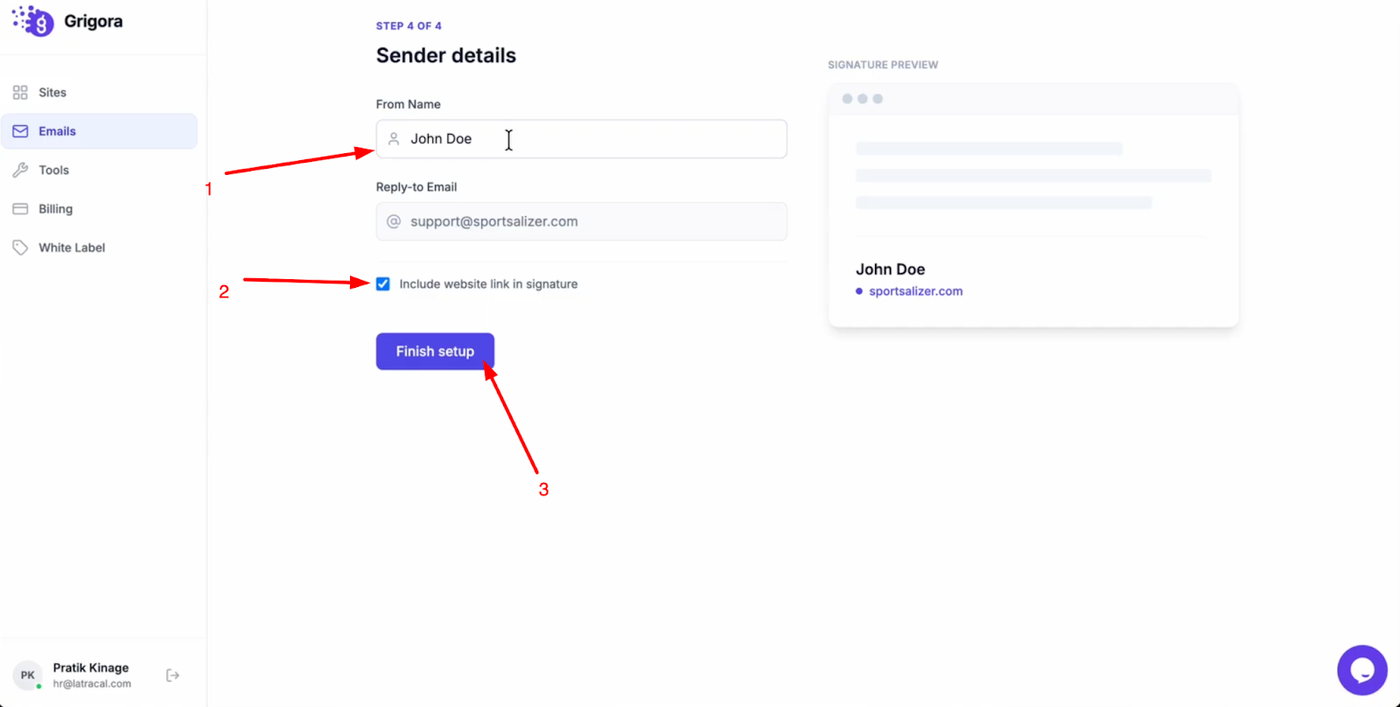
Finally, enter your sender name and choose whether to include your website link in your signature. Click "Finish Setup" to activate your new professional email.
Managing Your Inbox
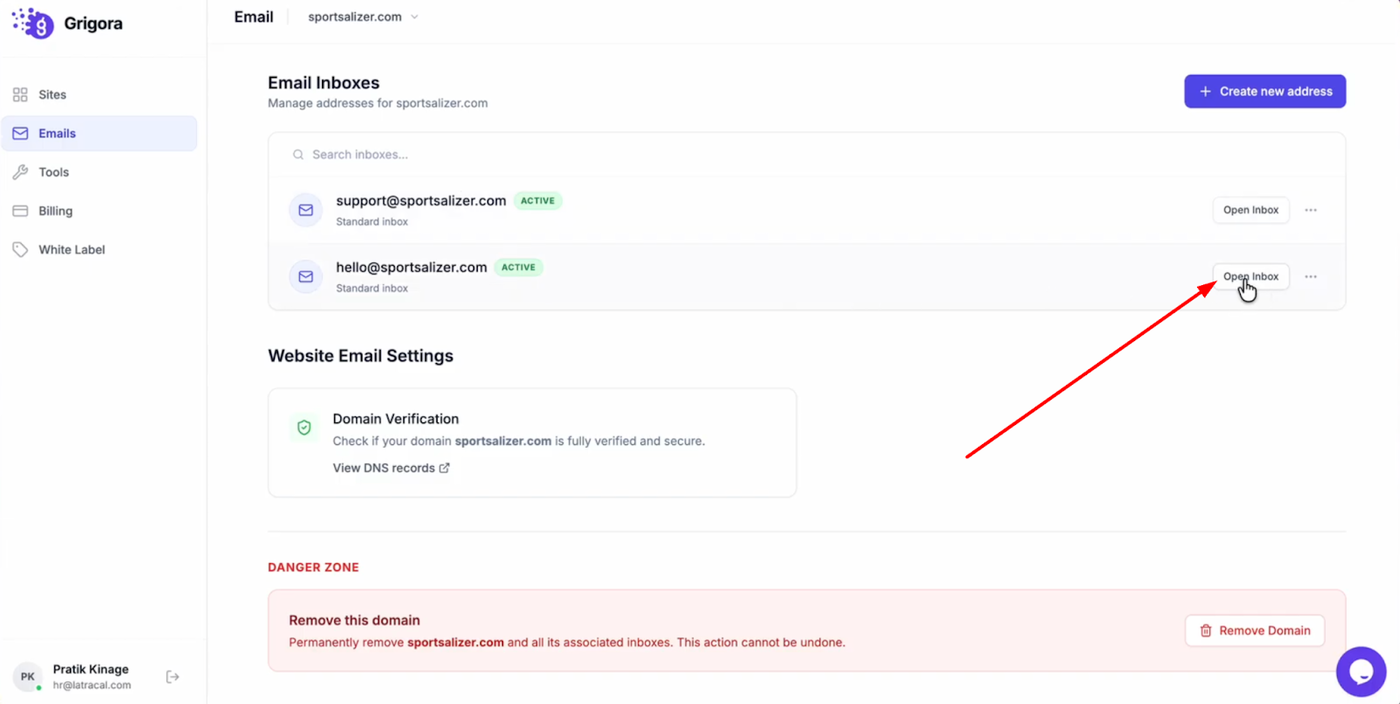
Click "Open Inbox" to access your new workspace.
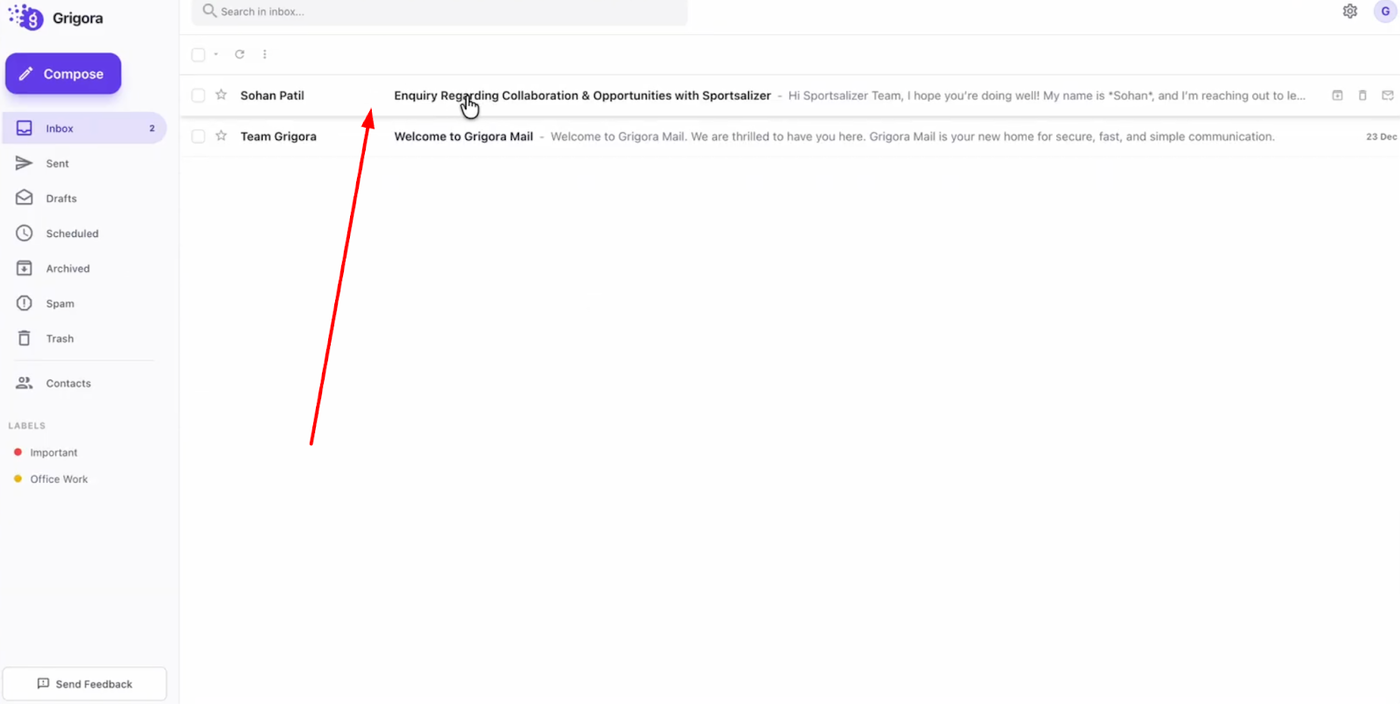
All client emails will land directly in this branded environment, keeping your professional communication organized and distinct from personal messages.