

Want more newsletter signups without popups? This guide will show you how to add an inline content lock in Grigora — a powerful way to hide part of your post or page and reveal it only after a user subscribes via email. Ideal for creators, bloggers, and marketers who want to grow their email list and increase content value.
Accessing the Site Editor
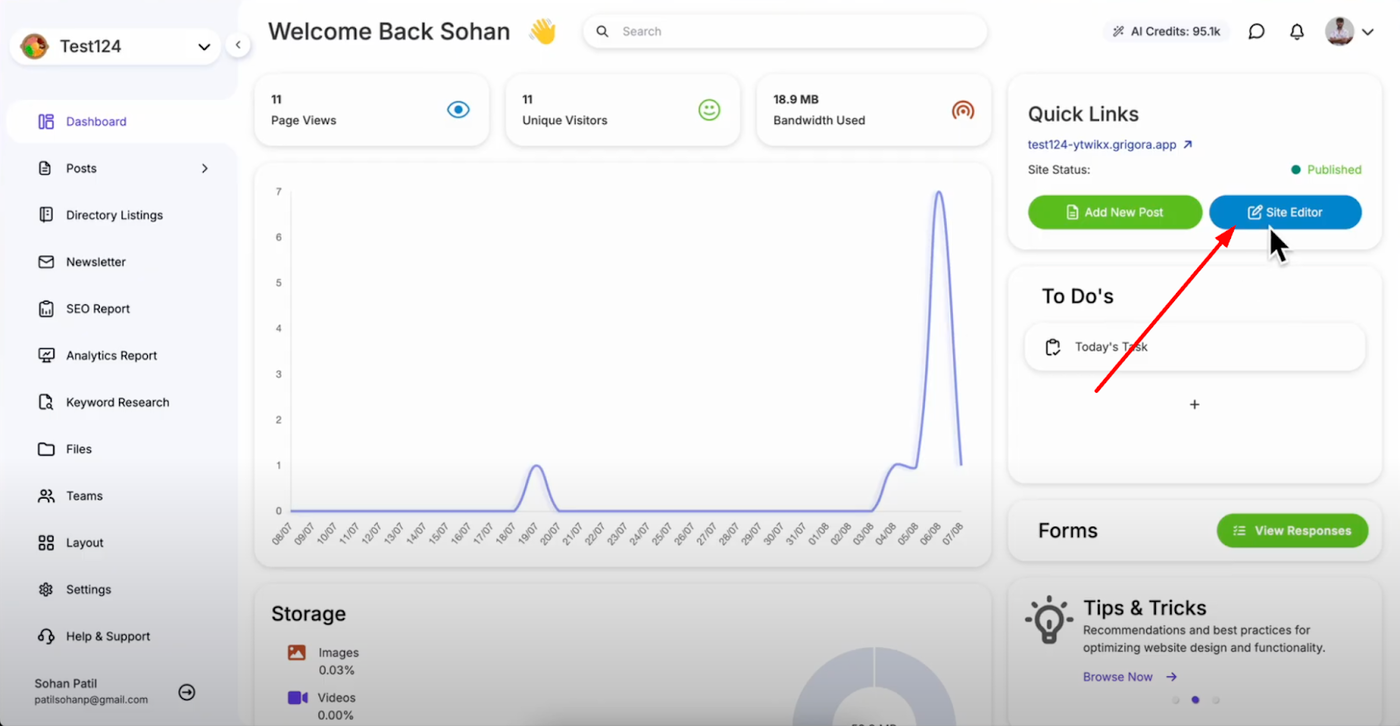
Navigate to the site editor from your Grigora dashboard.
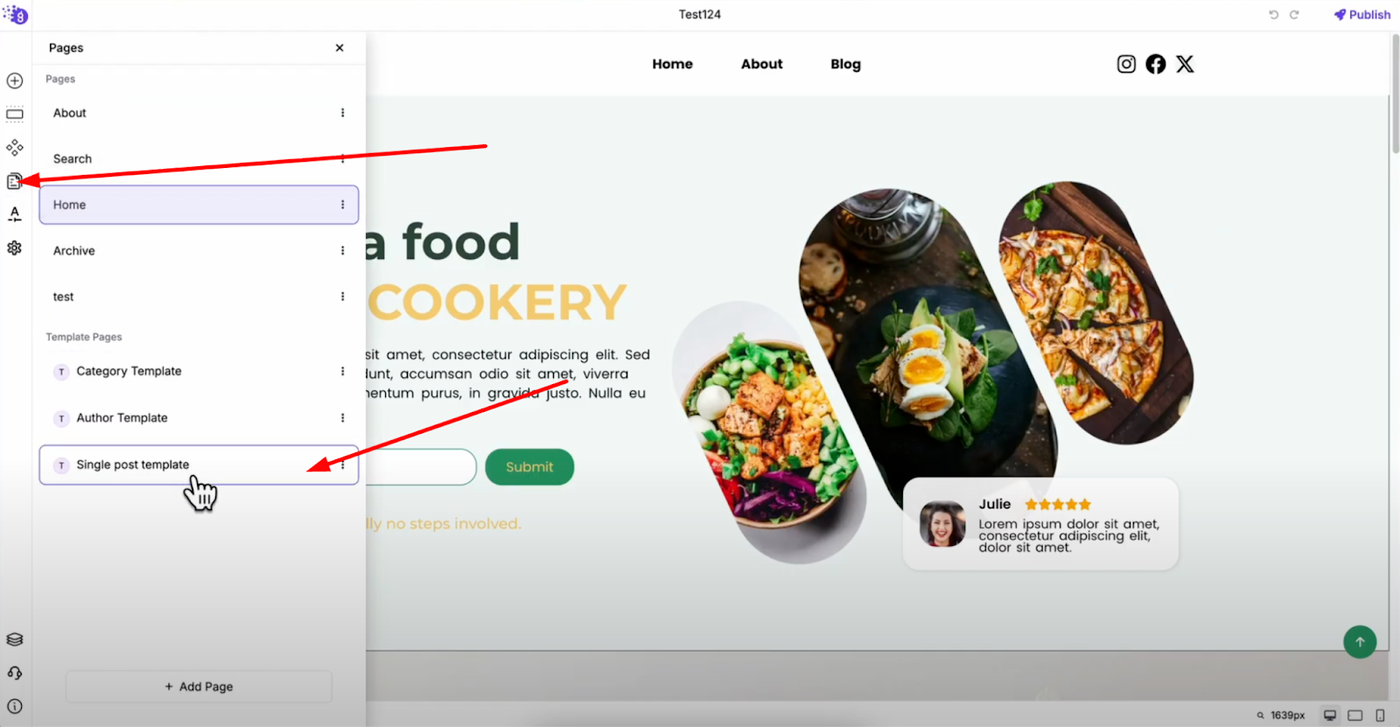
Once inside the site editor, go to "Pages" in the left panel to access your page templates. Select the "Single Post Template" which controls how individual blog posts appear on your website. This template will apply the inline content lock across all your blog posts automatically.
Adding the Inline Content Locker
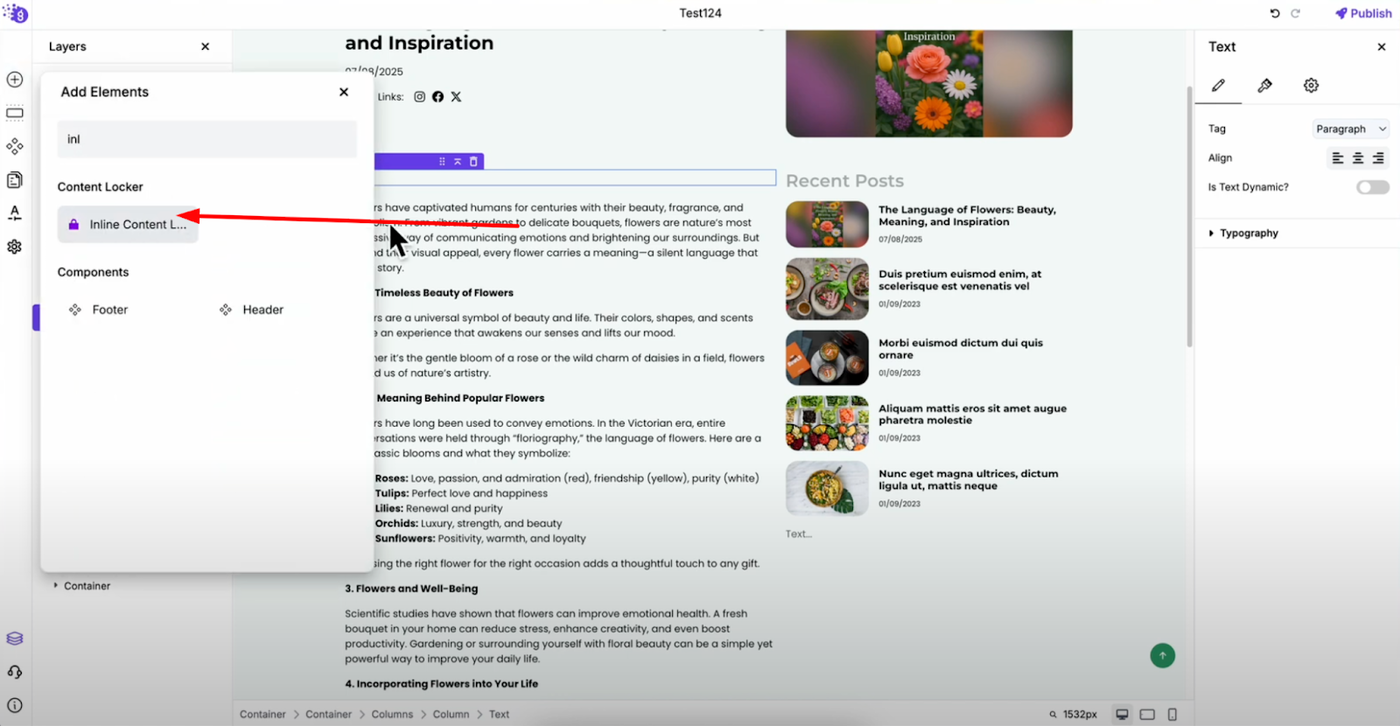
Add a new block above the post content block by clicking "Add Elements". Search for "Inline Content Locker" and drag and drop it into the editor where you want the content gate to appear within your posts.
Publishing Your Changes
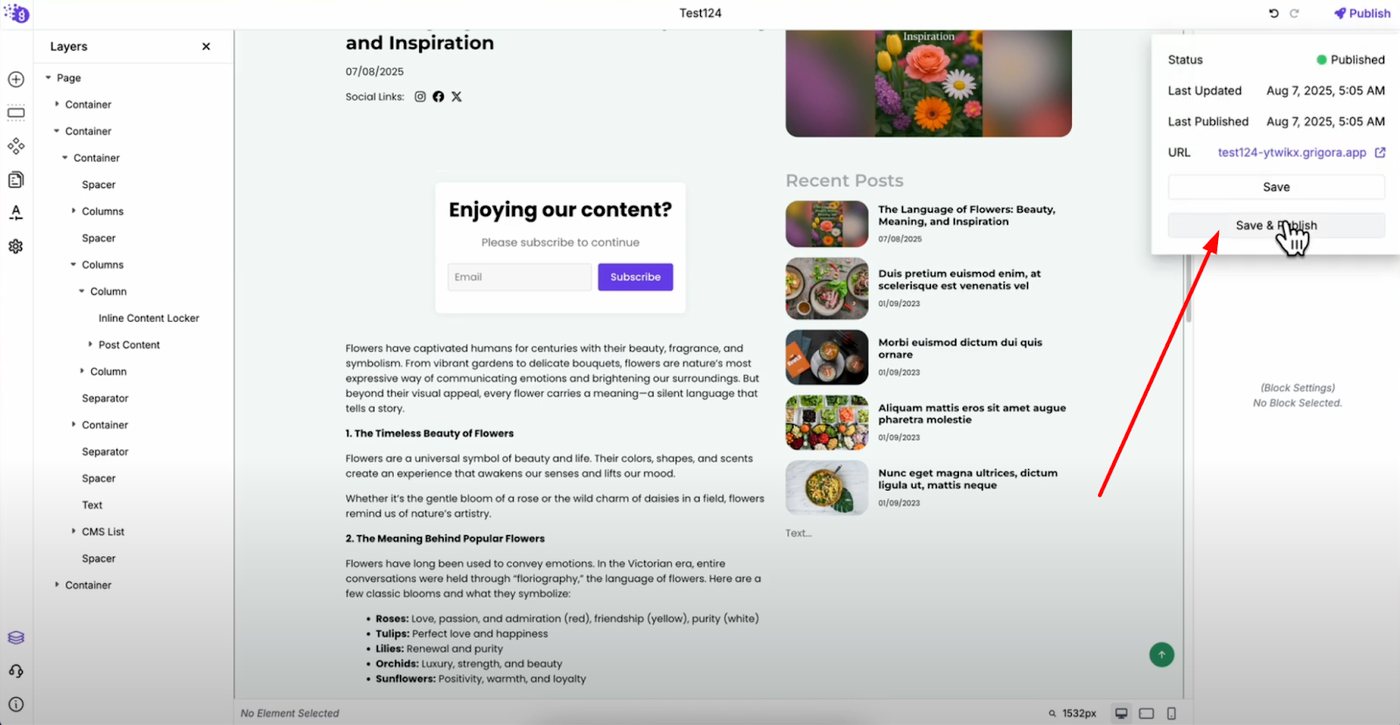
After adding the inline content locker, save and publish your website to make the content lock active across all your blog posts that use the single post template.
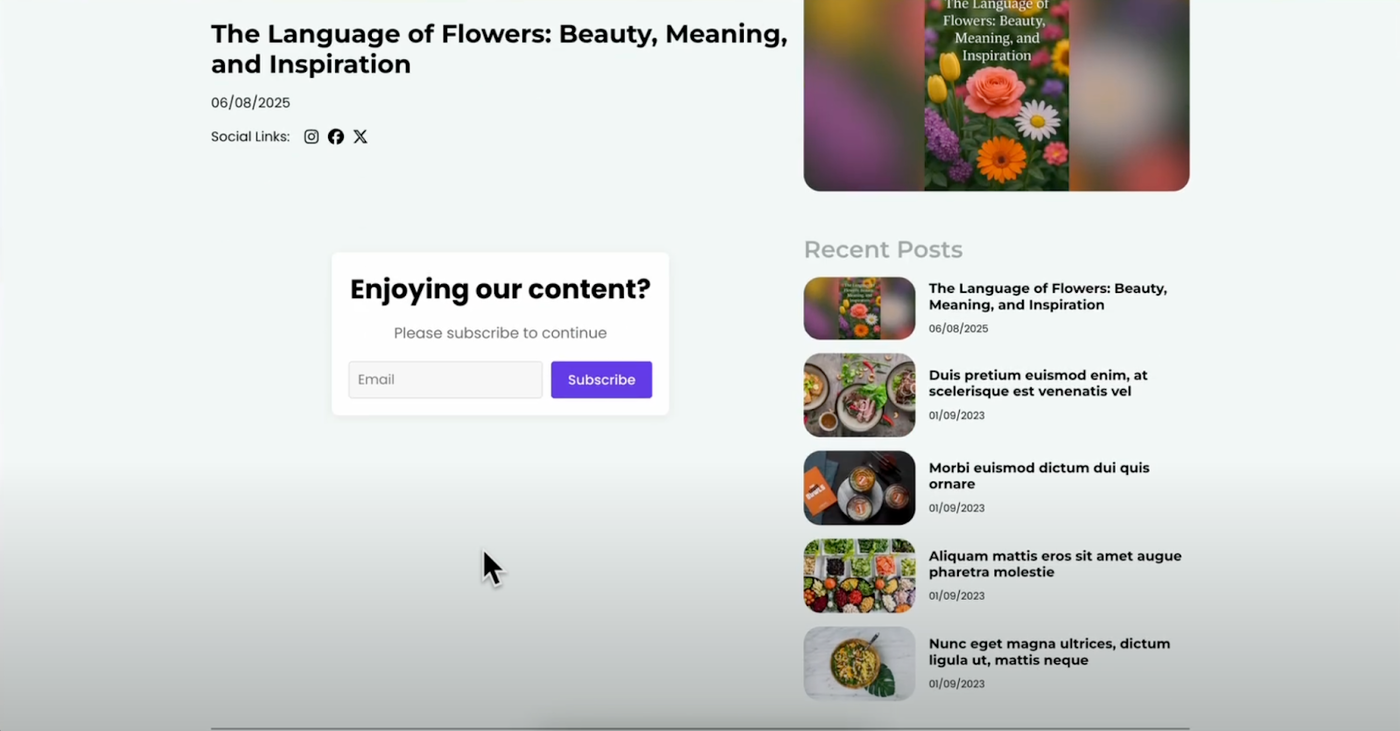
How Inline Content Lock Works
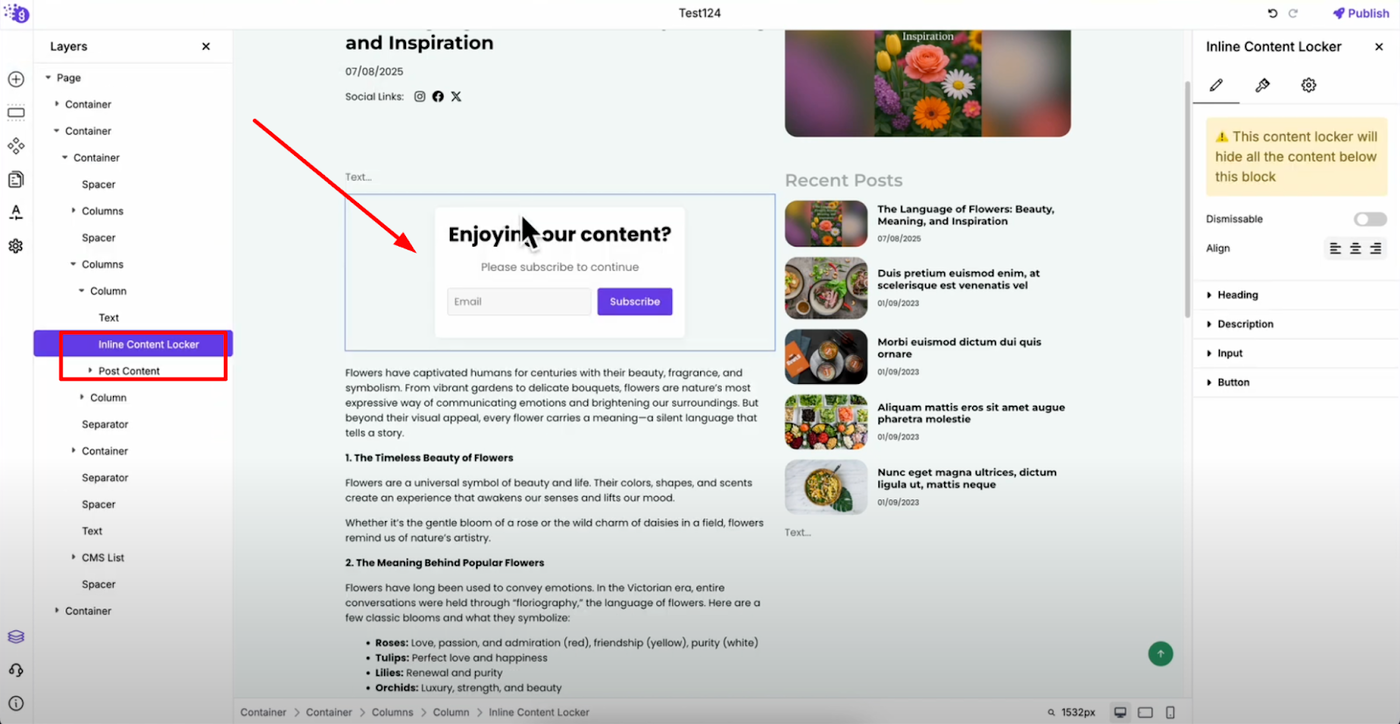
When visitors view your post, the content will be hidden below the inline content locker. They'll need to enter their email address and subscribe to view the full content that appears after the lock.
Once they subscribe, the hidden content becomes visible and their email address is automatically added to your email list in Grigora's newsletter system, creating a seamless lead generation process.
Benefits of Inline Content Lock
Unlike popup content locks, the inline version integrates naturally within your content flow, making it less intrusive while still effectively converting readers into subscribers. This approach works particularly well for protecting premium content sections, bonus materials, or detailed guides.