

Want to grow your email list? This step-by-step guide will show you how to easily add newsletter signup forms to your Grigora-powered website. Whether you're building a blog, portfolio, or business site, capturing leads is just a few clicks away — perfect for marketers, bloggers, and creators looking to grow their subscriber base.
Accessing the Website Editor

Go to your Grigora dashboard and look for the "Site Editor" option. Click on it to open the website editing interface where you can add and customize elements throughout your website.
Finding Newsletter Form Options

After opening the site editor, click on "Add Sections" in the left panel to access all available pre-made sections and elements. Click on "Newsletter" to view all the available newsletter signup form designs and layouts that come built-in with Grigora.
Adding Your Newsletter Form
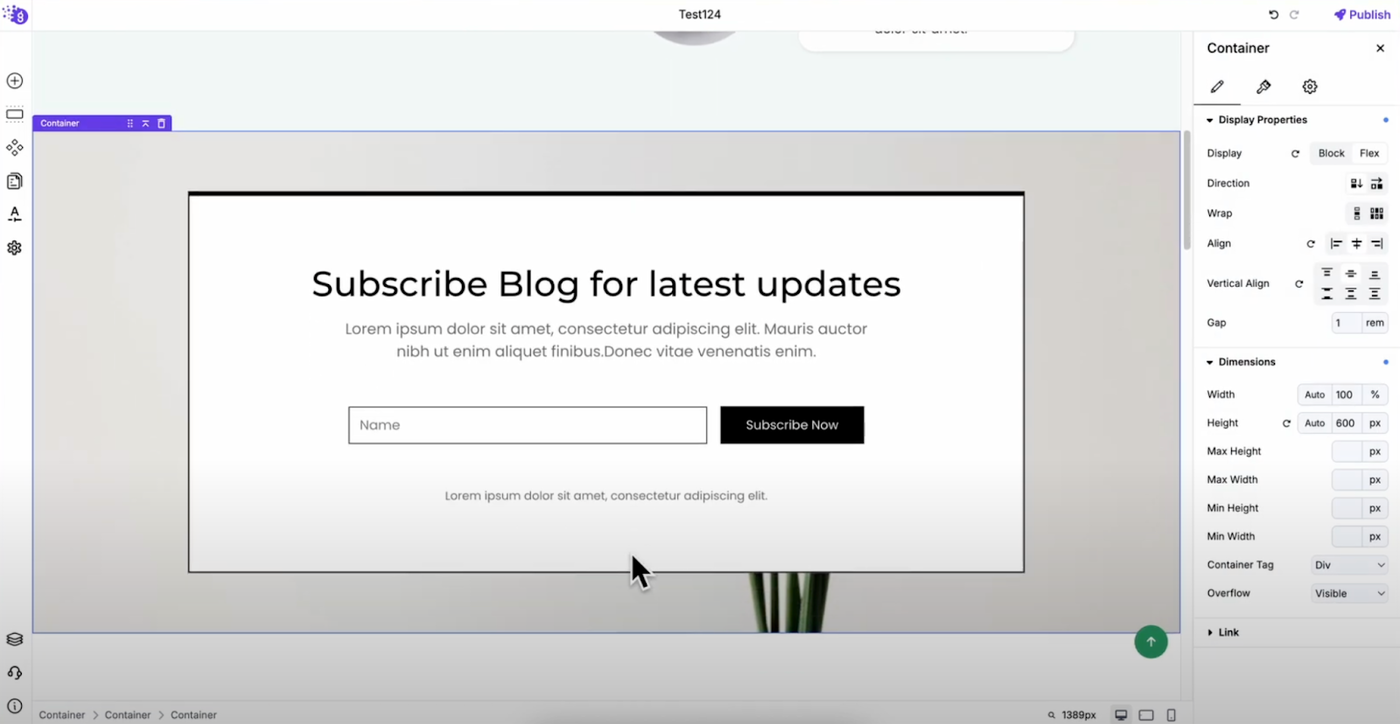
Browse through the available newsletter form designs and select the one that best matches your website's style and conversion goals. Drag the selected form from the list and drop it onto your website at the location where you want it to appear (such as your homepage, footer, sidebar, or blog posts).
Publishing Your Form
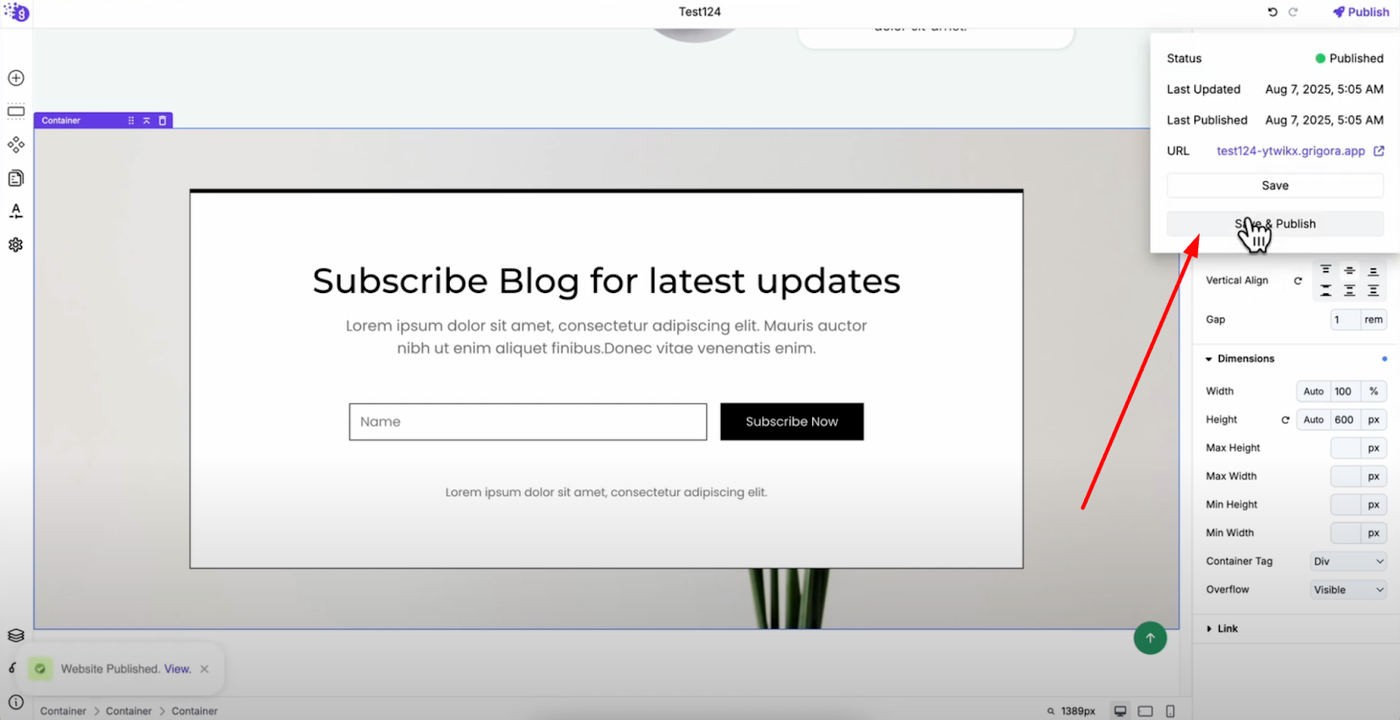
After adding your newsletter signup form, click "Save and Publish" to make your changes live on your website. Your newsletter signup form is now active and ready to start collecting subscribers from your website visitors.
Automatic Email List Integration
Once a user subscribes to the newsletter, they will be automatically added to your email list in Grigora's built-in newsletter system. This seamless integration means you don't need any third-party tools to start building and managing your subscriber base.