Send a blog post to your newsletter subscribers from Grigora. This guide explains how to customize the email, send a test, and deliver it to your audience.
Accessing Your Blog Posts
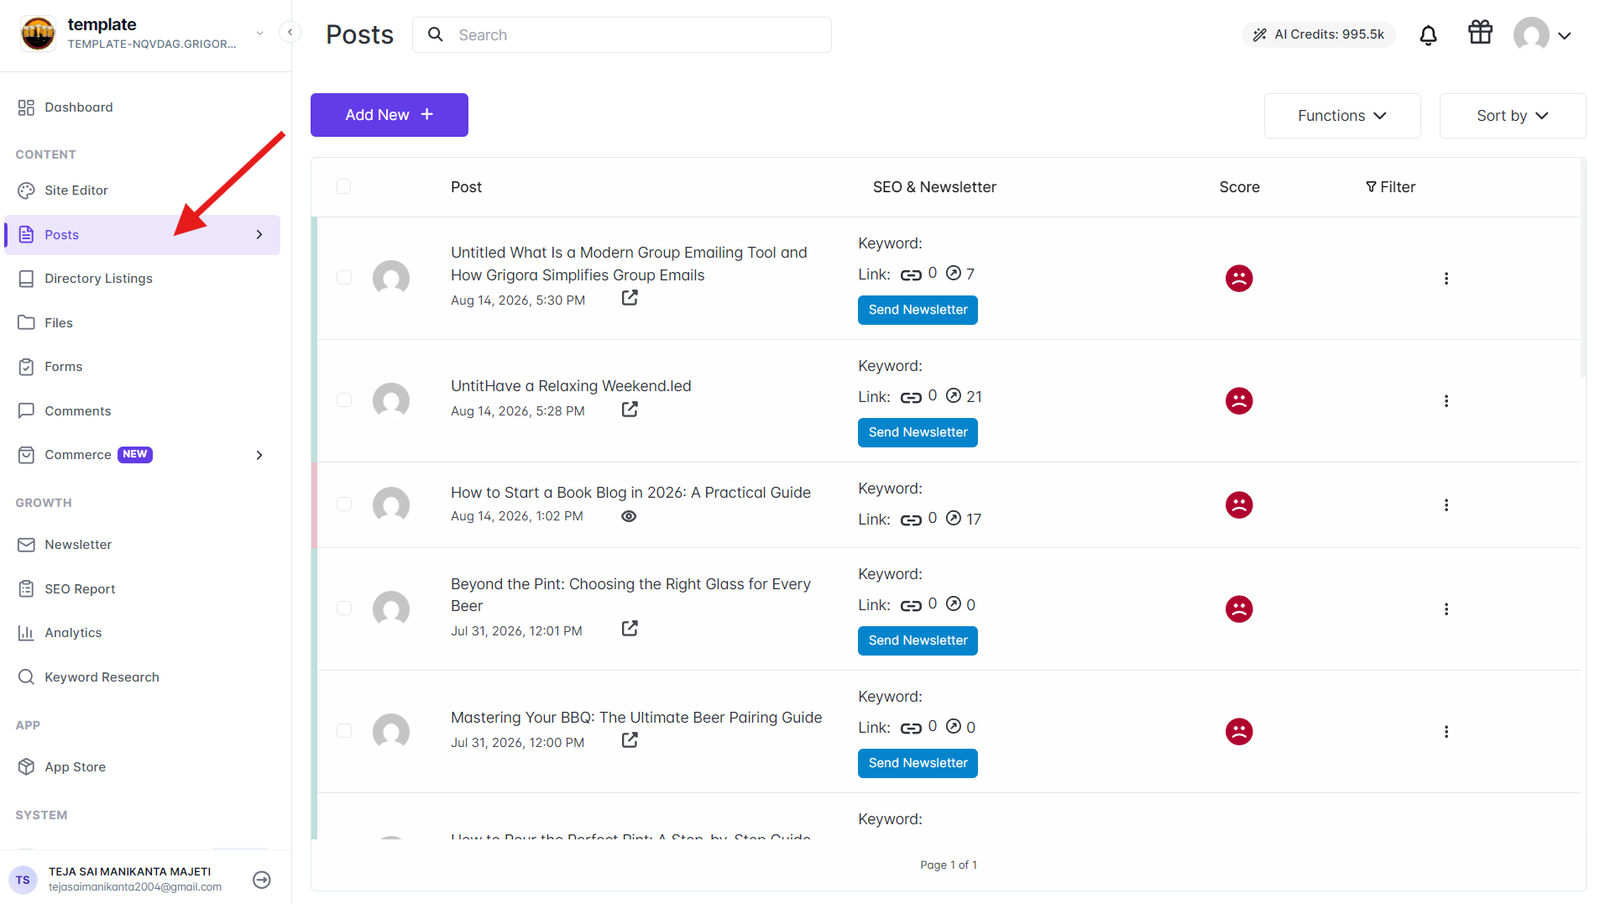
Go to your Grigora dashboard and click on "Posts" to access your blog post management section. This will show you all your published blog posts that are available to be sent as newsletters to your subscriber list.
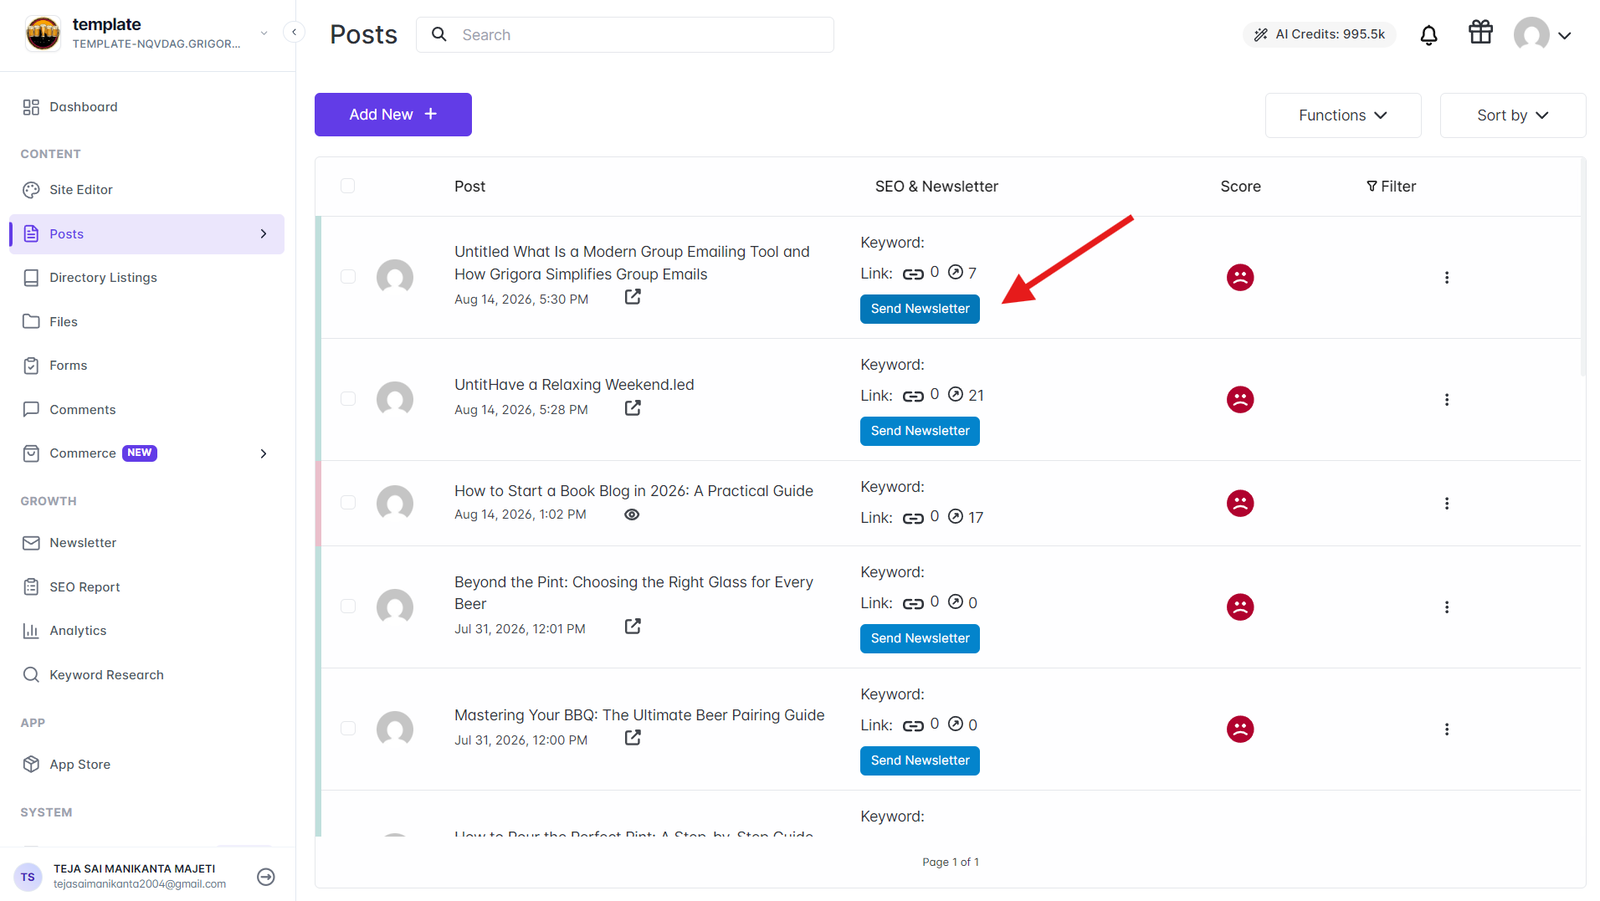
Look for the "Send Newsletter" button next to each blog post. This button allows you to convert any of your published blog posts into a newsletter that can be sent to your email subscribers. Click on the "Send Newsletter" button next to the blog post you want to send.
Customizing Your Newsletter
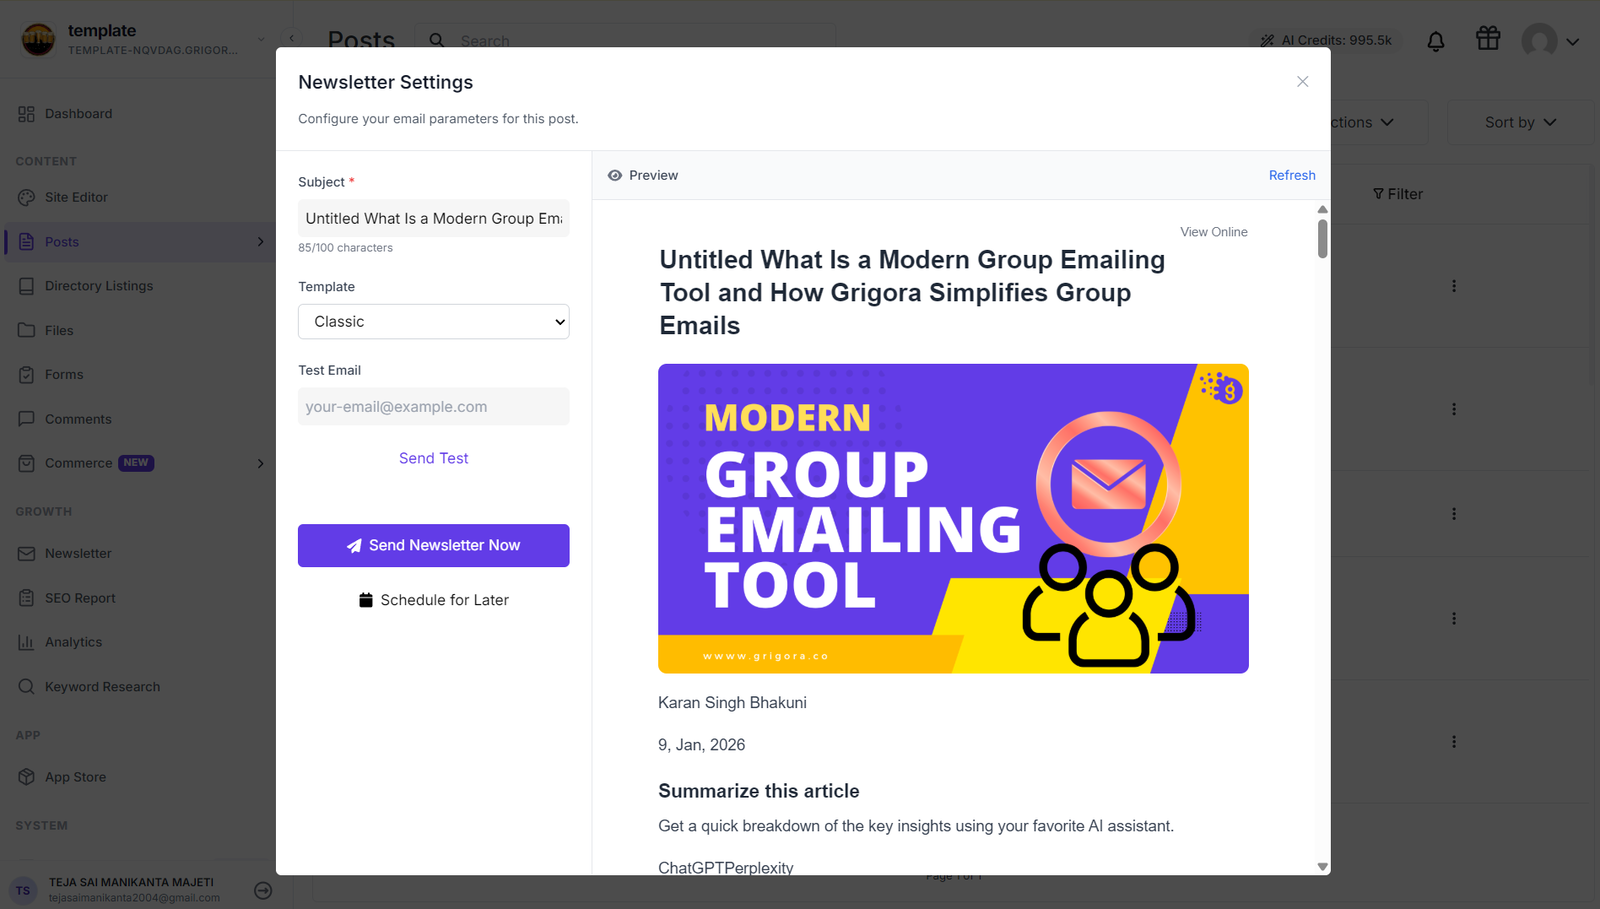
The newsletter settings panel will open showing you several customization options. You'll see your complete blog post content displayed in the newsletter preview, showing exactly how your blog post will appear when formatted as an email newsletter.
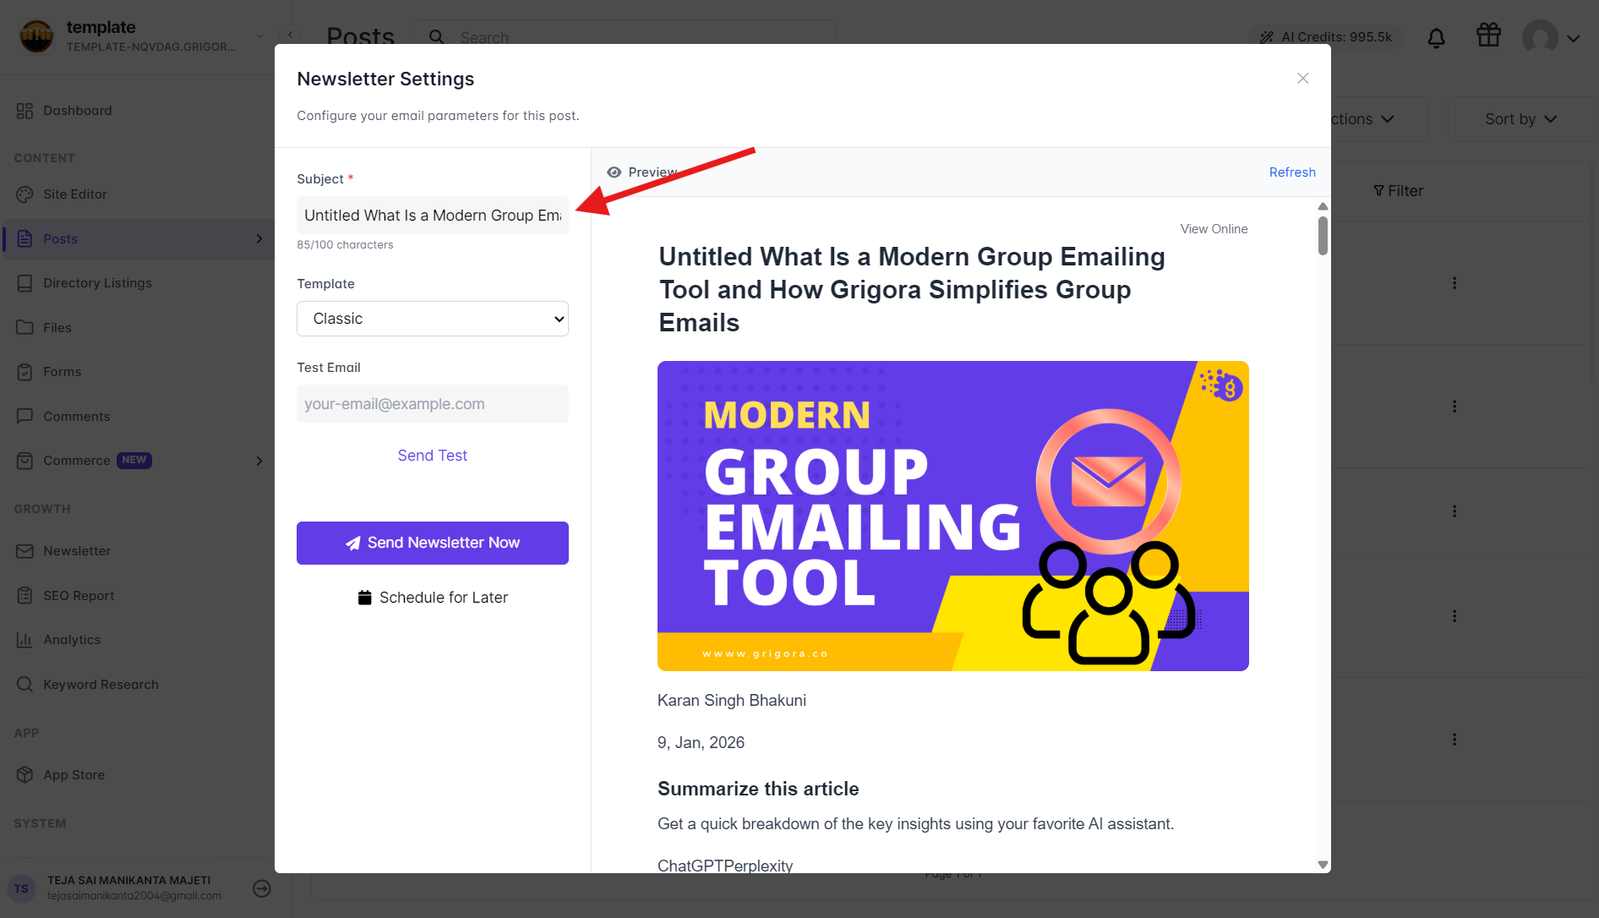
Customize the email subject line in the subject field that your subscribers will see in their inbox.
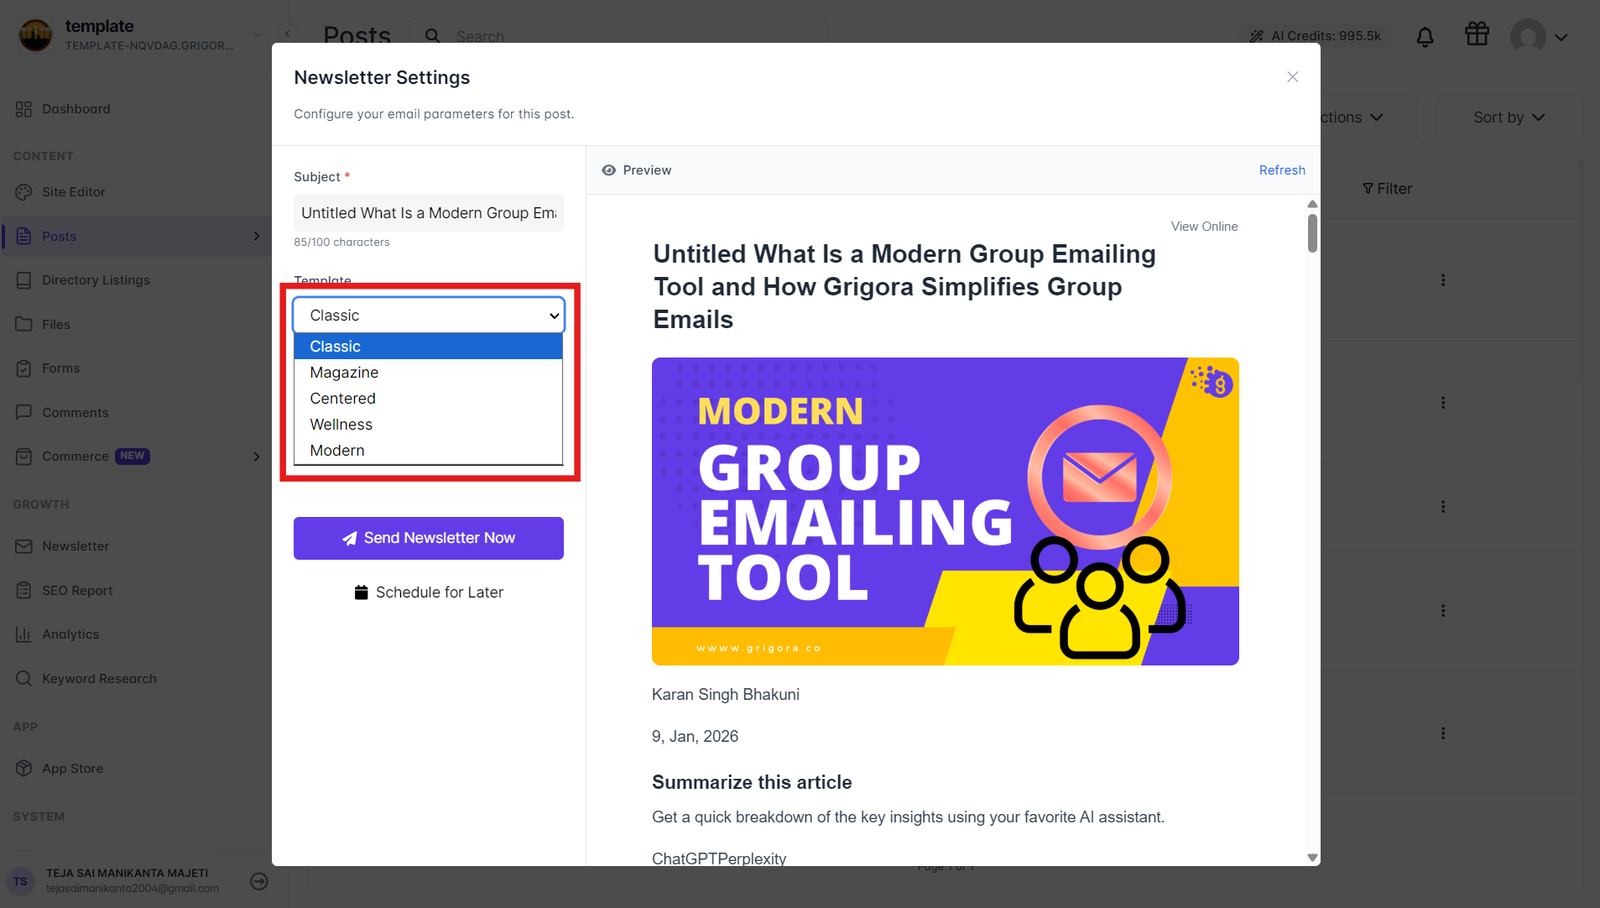
Browse through the available template options provided by Grigora and select the template that best matches your brand. Each template has different layouts and styling options to make your newsletter visually appealing and professional.
Testing Before Sending
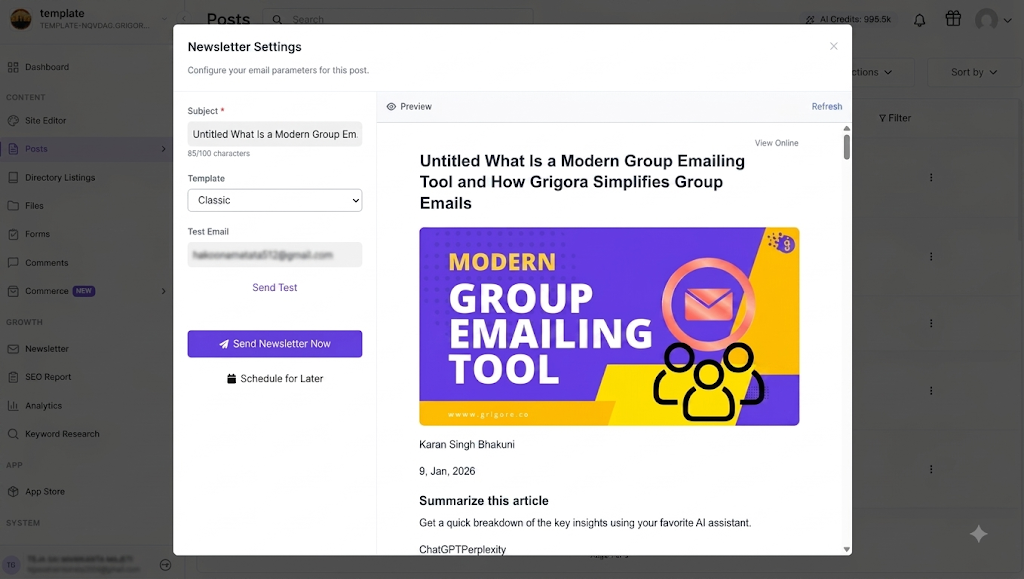
Before sending to your entire subscriber list, use the "Send Test Email" option in the newsletter settings. Enter a test email address where you want to receive the test version and click "Send Test" to send a test newsletter to that address. You'll receive a "test email successfully sent" notification confirming the test was delivered.
Sending Your Newsletter
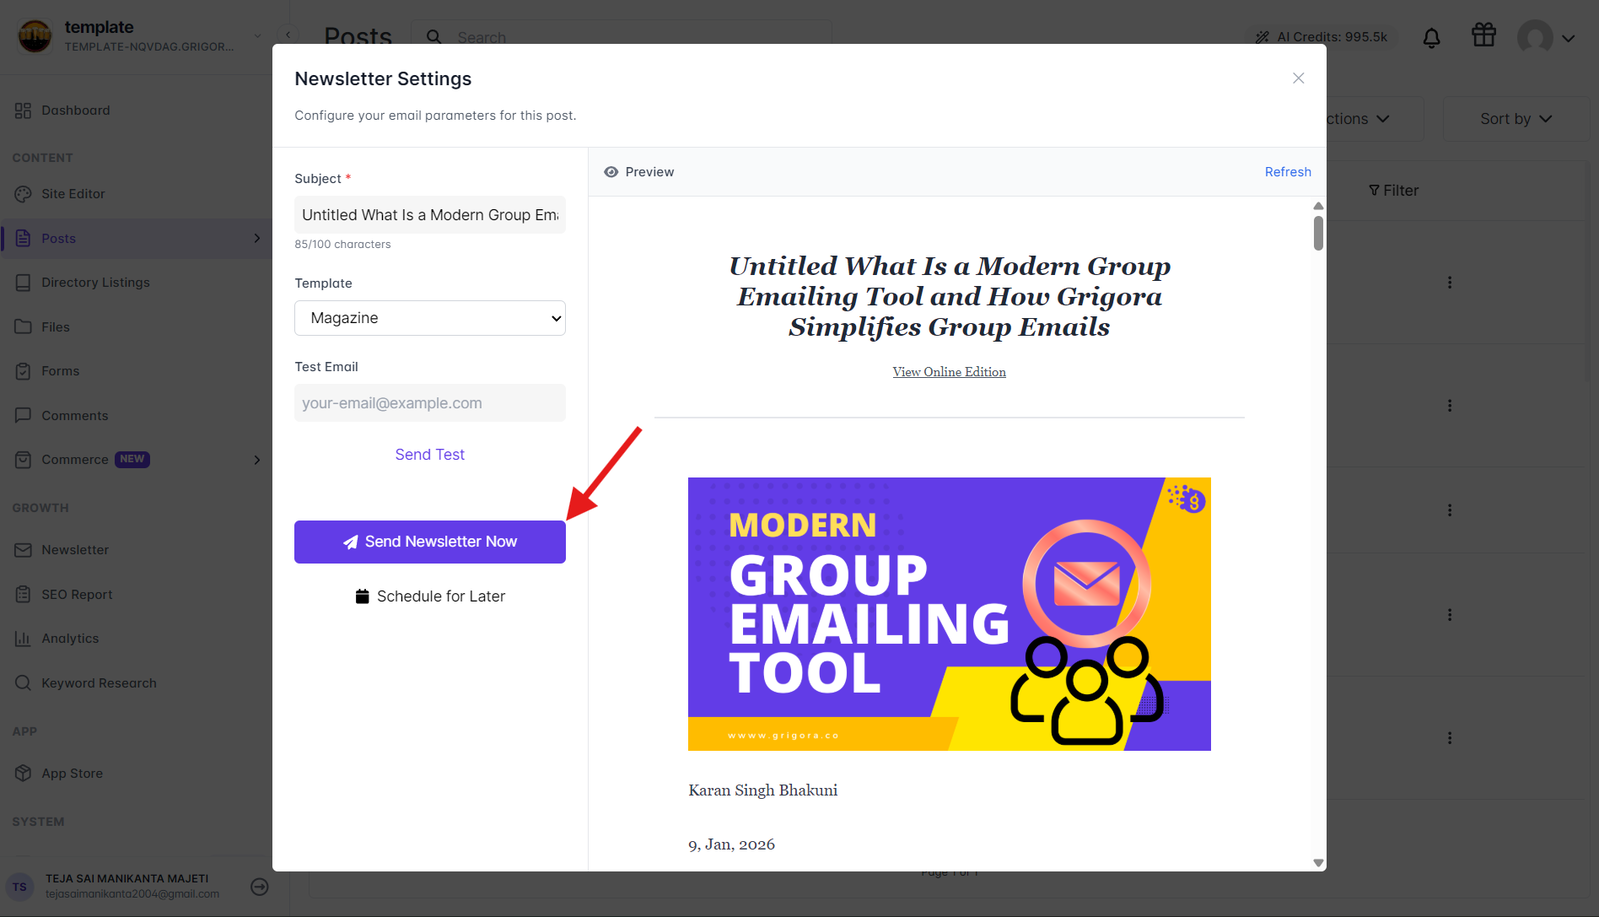
Review all settings one final time to ensure everything is correct. Click "Send Newsletter Now" to send your newsletter to your entire subscriber list. You'll receive a "newsletter successfully sent" confirmation message, and your newsletter will be delivered to all your email subscribers, helping you maintain engagement and drive traffic back to your website content.