

Learn how to customize the layout of a single CMS post page in Grigora for a professional, branded look. This guide walks you through creating post templates, designing layouts with dynamic content fields, and ensuring consistent formatting across all your blog posts.
Creating Your Single Post Template
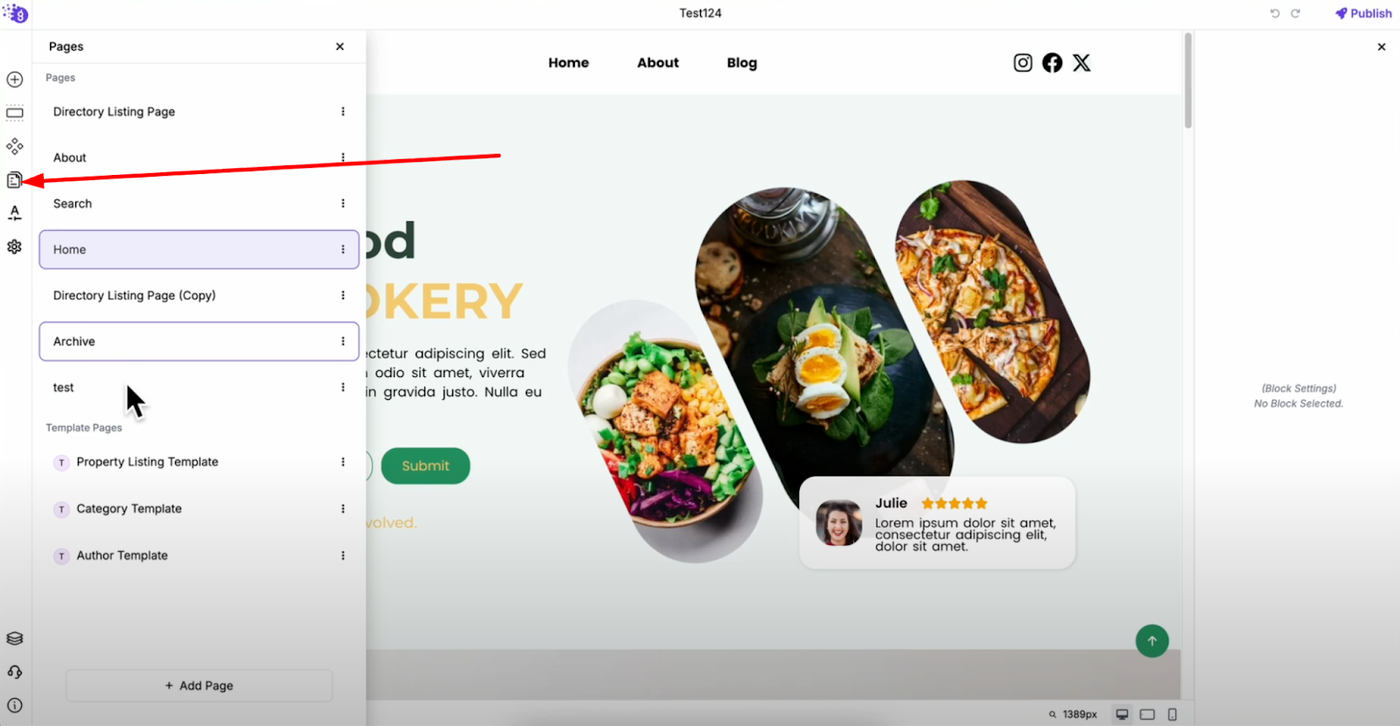
Click on "Pages" in the left panel to access your page template section.
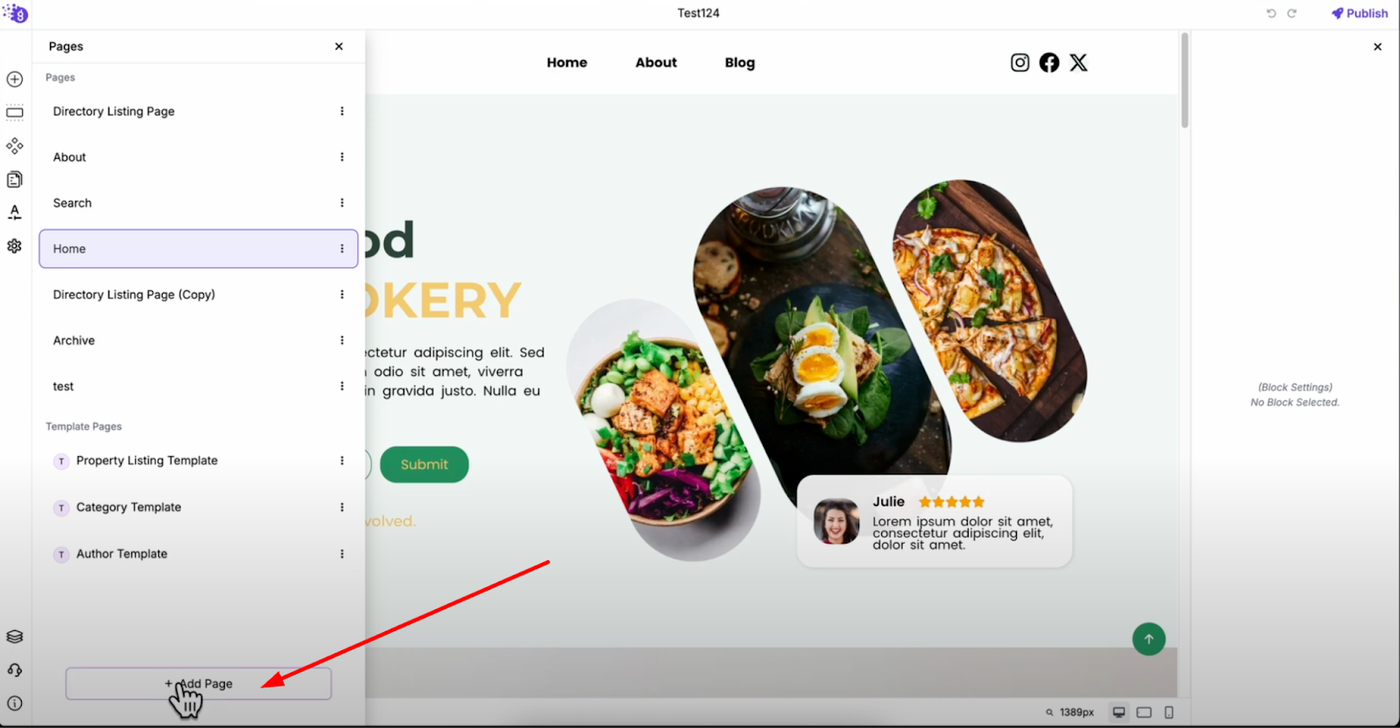
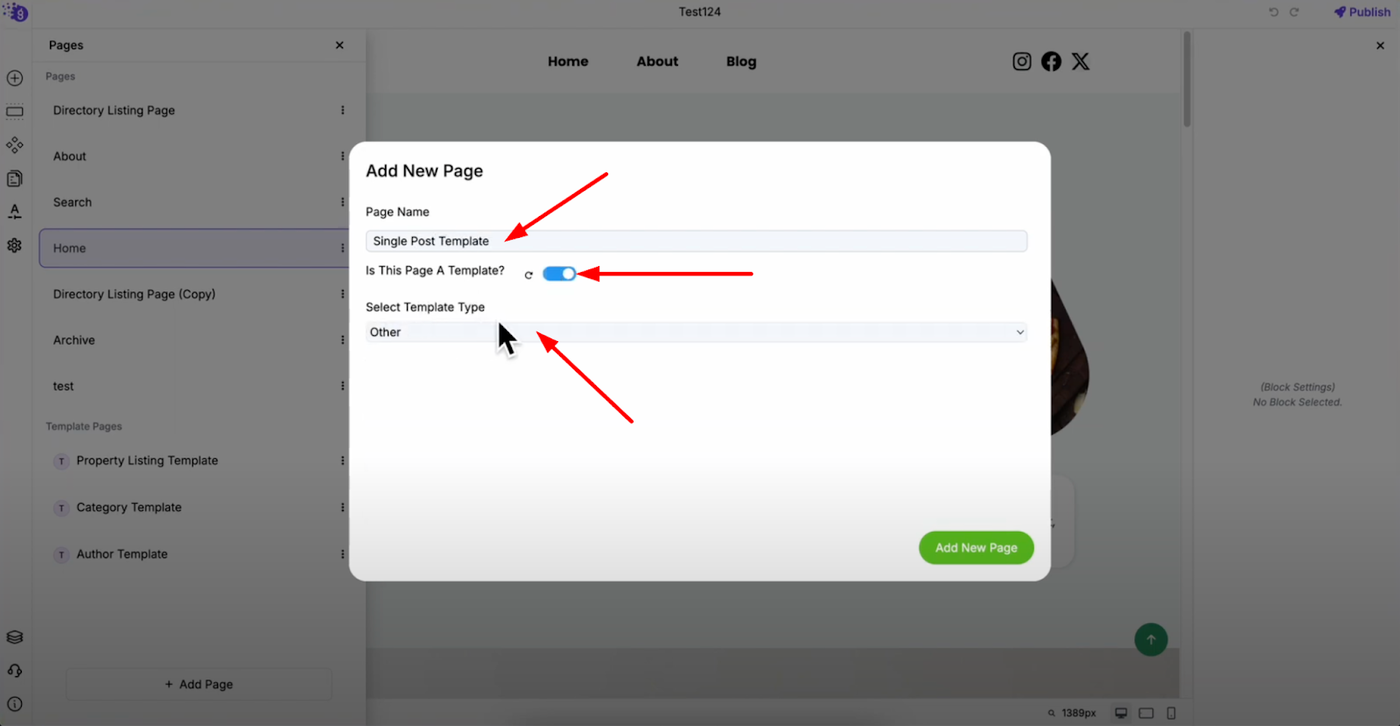
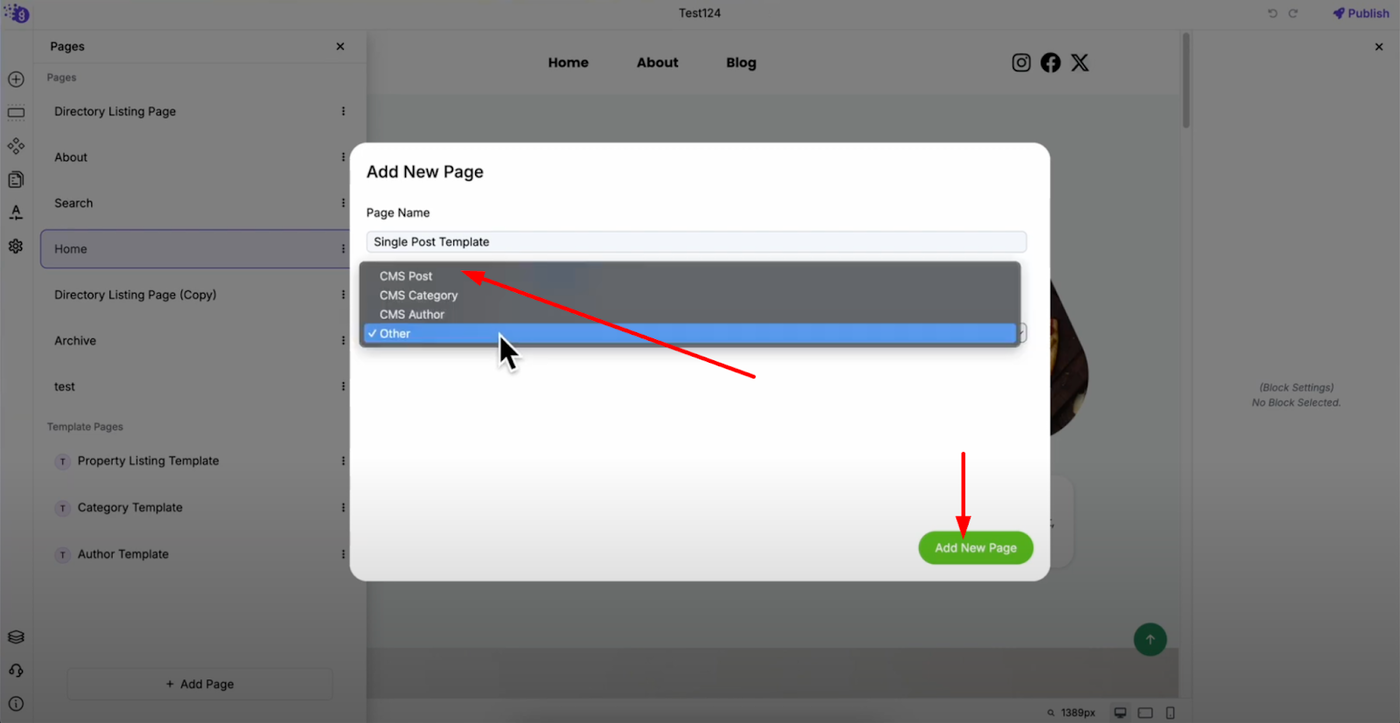
Click "Add Page" in the pages section and enter "Single Post Template" as the page name. Toggle on "Is this page a template" option and select "CMS Post" from the template type dropdown. Click "Add New Page" to create your template foundation.
Setting Up Page Structure
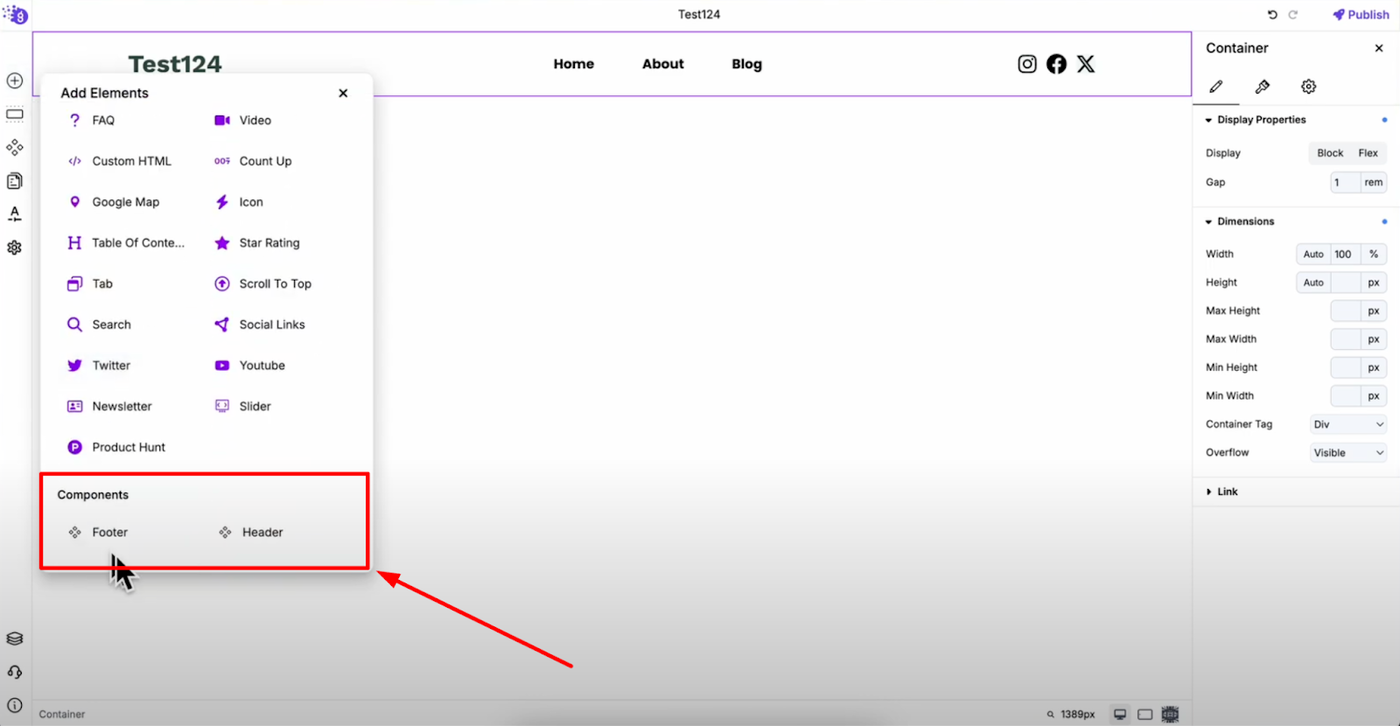
Add your header and footer component from "Add Elements" or copy it from another page to maintain consistent site branding.
Adding Dynamic Content Elements
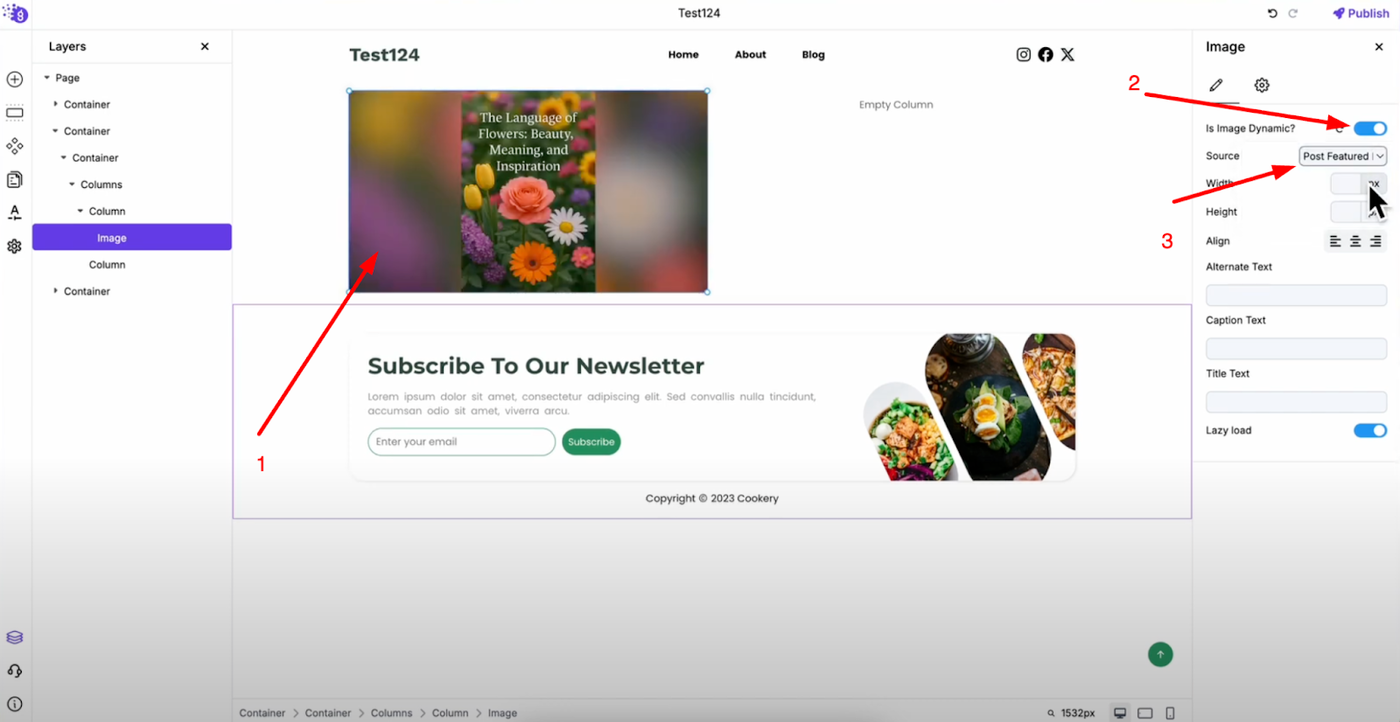
Add a columns element and add an image block to the left column and toggle on "Is Image Dynamic" in settings. Select "Post Featured Image" from the dynamic source to automatically display each post's featured image.
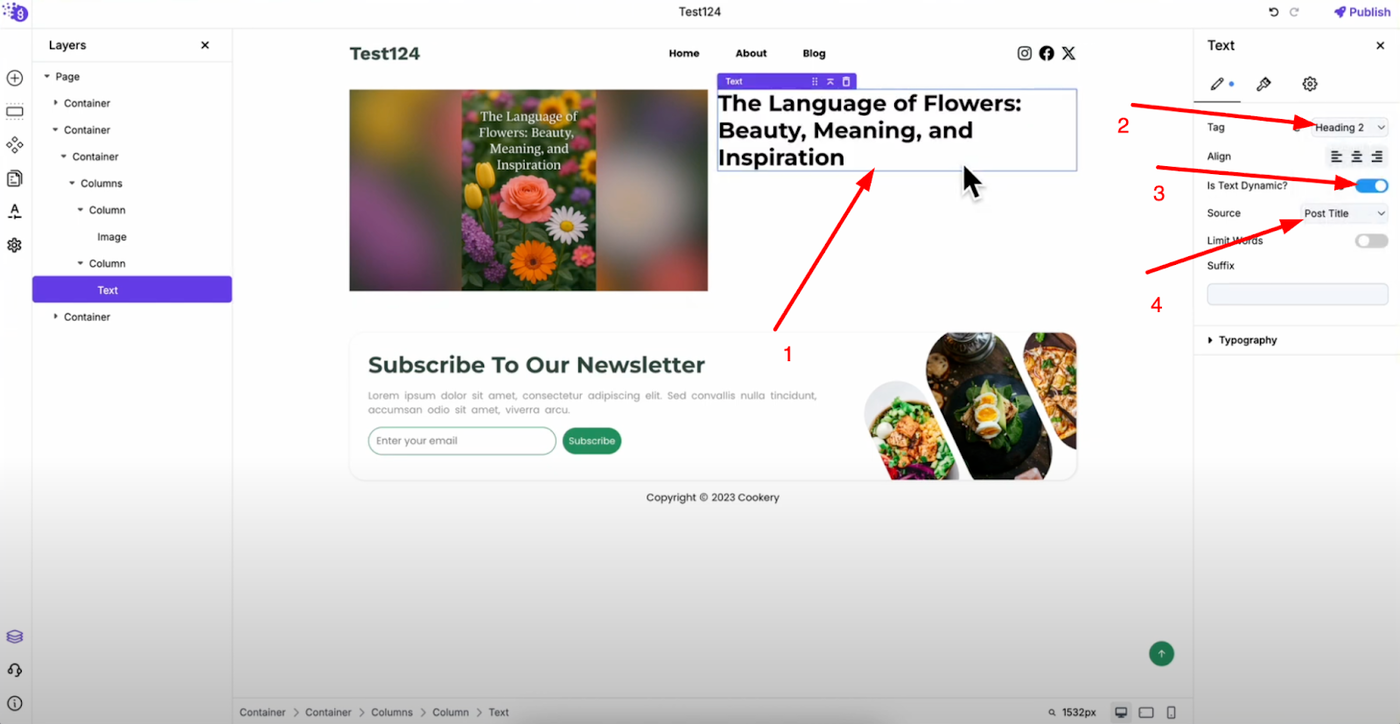
Add a text block to the right column for the post title. Enable "Is Text Dynamic" in settings and select "Post Title" from dynamic field options. Change the tag to H2 for proper heading hierarchy.

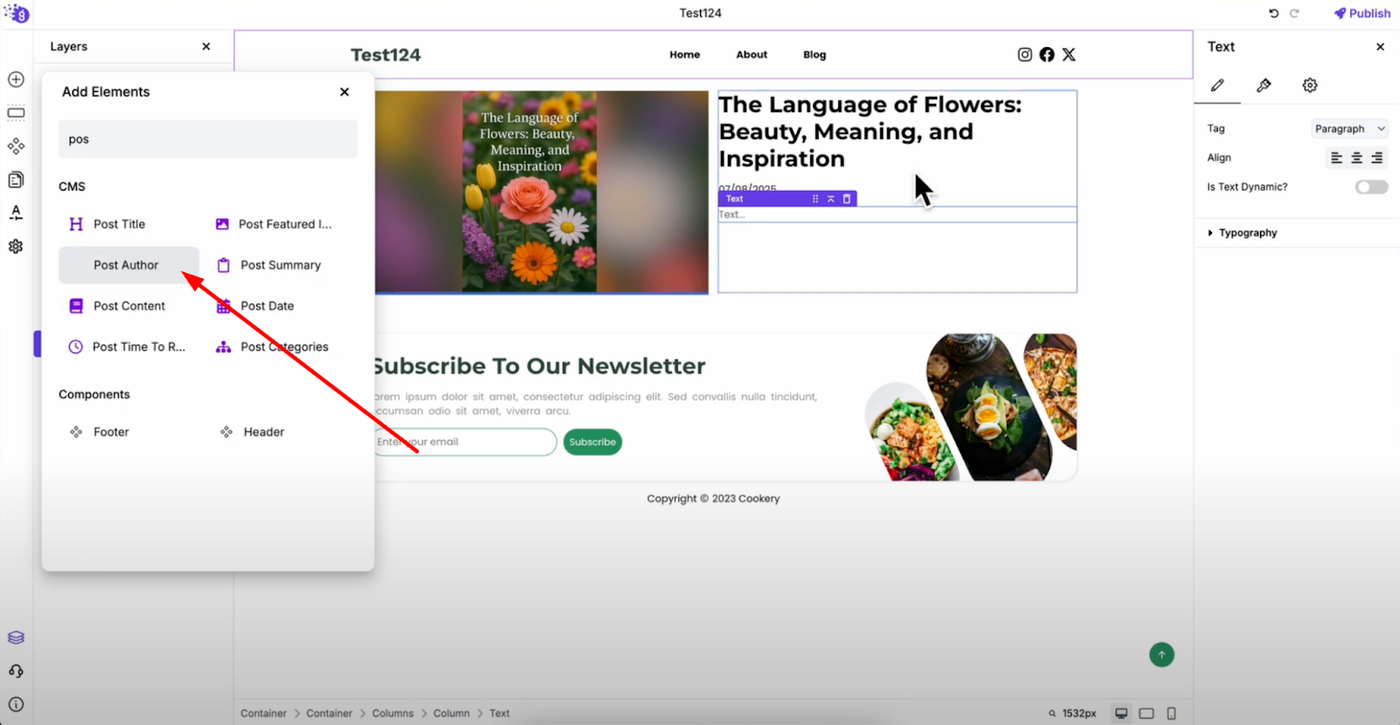
Add post date element by searching for "Post Date" in "Add Elements" and dragging it to the right column. Add post author element similarly by searching and placing it in your desired location.

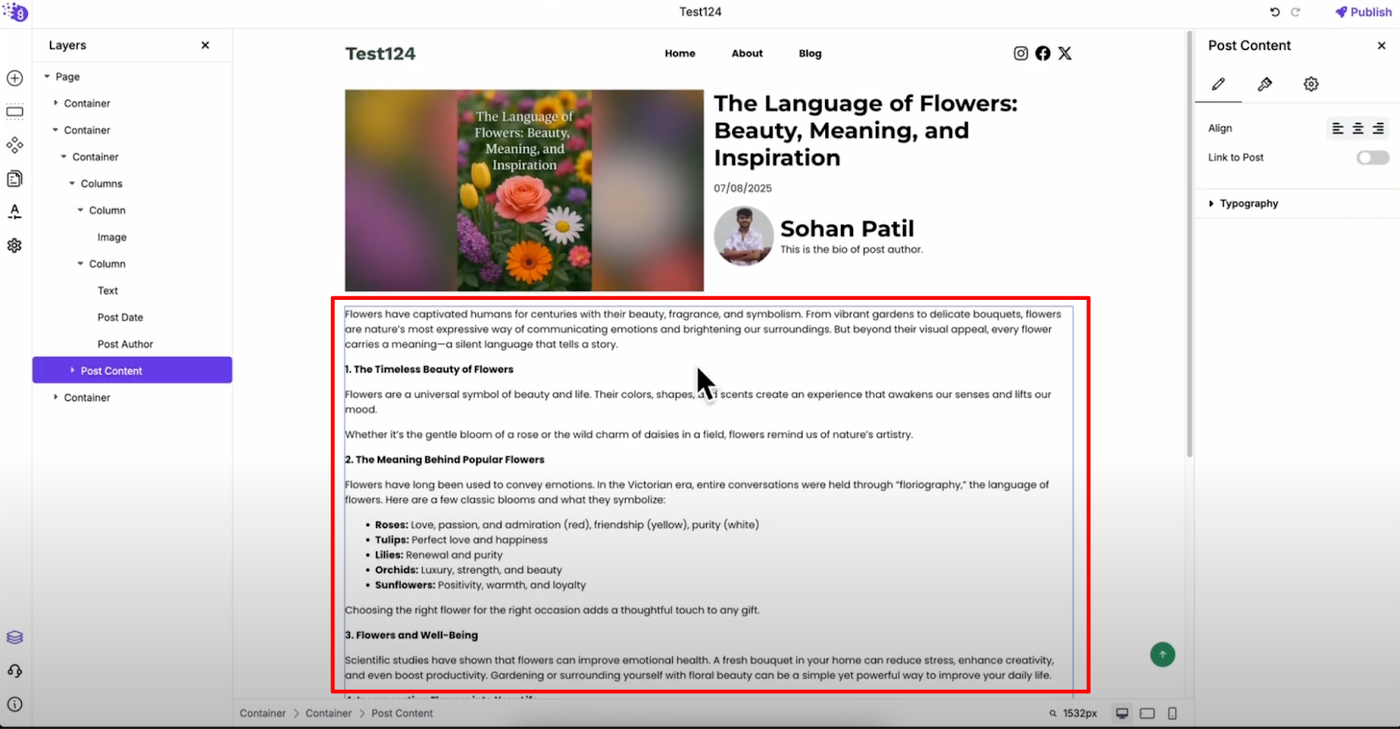
Add post content below your columns by searching for "Post Content" and dragging the block to display the complete blog post content dynamically.
Publishing Your Template
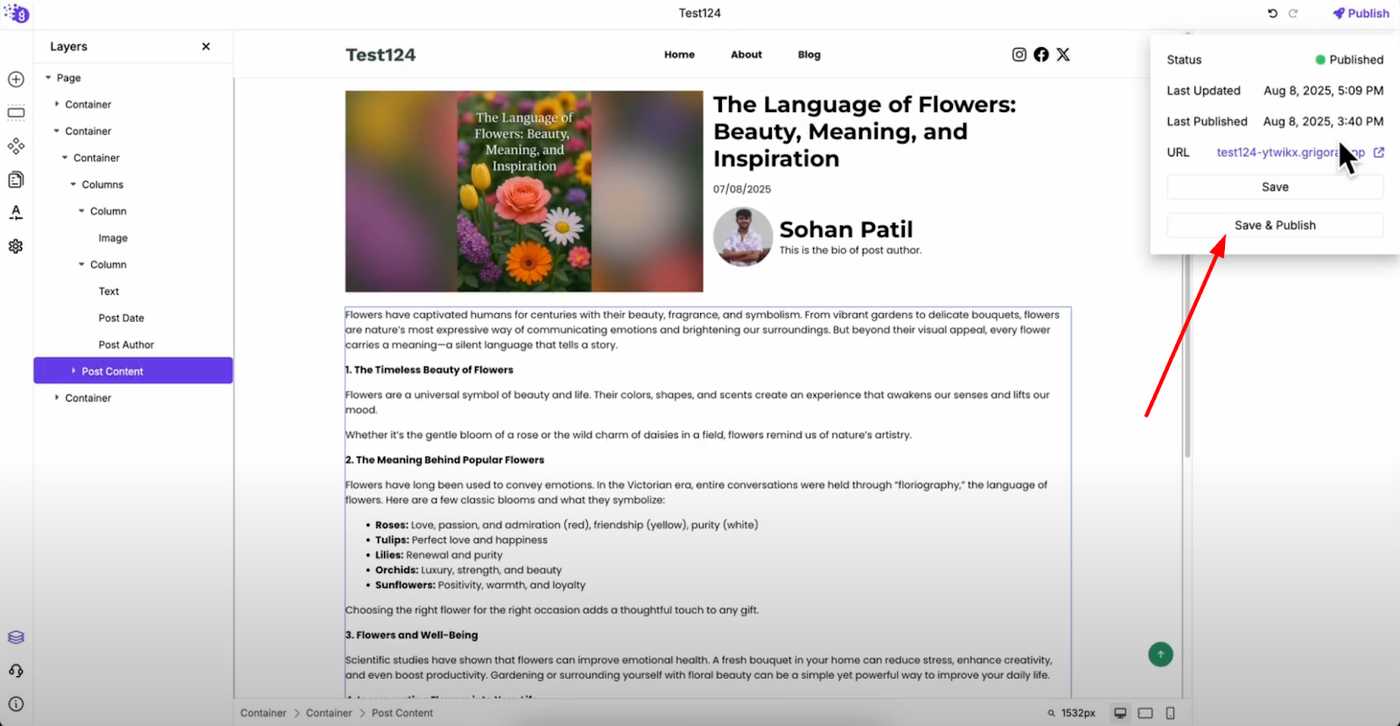
Click "Save and Publish" to apply changes to all blog posts. Your custom template will automatically apply to all blog posts on your website, creating a consistent and professional presentation for individual post pages.