

Learn how to quickly update your website's name and URL slug in Grigora. This guide will show you how to change the site name displayed across your pages and update the site slug for cleaner, more SEO-friendly URLs - perfect for rebranding or refreshing your site's identity.
Accessing Site Settings
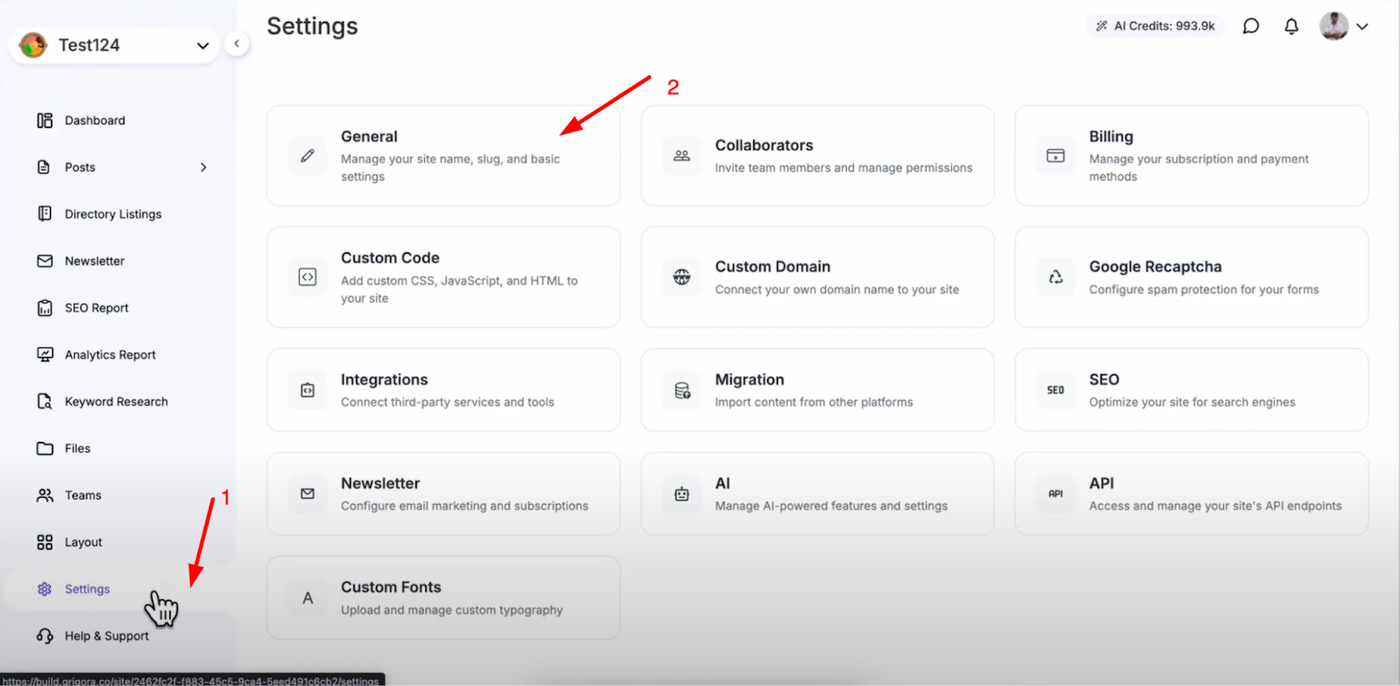
Navigate to your Grigora dashboard and click on "Settings" in the sidebar. Go to the "General" section within settings where you'll find the core site configuration options.
Updating Site Name and Slug
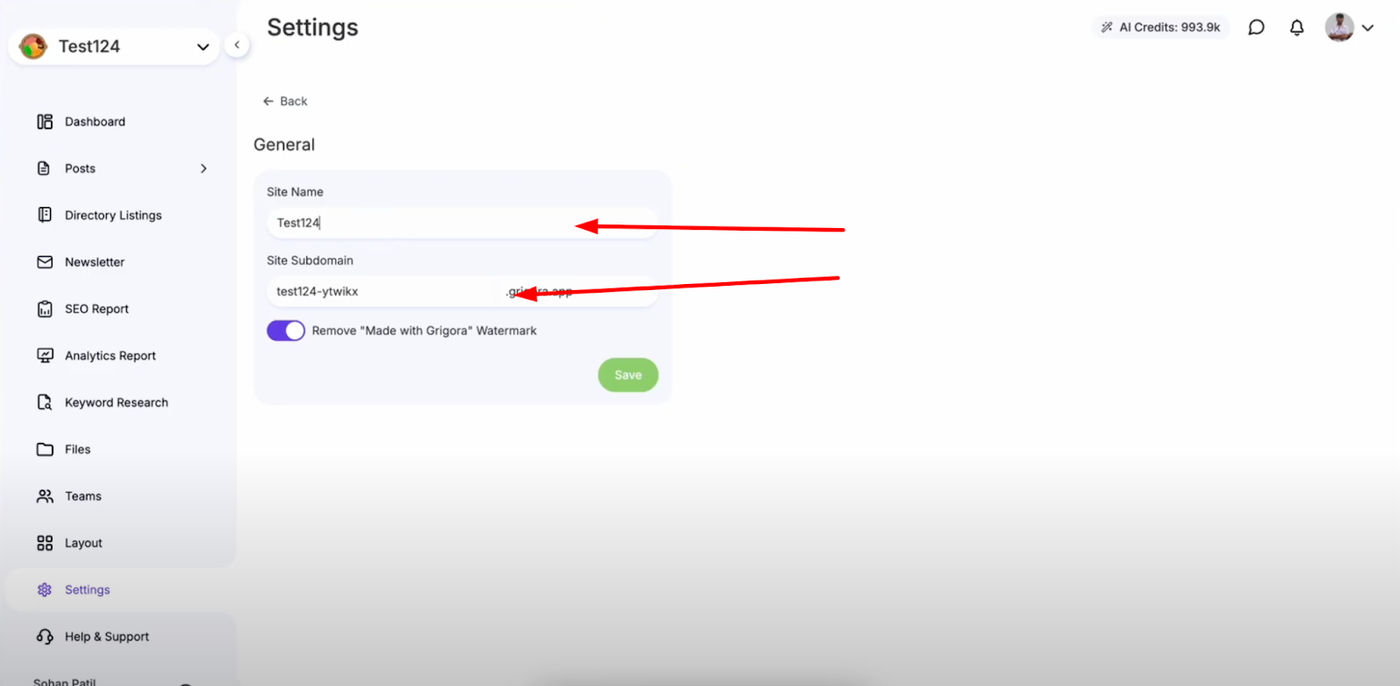
You'll see the site name and site subdomain input fields displayed in the general settings. Enter your new site name in the site name input field to update how your site appears across all pages.
Update the site subdomain field with the same name or a variation if you want to change your URL slug structure for better SEO or branding consistency.
Applying Changes
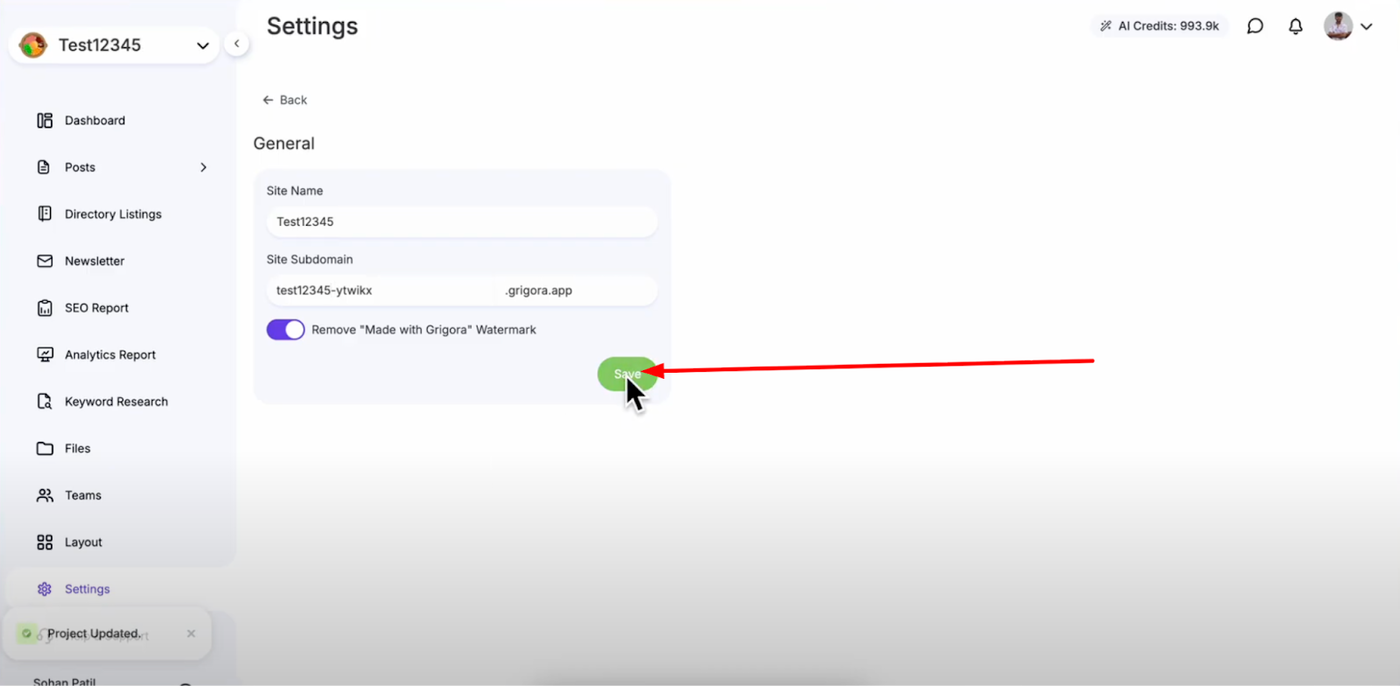
Click "Save" to apply the changes and update your site configuration. Your site name is now updated and this new name and slug will be reflected across your entire website, including page titles, navigation, and URL structure.
Pro Tip: Choose a site name and slug that are consistent with your brand and easy for visitors to remember. This change will affect how your site appears in search results and social media shares.
How to Use the File Manager in Grigora | Upload, Organize, and Manage Files
Learn how to use the File Manager in Grigora to keep your website's assets organized and accessible. This guide will show you how to browse all uploaded media, upload new files, and delete unused content for better organization and storage efficiency.
Accessing Your File Manager
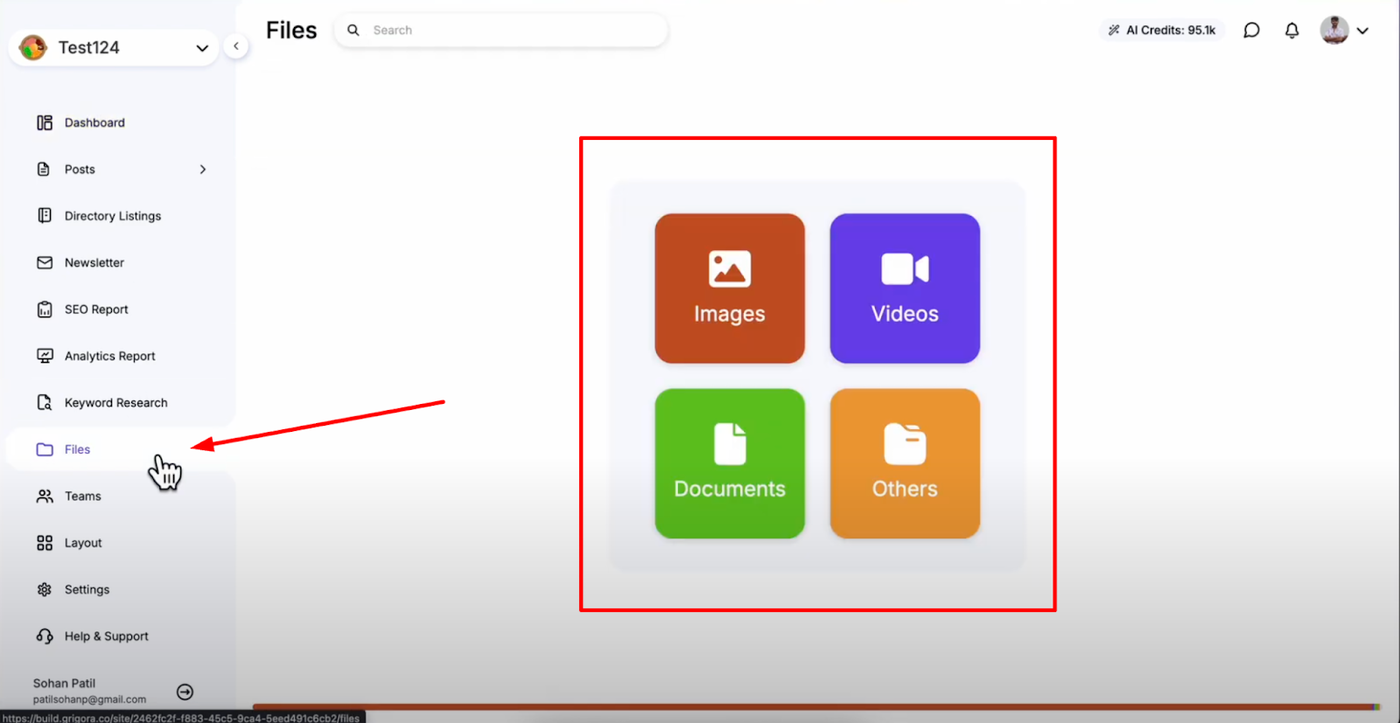
Navigate to your Grigora dashboard and click on "Files" in the sidebar to access the file manager. You'll see four categories: Images, Videos, Documents, and Others that automatically organize your uploaded content.
Browsing Your Uploaded Assets
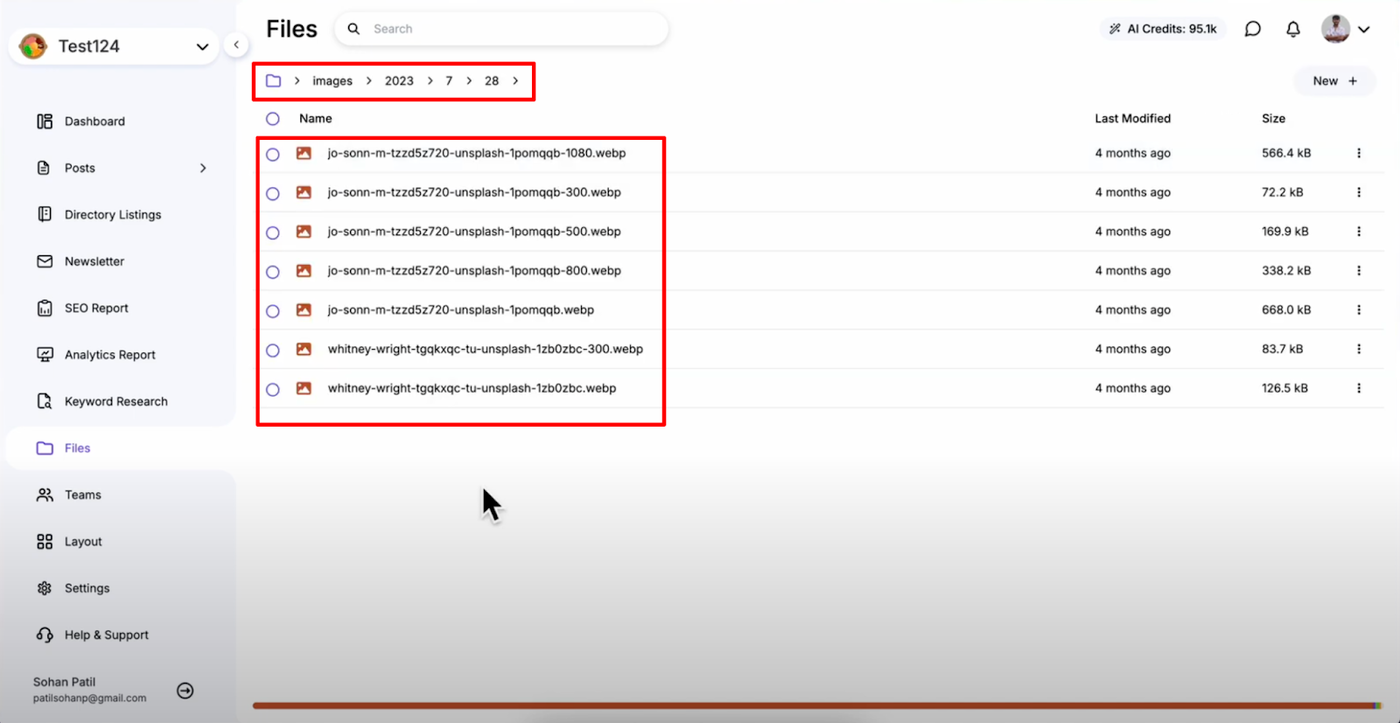
Click on any category to view your uploaded assets within that specific file type. You'll see both newly uploaded and previously uploaded files displayed.
Uploading New Files
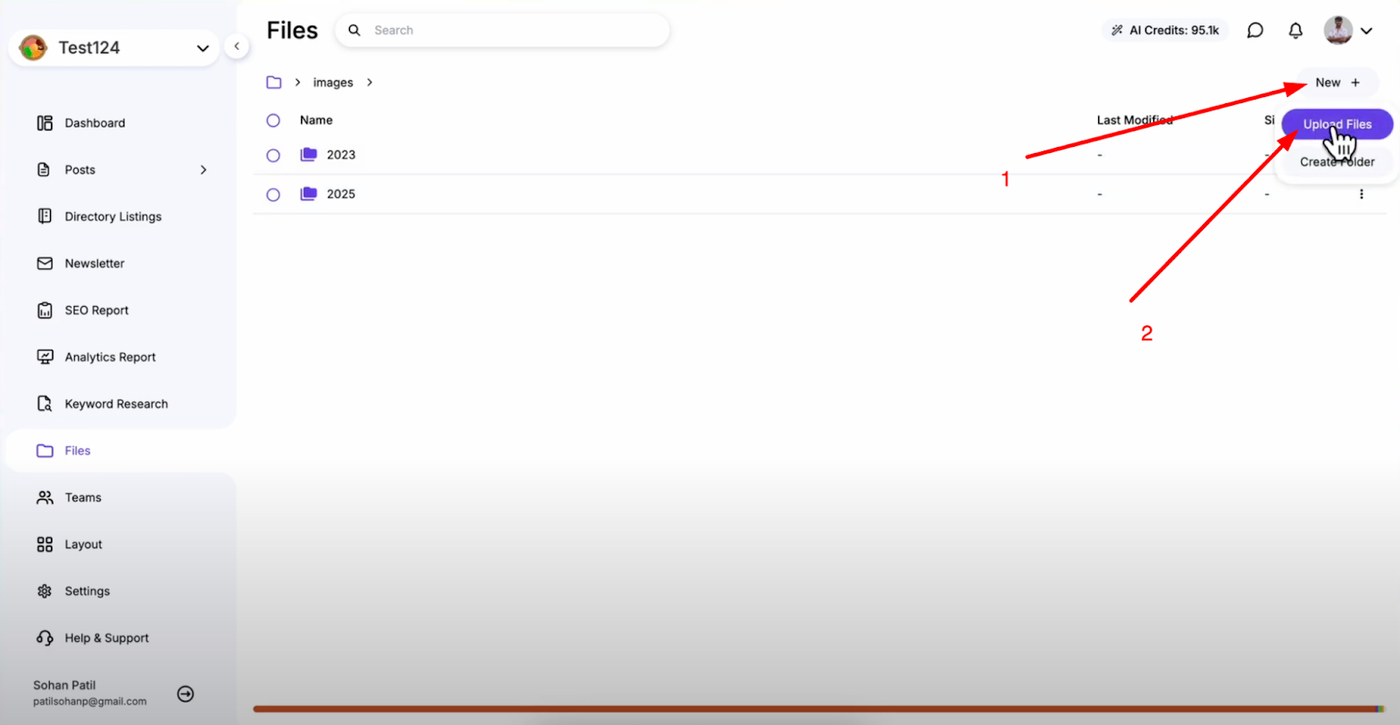
To add new content, click "New" in the top right corner, then select "Upload Files".
Deleting Unused Files
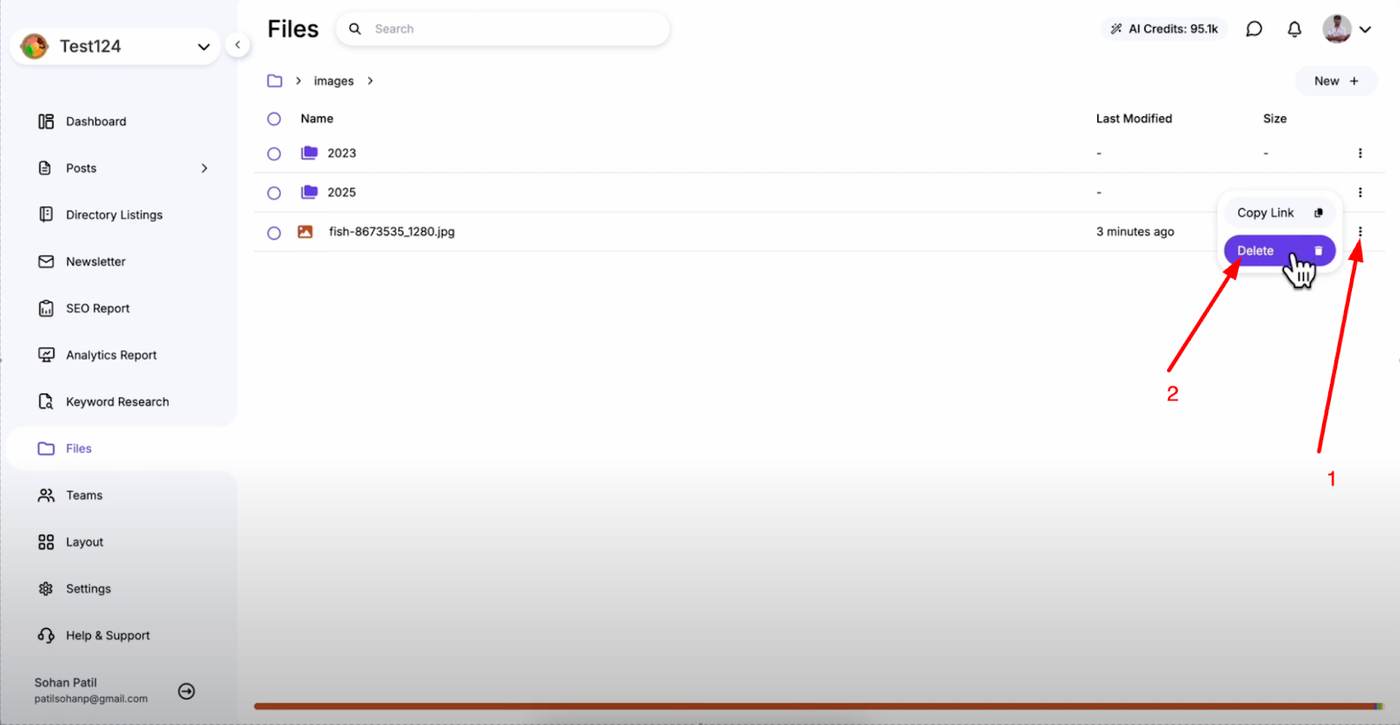
To remove files you no longer need, locate the file you want to delete. Click on the three dots next to the file and select "Delete" to remove it from your media library. This helps keep your storage clean and efficient.
Benefits of File Organization
You can repeat this process to upload images, videos, documents, and other file types to organize all your website assets in one centralized location. This makes updating your website faster and ensures better overall organization of your digital assets.
Pro Tip: Regularly clean up unused files to optimize your storage space and make it easier to find the media you actually need for your website.