

To ensure all system emails—such as account verifications, password resets, and notifications—are sent from your branded email address, you need to configure your own SMTP settings within the Grigora White Label platform.
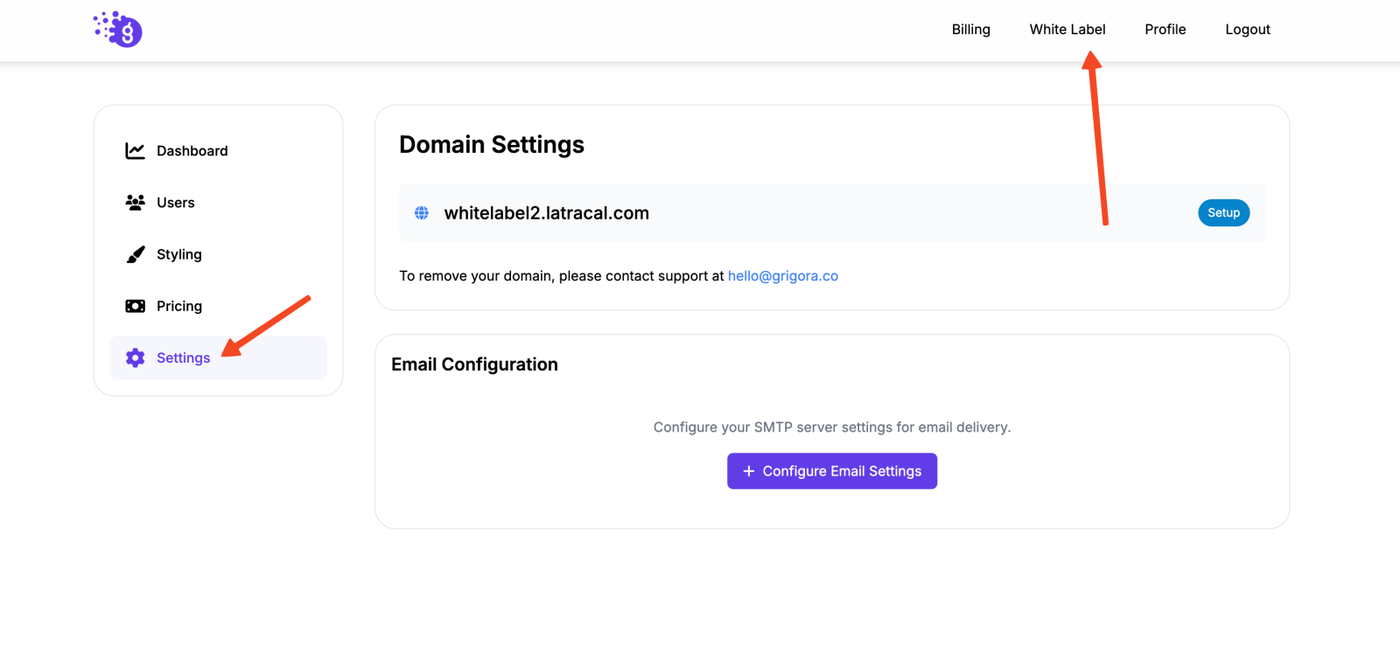
Step 1: Access the White Label Settings
-
Log in to your Grigora dashboard.
-
In the top navigation bar, click on Whitelabel.
-
From the left-hand navigation menu, click on the Settings tab.
Step 2: Configure Your SMTP Settings
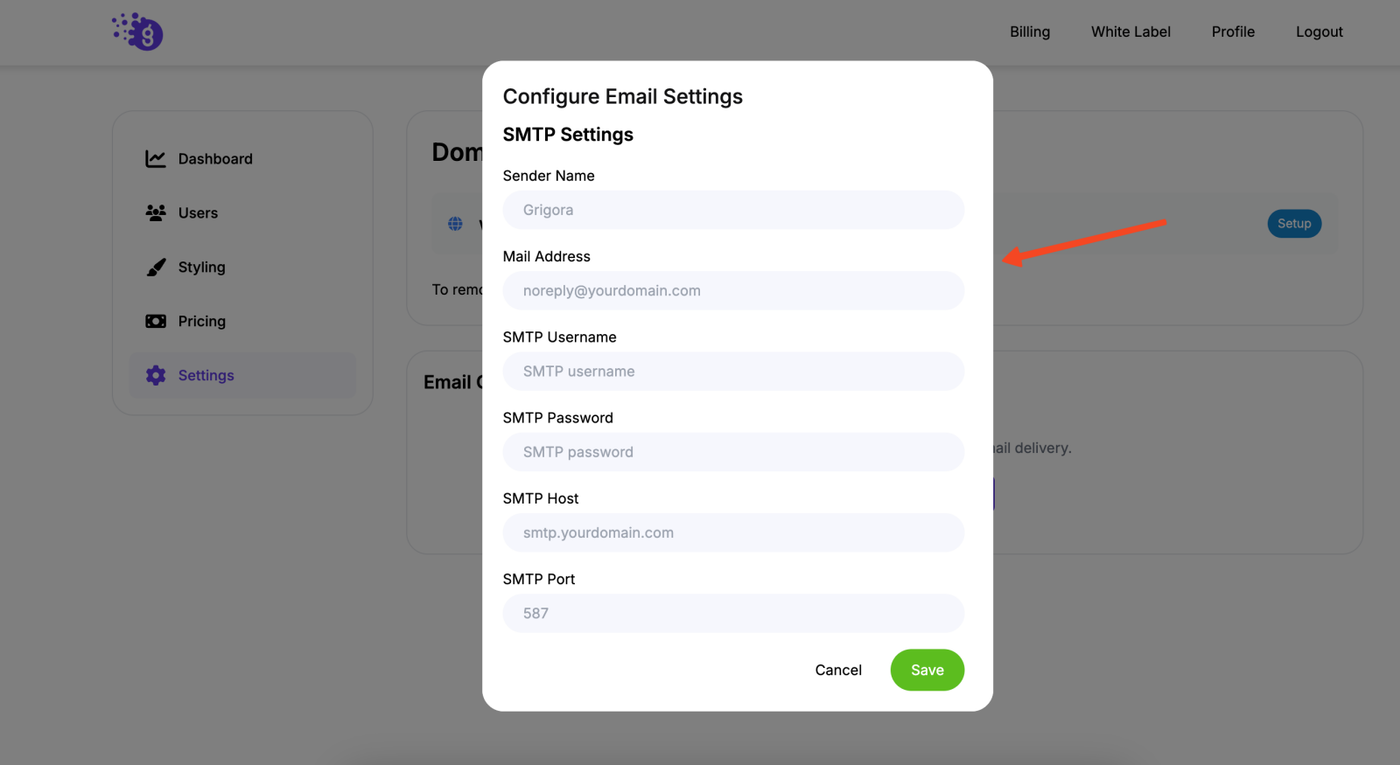
In the settings section, you will find a panel to configure your SMTP settings. Fill in the following information from your email service provider:
-
Sender Name: The name you want to appear as the sender of the emails (e.g., "Your Brand Name Support").
-
Mail Address: The email address from your domain that will be used to send the emails (e.g.,
noreply@yourwebsite.com). -
SMTP Username: This is typically the full email address you are using in the "Mail Address" field.
-
SMTP Password: The password for your email account.
-
SMTP Host: The address of your SMTP server (e.g.,
smtp.mailgun.org,smtp.gmail.com). -
SMTP Port: The port number used by your SMTP server. Common ports are 587 (for TLS) or 465 (for SSL).
Step 3: Save Your Settings
-
Once you have entered all the required SMTP details, click the Save button.
-
The platform will now use these settings to send all system-generated emails from your branded domain.
Important Notes:
-
Make sure you enter a valid SMTP host and port from your email service provider. Using incorrect information will cause emails to fail.
-
Some email providers, like Google, require you to generate an app-specific password if you have two-factor authentication enabled. This app-specific password should be used in the SMTP Password field instead of your regular account password.
-
After saving, it's a good practice to test the email sending to ensure everything is working correctly.