
Grigora allows you to adjust the published time of your blog posts, providing flexibility in controlling when your content appears to your audience.
1. Access Your Grigora Dashboard:
Log in to your Grigora account and navigate to your dashboard.
2. Select Your Website:
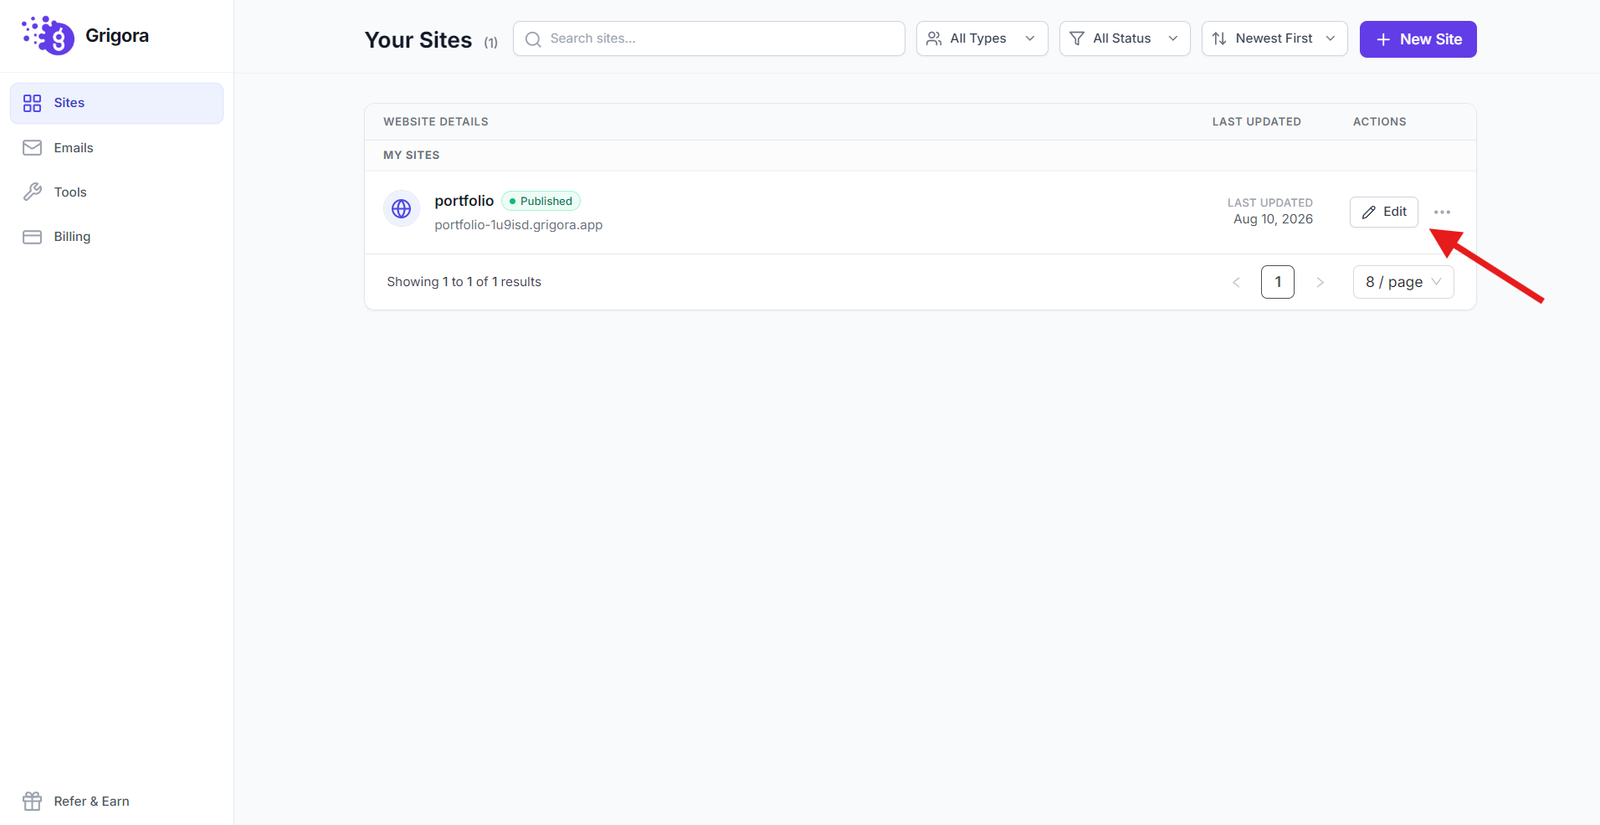
Choose the website where you want to change the published time of a blog post.
3. Navigate to the Posts Tab:
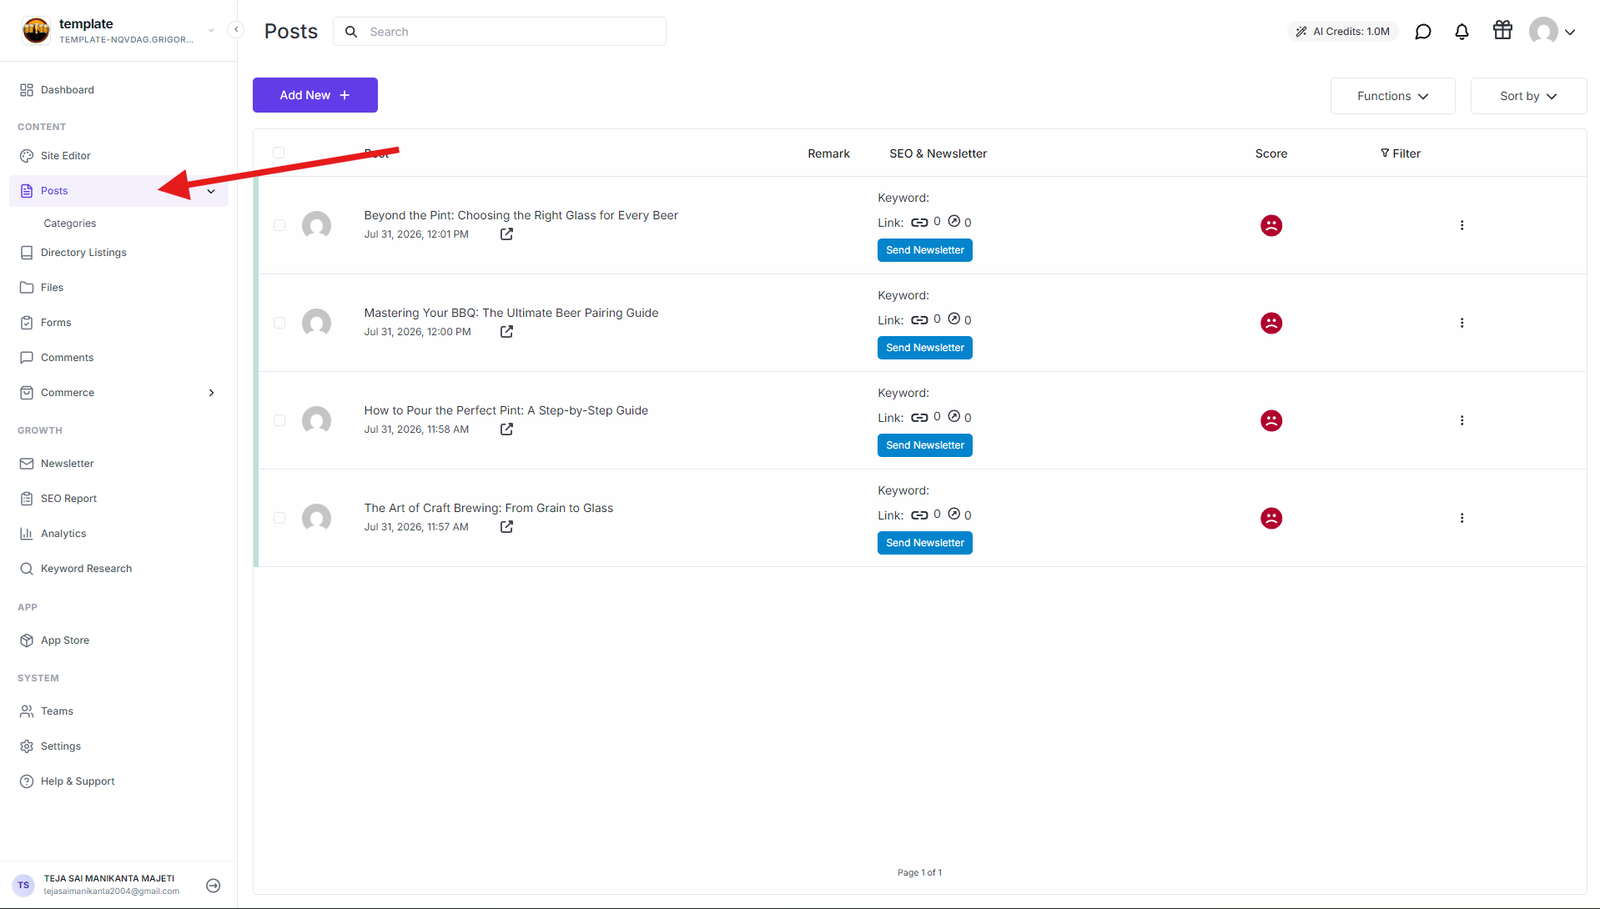
On the left-hand side navigation panel, click on "Posts".
4. Open the Post You Want to Edit:
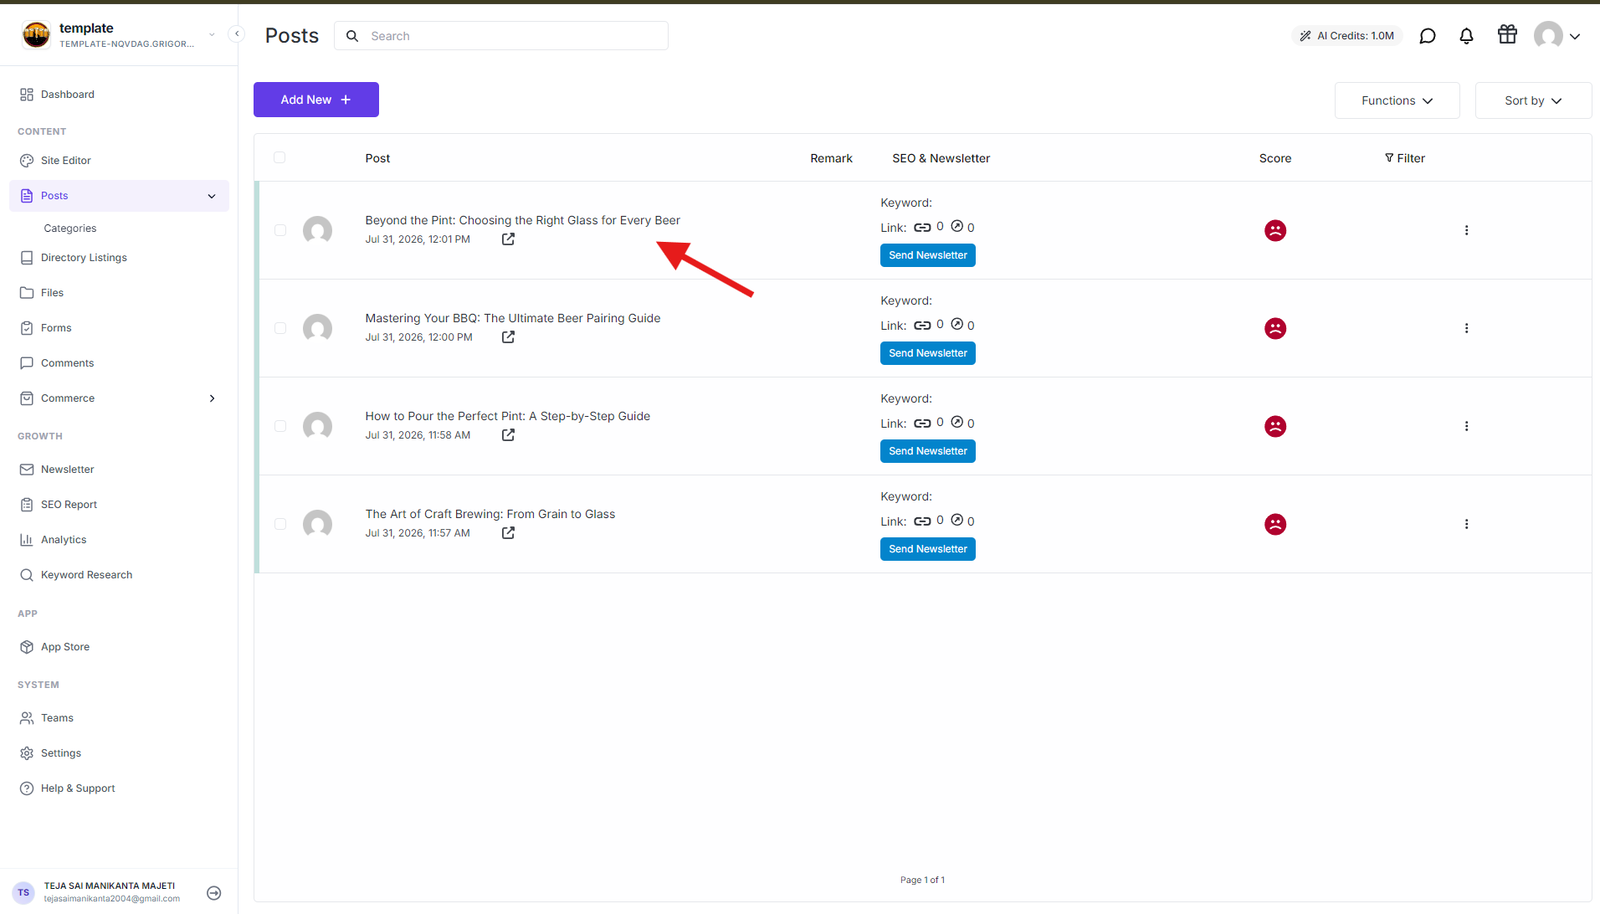
Locate the blog post you wish to modify and click on it to open the editing interface.
5. Access the Post Information:
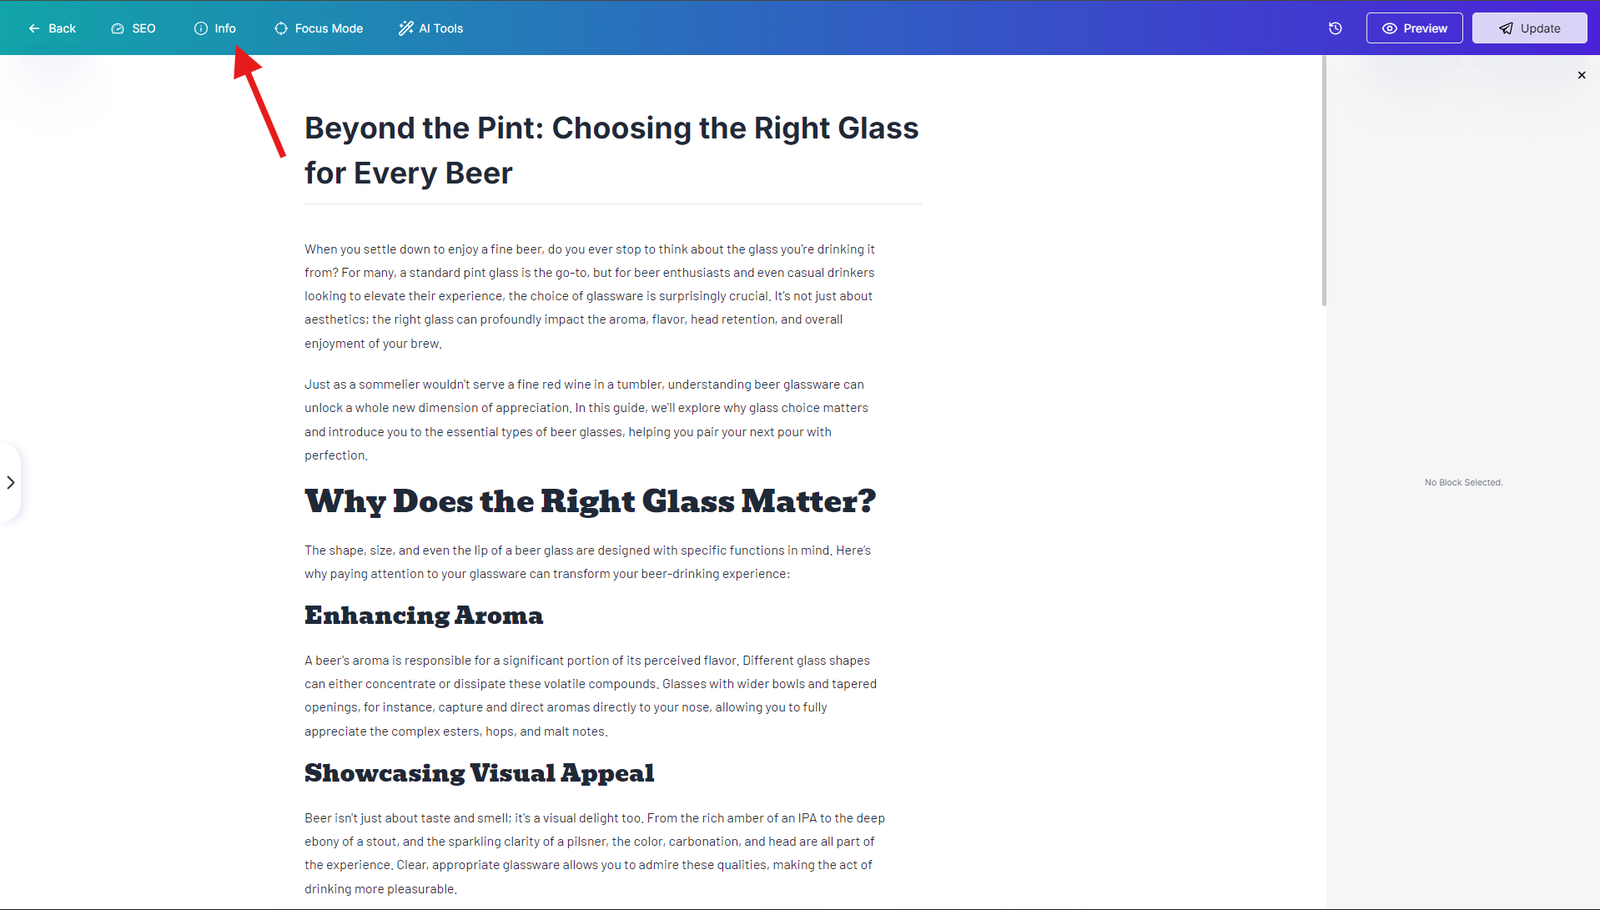
In the top bar of the editing interface, click on the "Info" button. This will open a sidebar with post details.
6. Find the Publish Time Section:
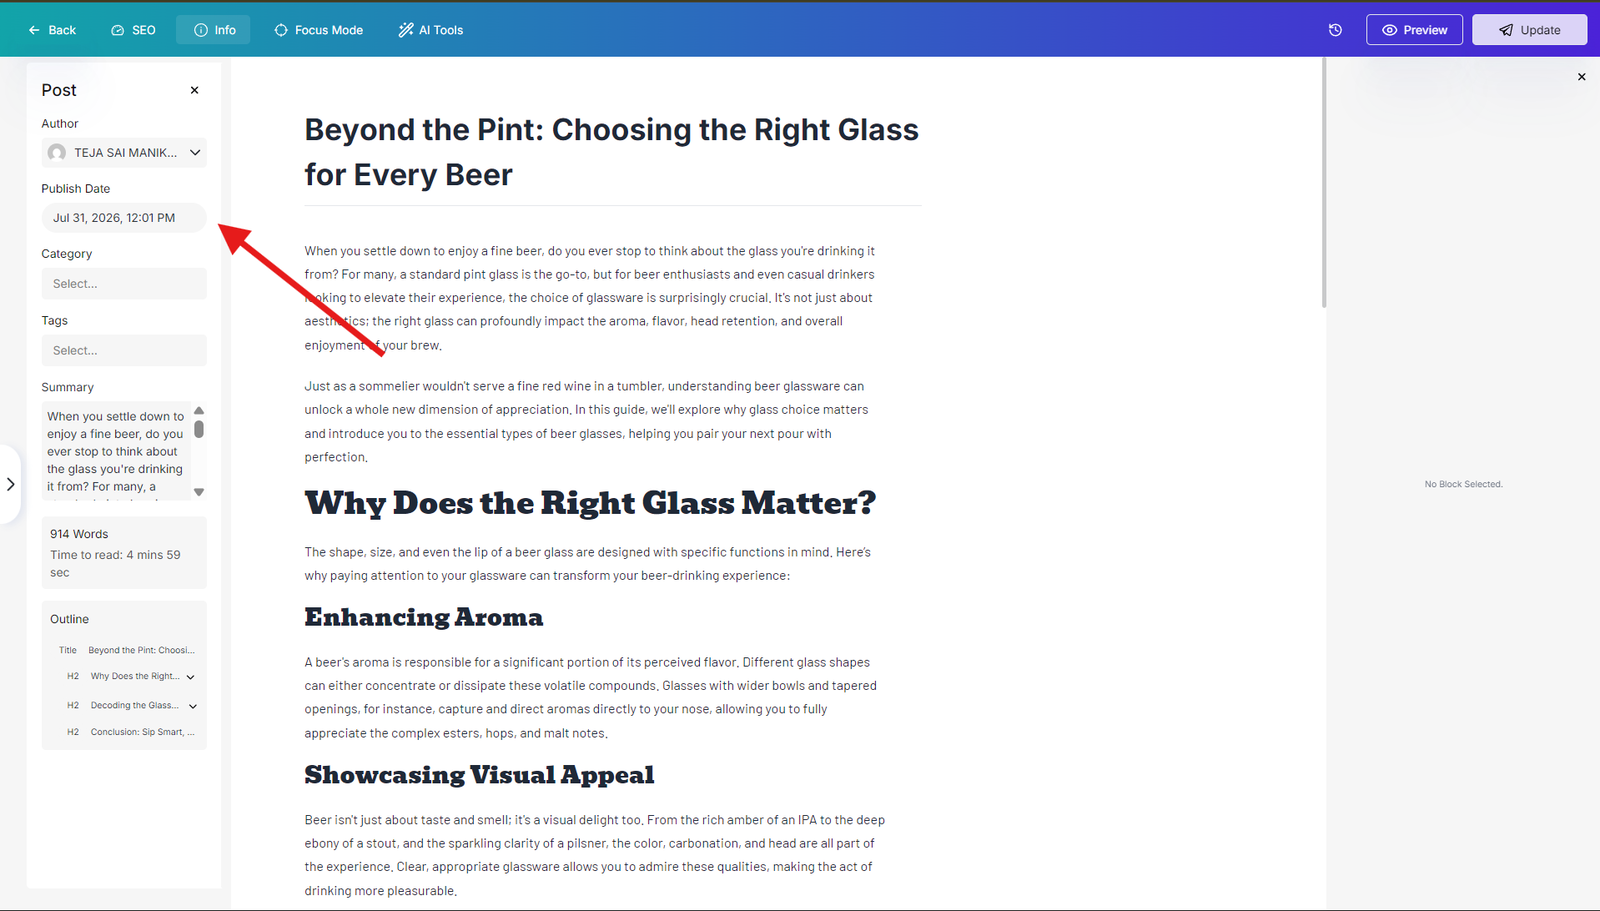
Within the post information sidebar, locate the section labeled "Publish Time".
7. Change the Published Time:
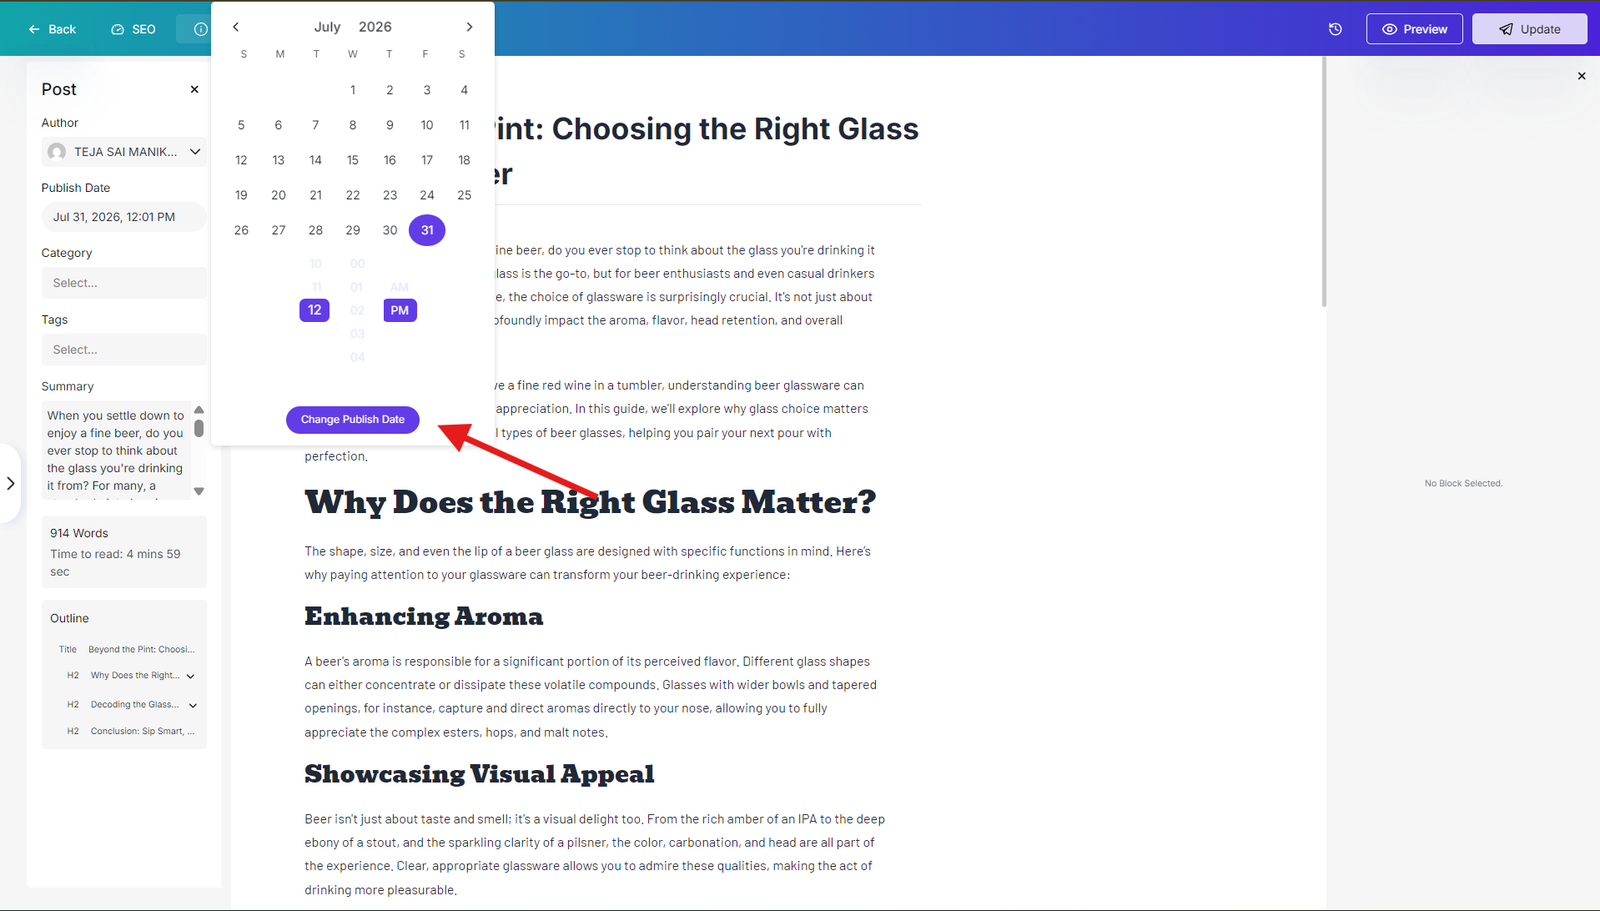
Click on the "Publish Time" field to open a calendar and time selection interface.
Select the desired date and time for your post to be published.
8. Update the Post:
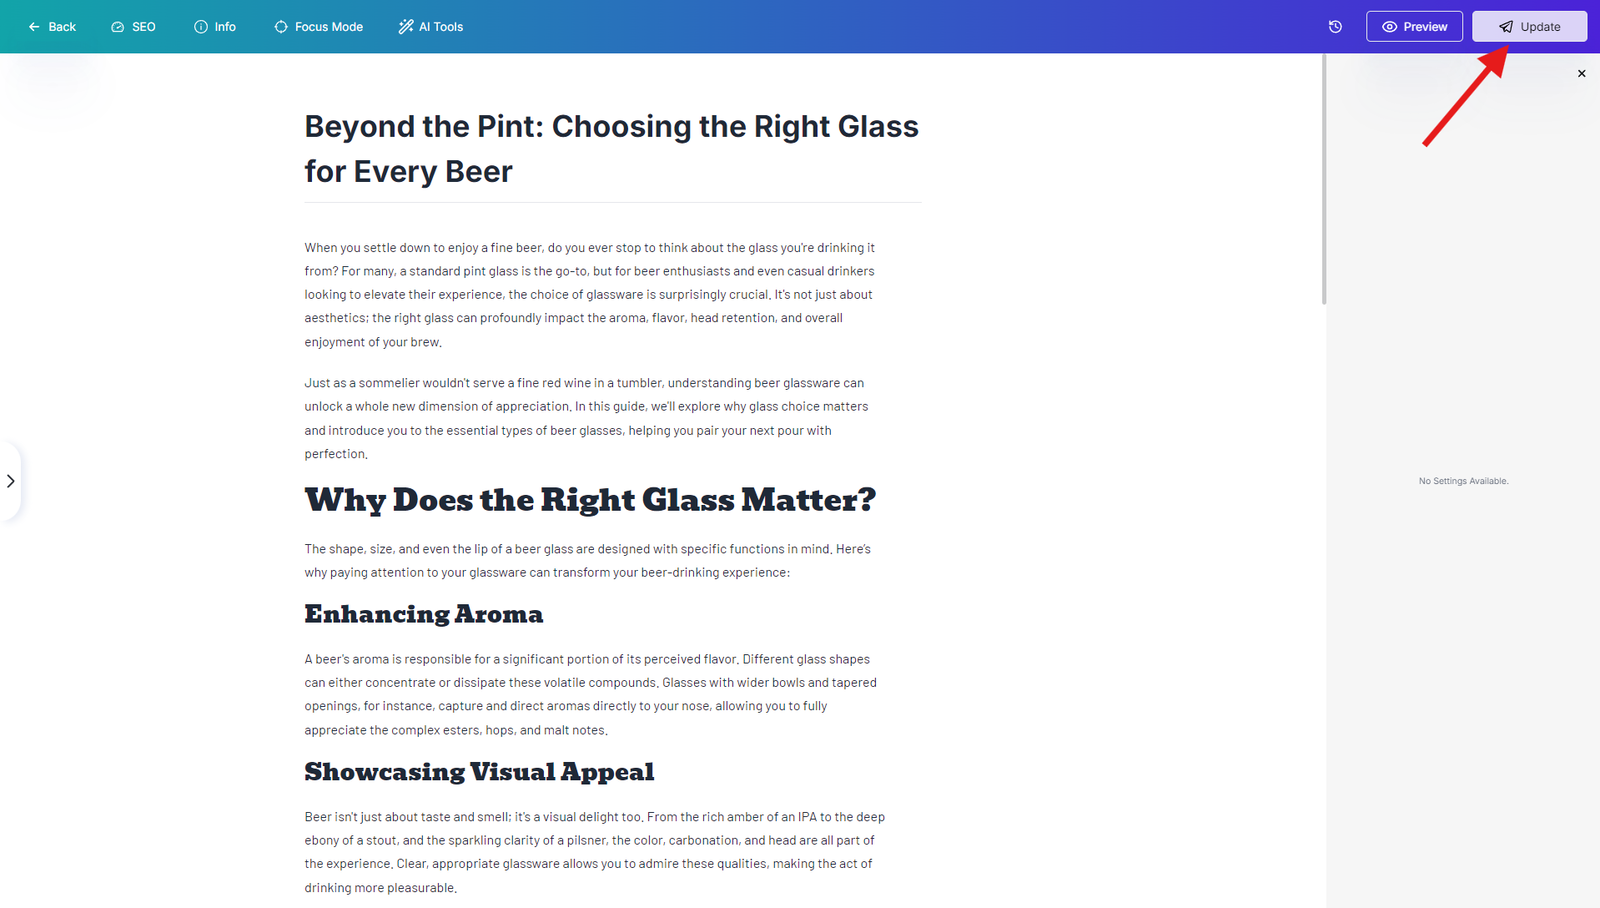
Once you've changed the published time, click on the "Update" button to save your changes.