

Migrate your Webflow CMS content to Grigora using a Webflow API token and map your Webflow collection fields to the corresponding Grigora post fields.
Note: Before starting the migration, make sure you have access to the Webflow site you want to migrate and have generated an API token with the required read-only permissions.
Get Your Webflow API Token
Step 1: Generate a Webflow API token
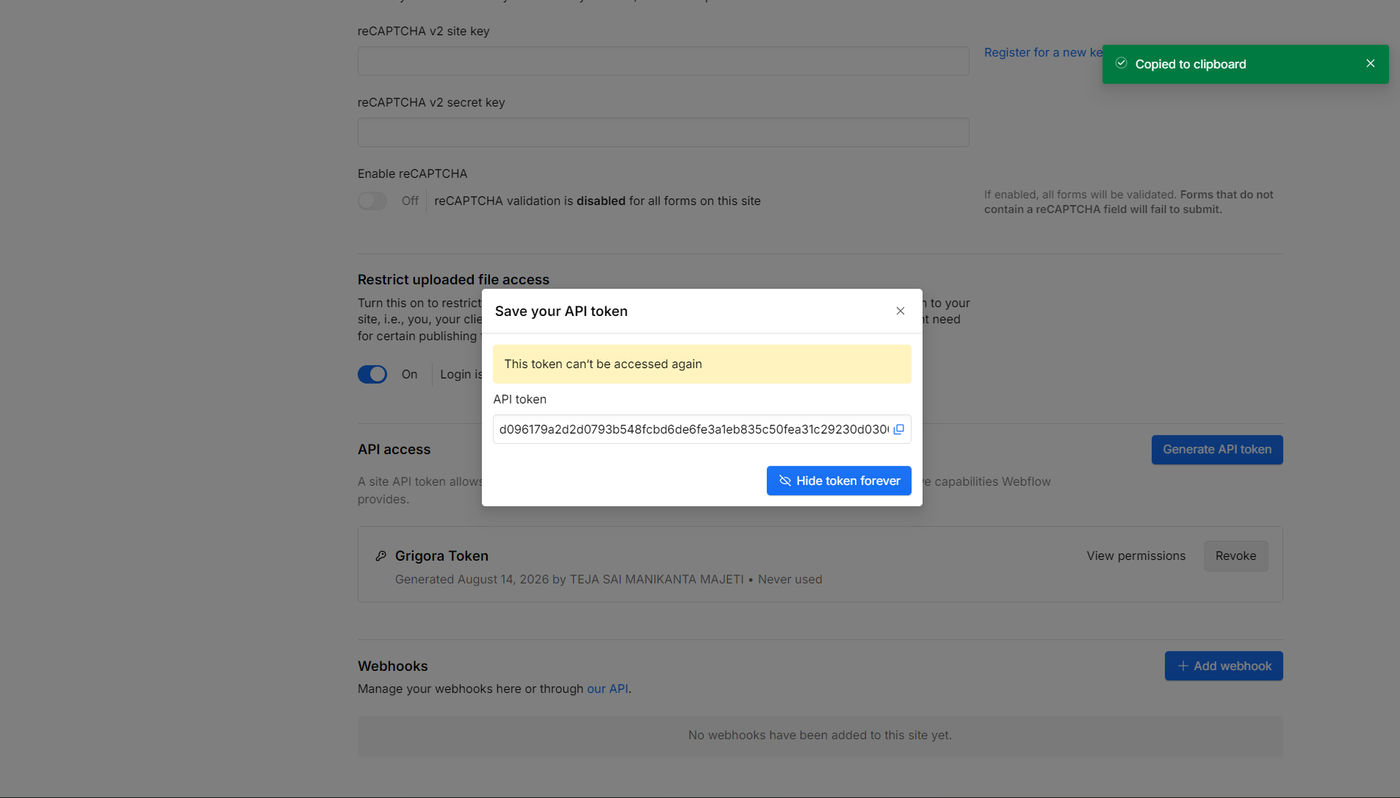
In your Webflow Dashboard, go to Project Settings → Integrations and scroll down to API Access.
Click Generate API Token and enable the required Read Only permissions for:
Sites → Read
CMS → Read
Assets → Read
Copy the generated API token.
Configure the Migration in Grigora
Step 2: Open Migration settings
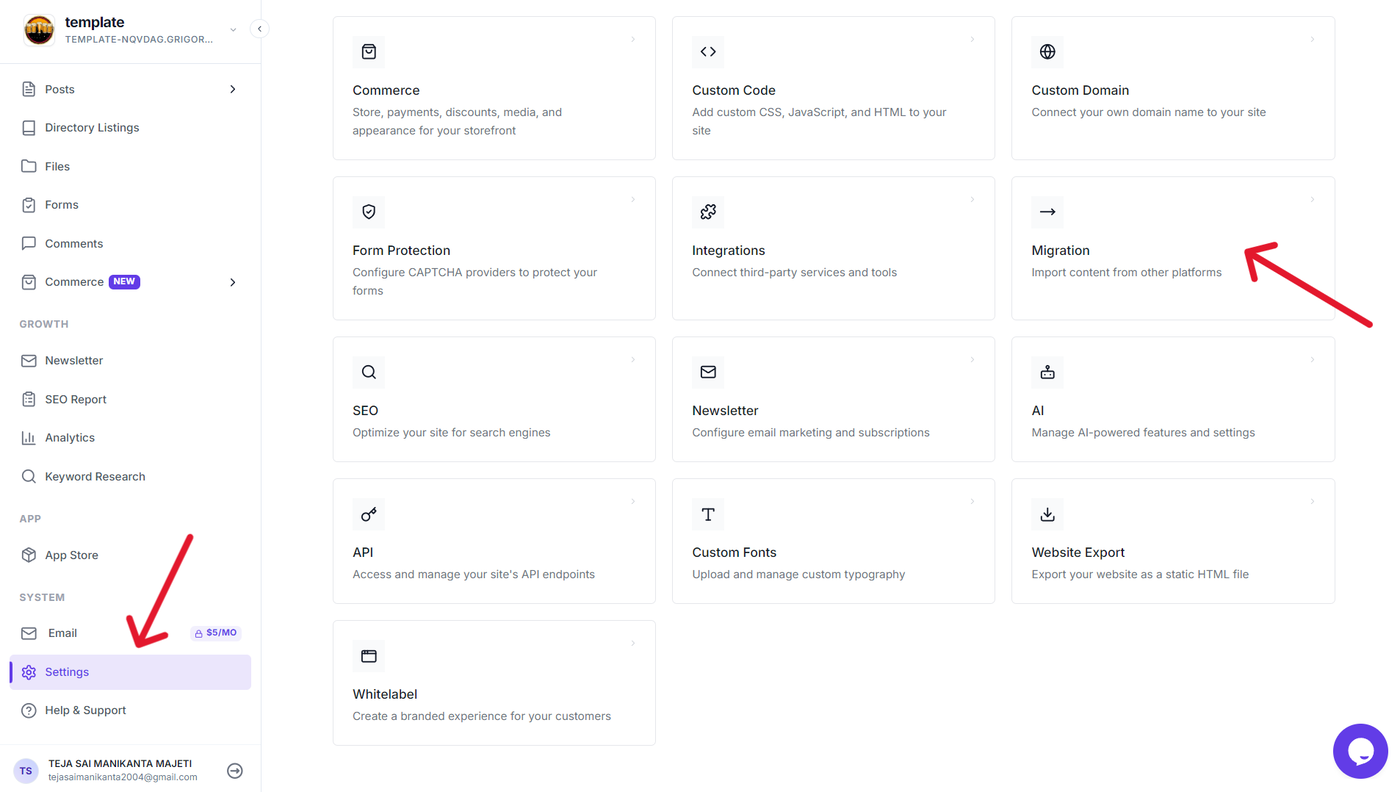
In your Grigora project, open Settings from the sidebar.
Then select Migration to open the migration settings.
Step 3: Select Webflow as the source platform
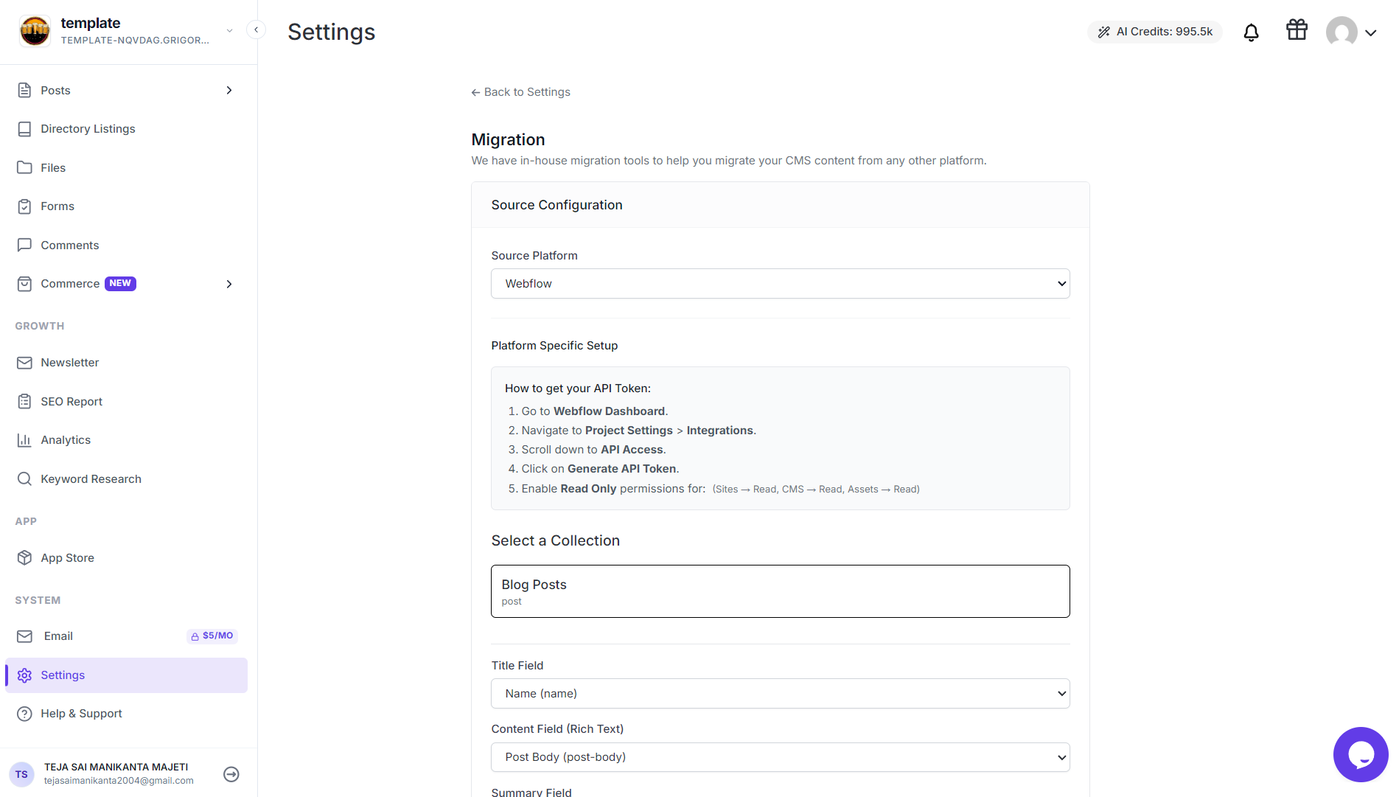
Under Source Configuration, select Webflow as the Source Platform.
Enter the Webflow API token you generated earlier to connect your Webflow account.
Select the Webflow Content
Step 4: Select the Webflow site
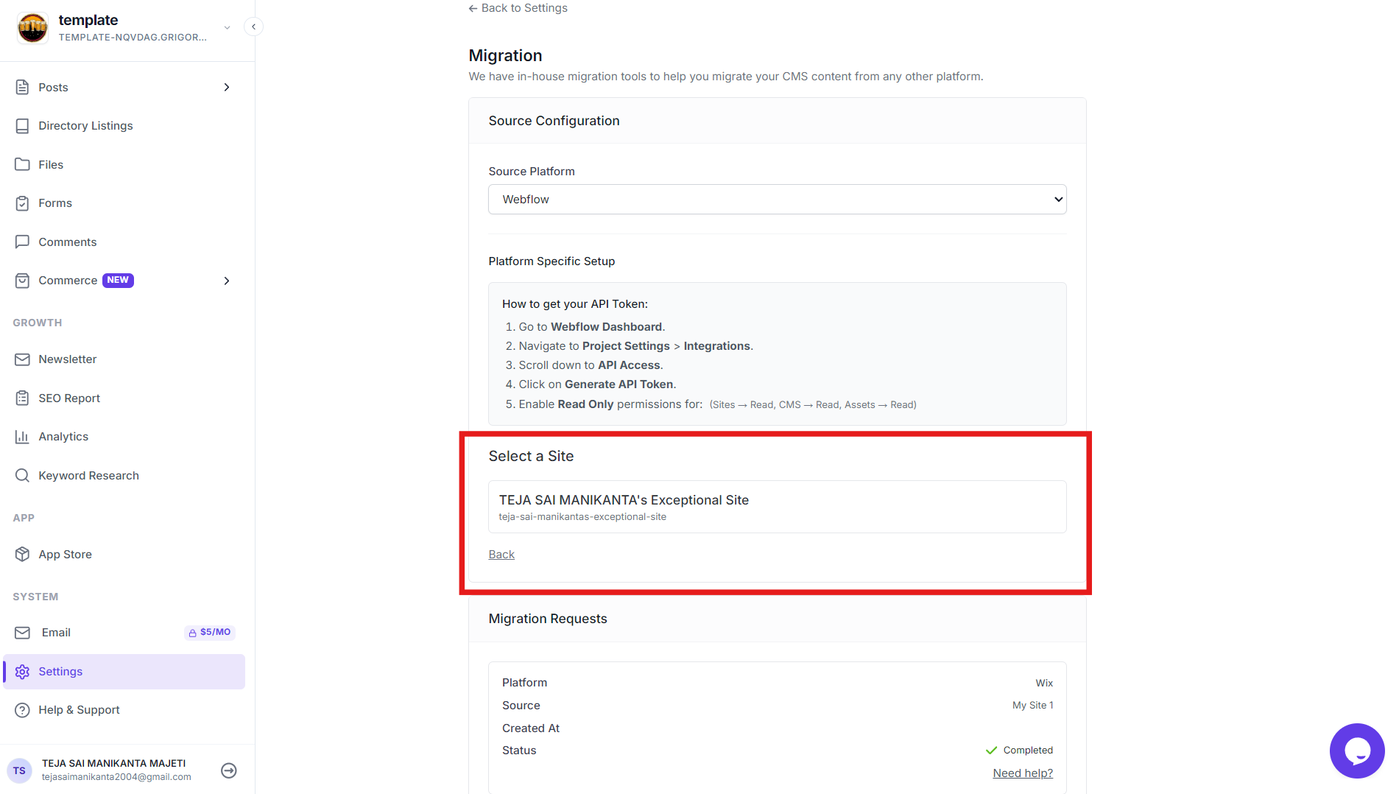
After connecting your Webflow account, Grigora displays the available Webflow sites.
Select the site you want to migrate.
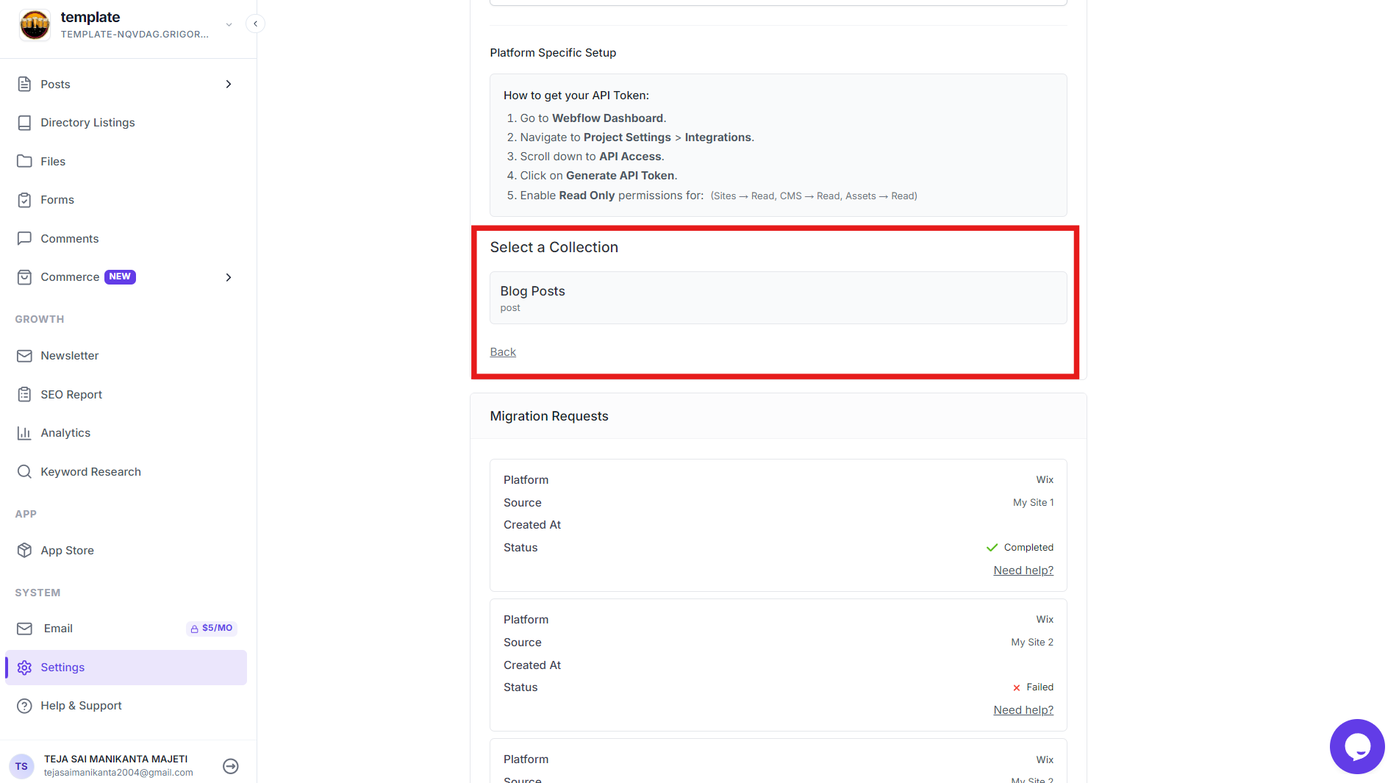
Step 5: Select a collection
Select the Webflow CMS collection that contains the content you want to migrate.
For example, select your Blog Posts collection to migrate your blog content.
Map Collection Fields
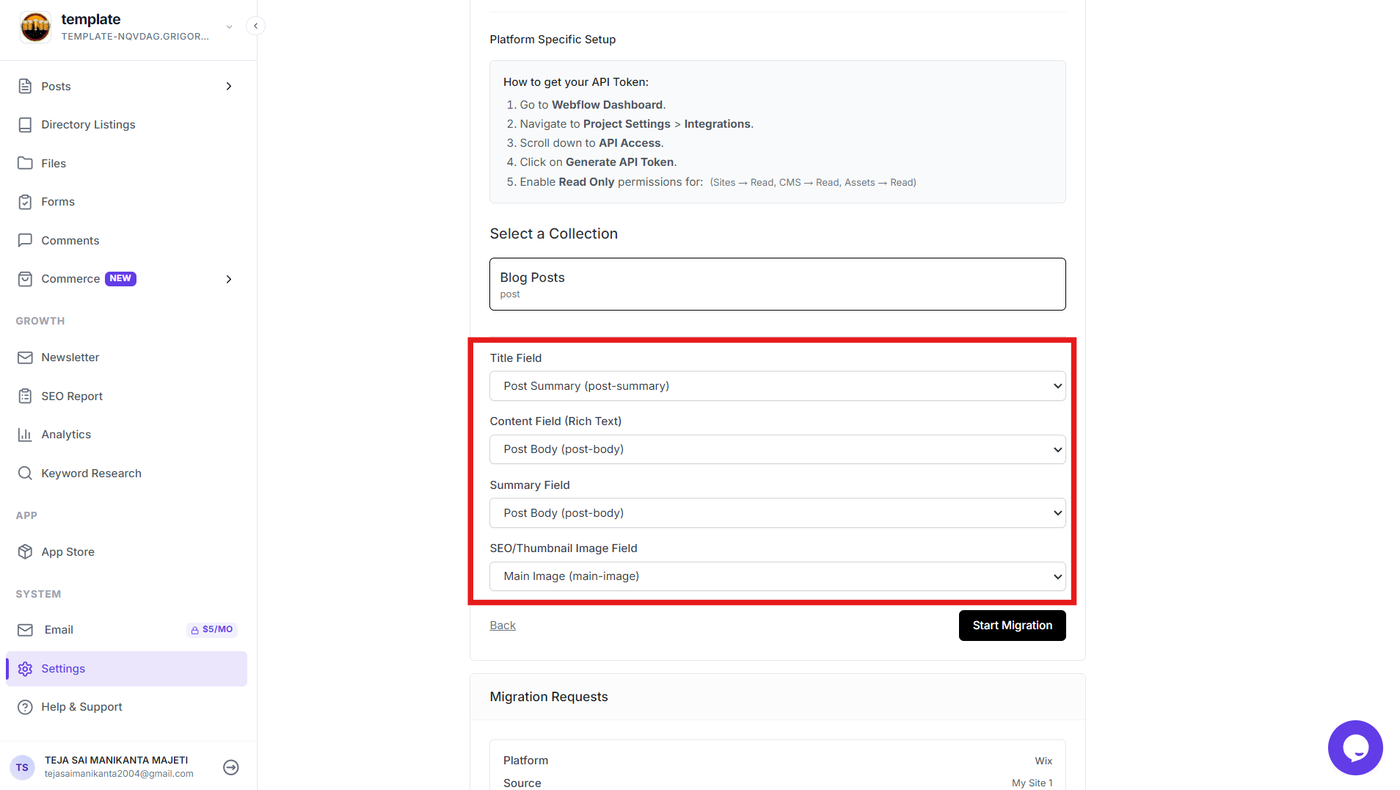
Step 6: Map the title and summary fields
Choose the corresponding Webflow fields for the Grigora post fields:
Title Field — Select the field containing your post title, such as Name.
Summary Field — Select the field containing your post summary or excerpt, such as Post Summary.
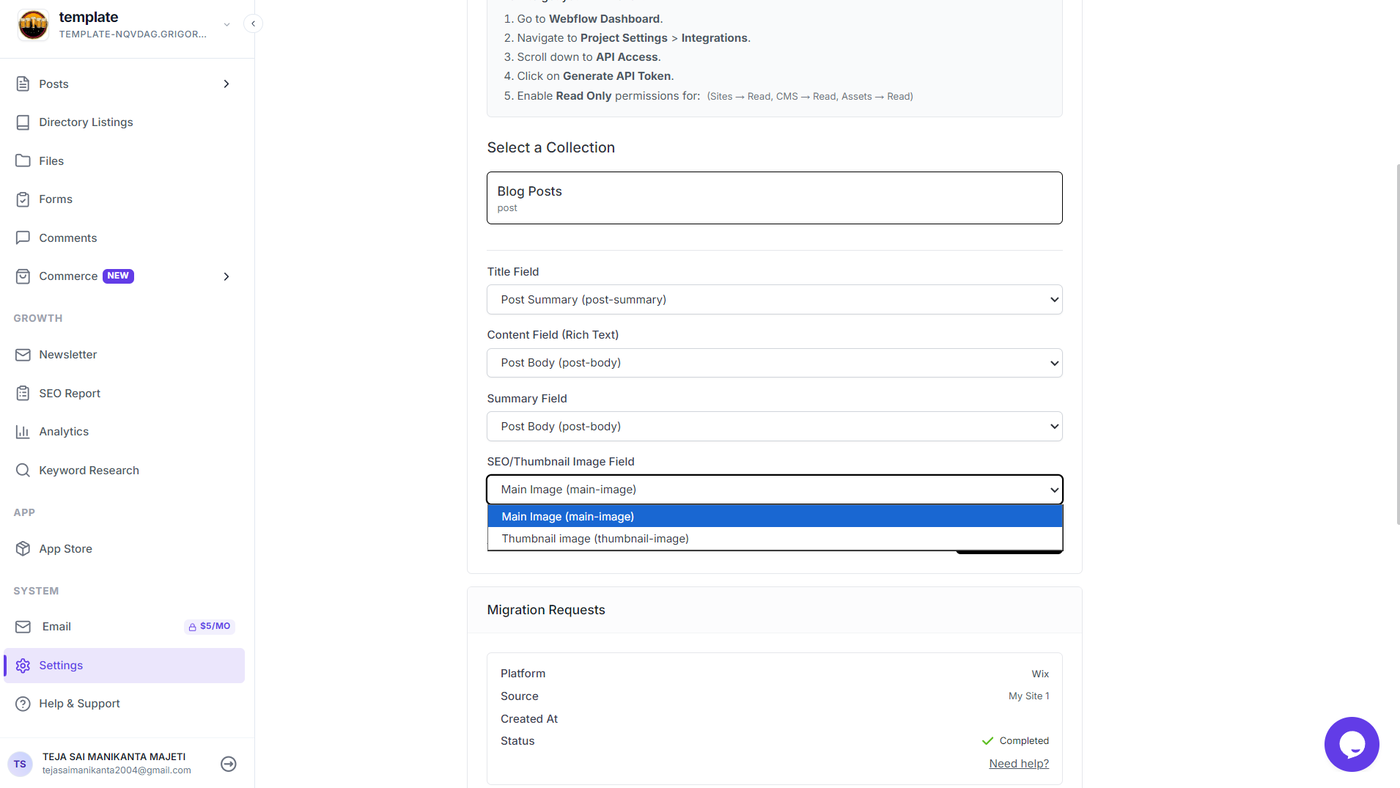
Step 7: Map the SEO and thumbnail image
Under SEO/Thumbnail Image Field, select the Webflow image field you want to use for the migrated post's image.
For example, you can select Main Image or Thumbnail image, depending on where your images are stored in Webflow.
Start the Migration
Step 8: Start the migration
Review the selected site, collection, and field mappings.
Click Start Migration to begin importing the selected Webflow content into Grigora.
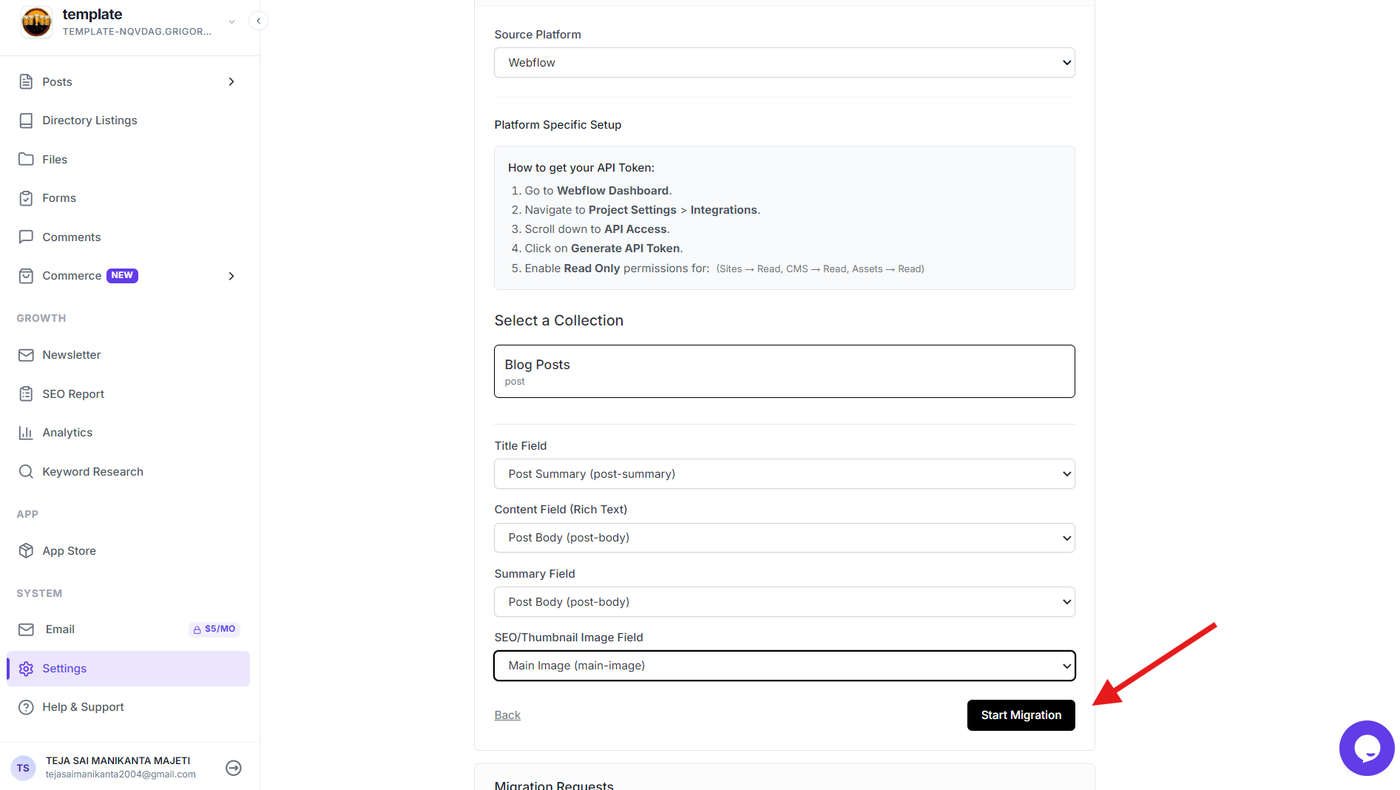
Grigora will process the migration request and import the supported content into your project.
Verify the Migrated Content
Step 9: Review the migrated content
Once the migration is complete, open the relevant content section in Grigora and verify the imported posts.
Check that the:
Post titles and summaries are correct.
Post content has been imported.
Images are assigned correctly.
Slugs and other available content are preserved.
Make any necessary adjustments to the migrated content before publishing your site.