
Move your WordPress content to Grigora using the migration tool. Follow these steps to export, import, and review your content:
1. Access Your Grigora Dashboard:
Log in to your Grigora account and navigate to your dashboard.
2. Select Your Website:
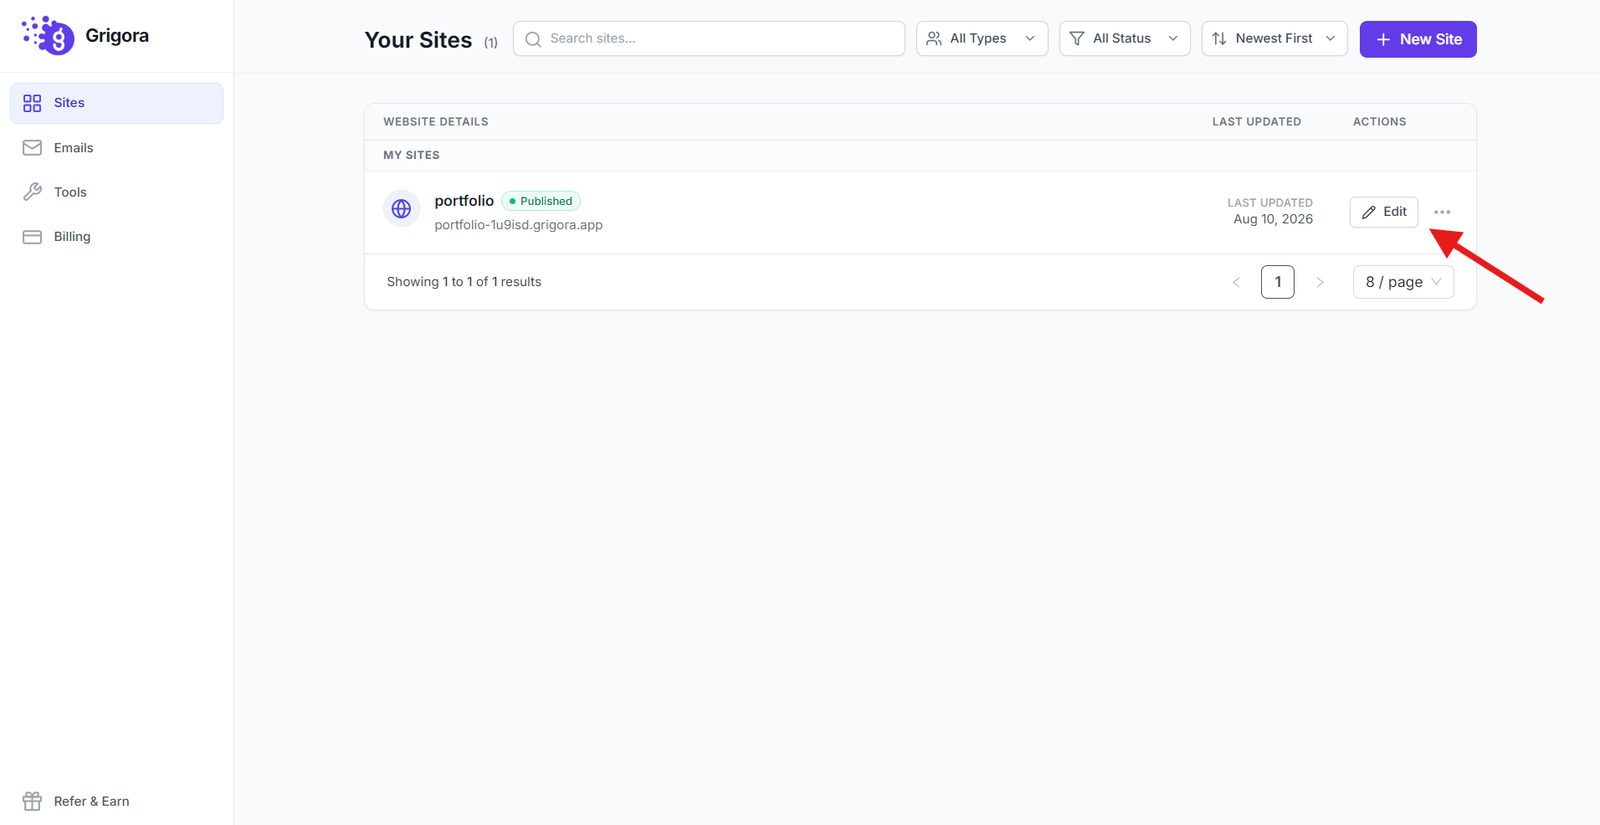
Choose the website where you want to perform the migration.
3. Navigate to Settings:
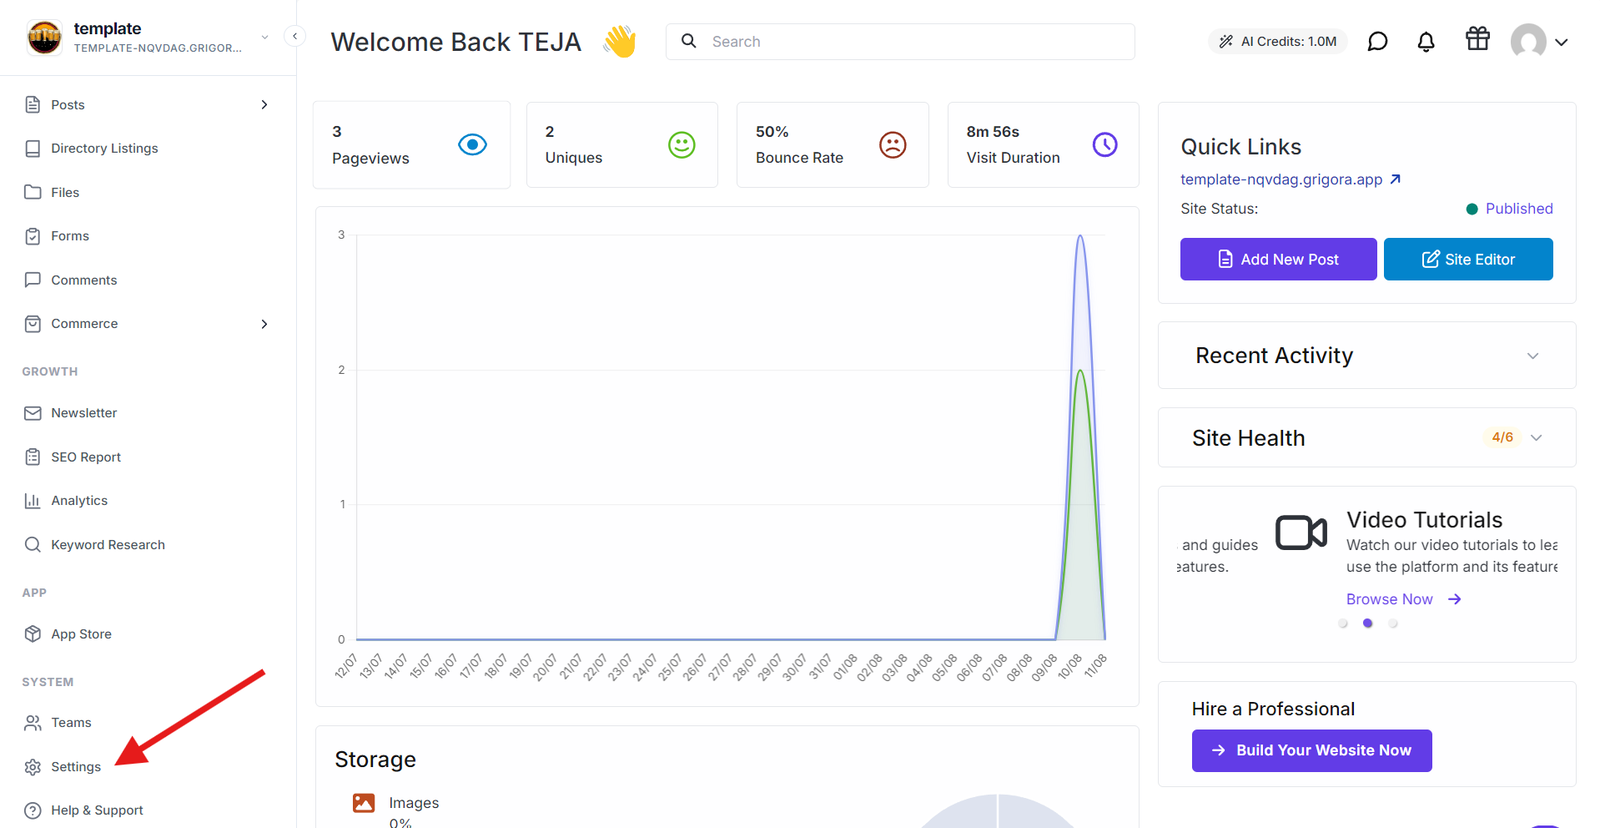
On the left-hand side navigation panel, click on "Settings".
4. Select Migration:
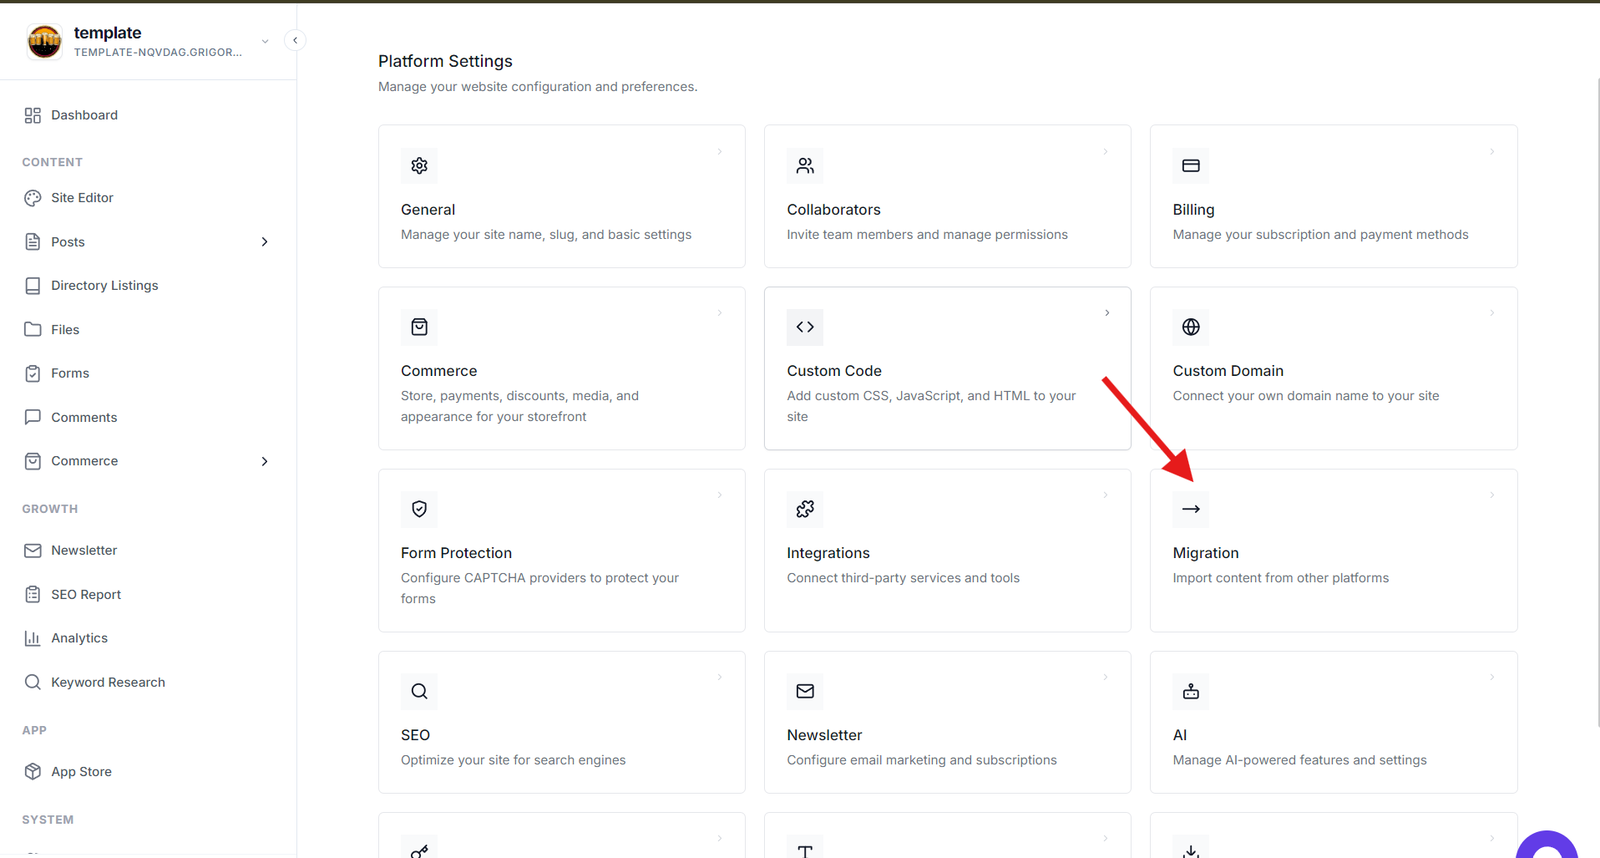
6. Choose Platform:
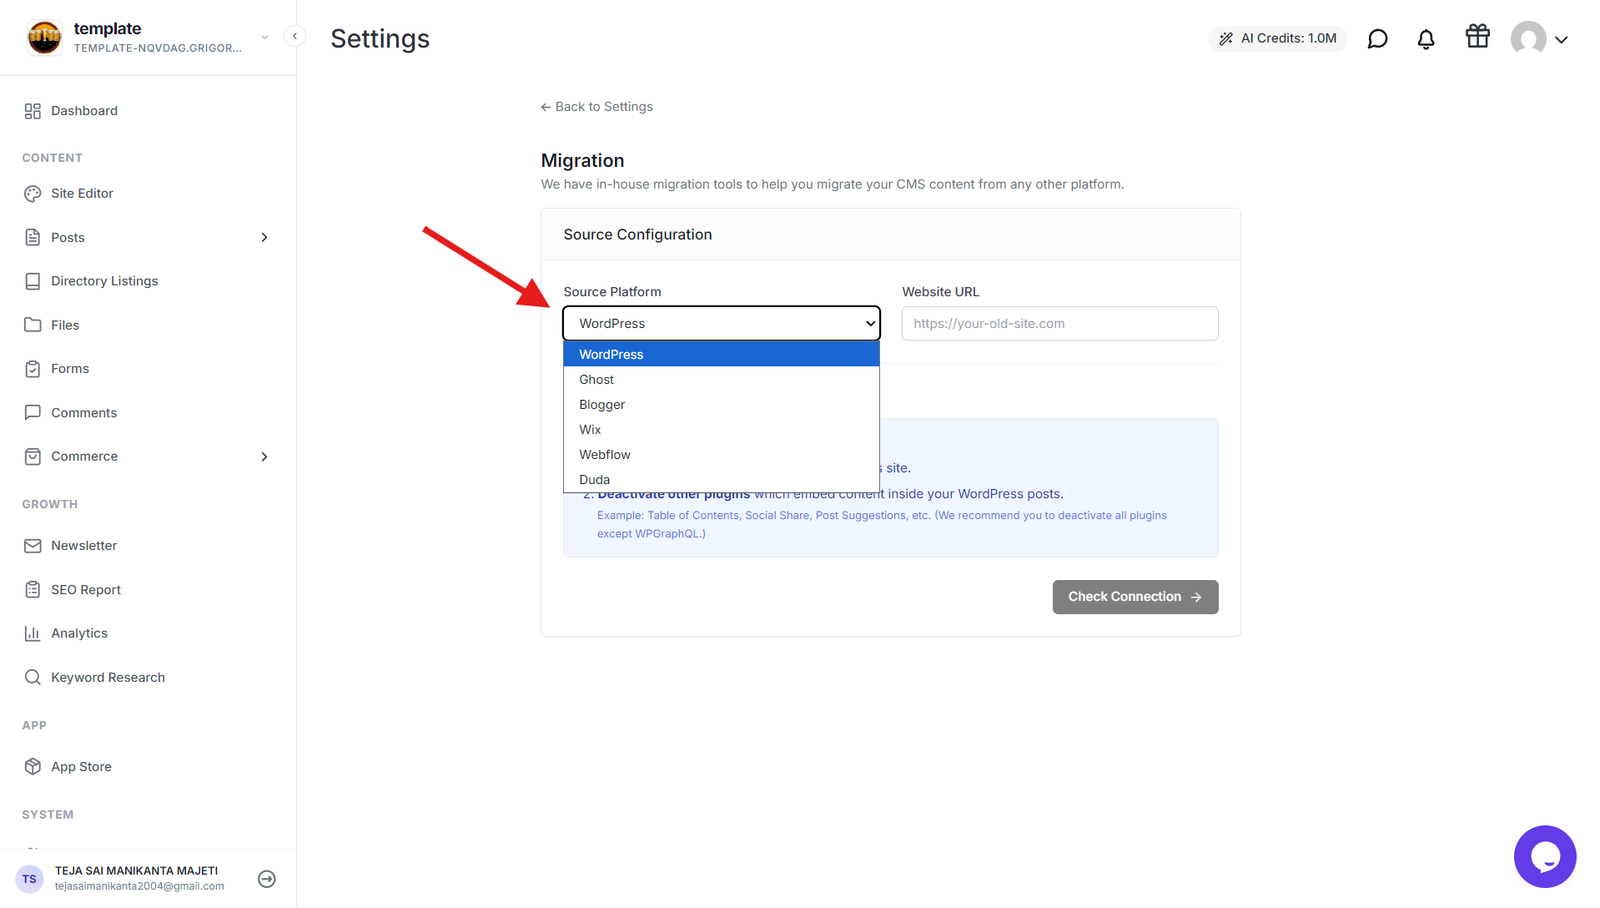
In the Migration section, select the desired platform from the available list.
Provide the Required Information
Enter the information required for the selected platform, such as your website URL, login credentials, or other platform-specific details.
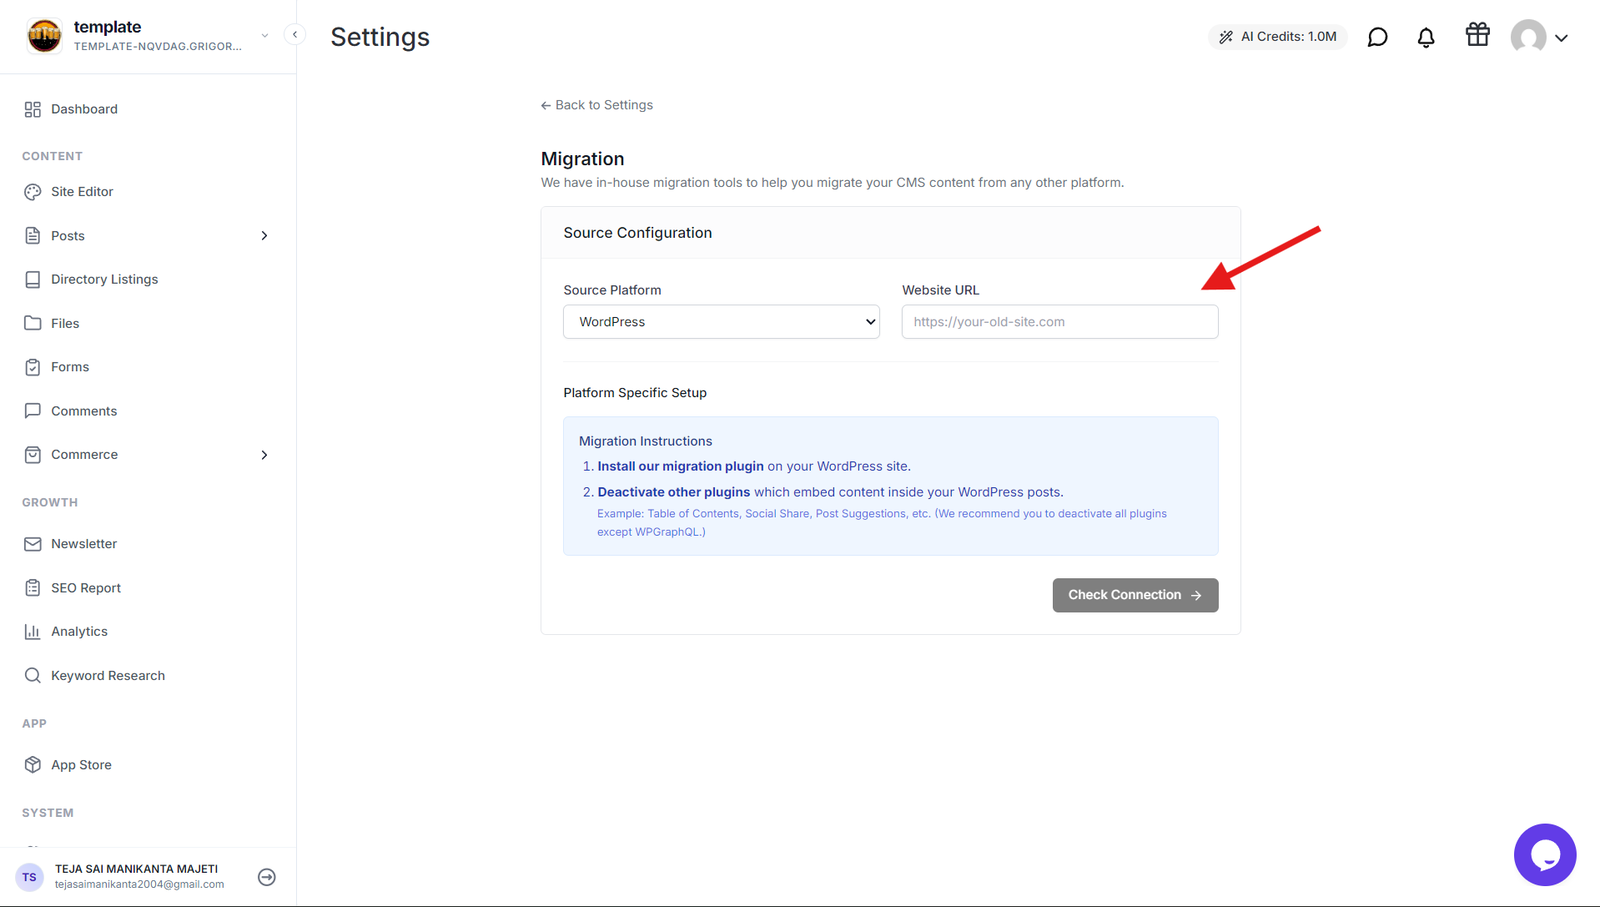
Enter the URL of your base WordPress installation in the provided field.
8. Install WPGraphQL Plugin:
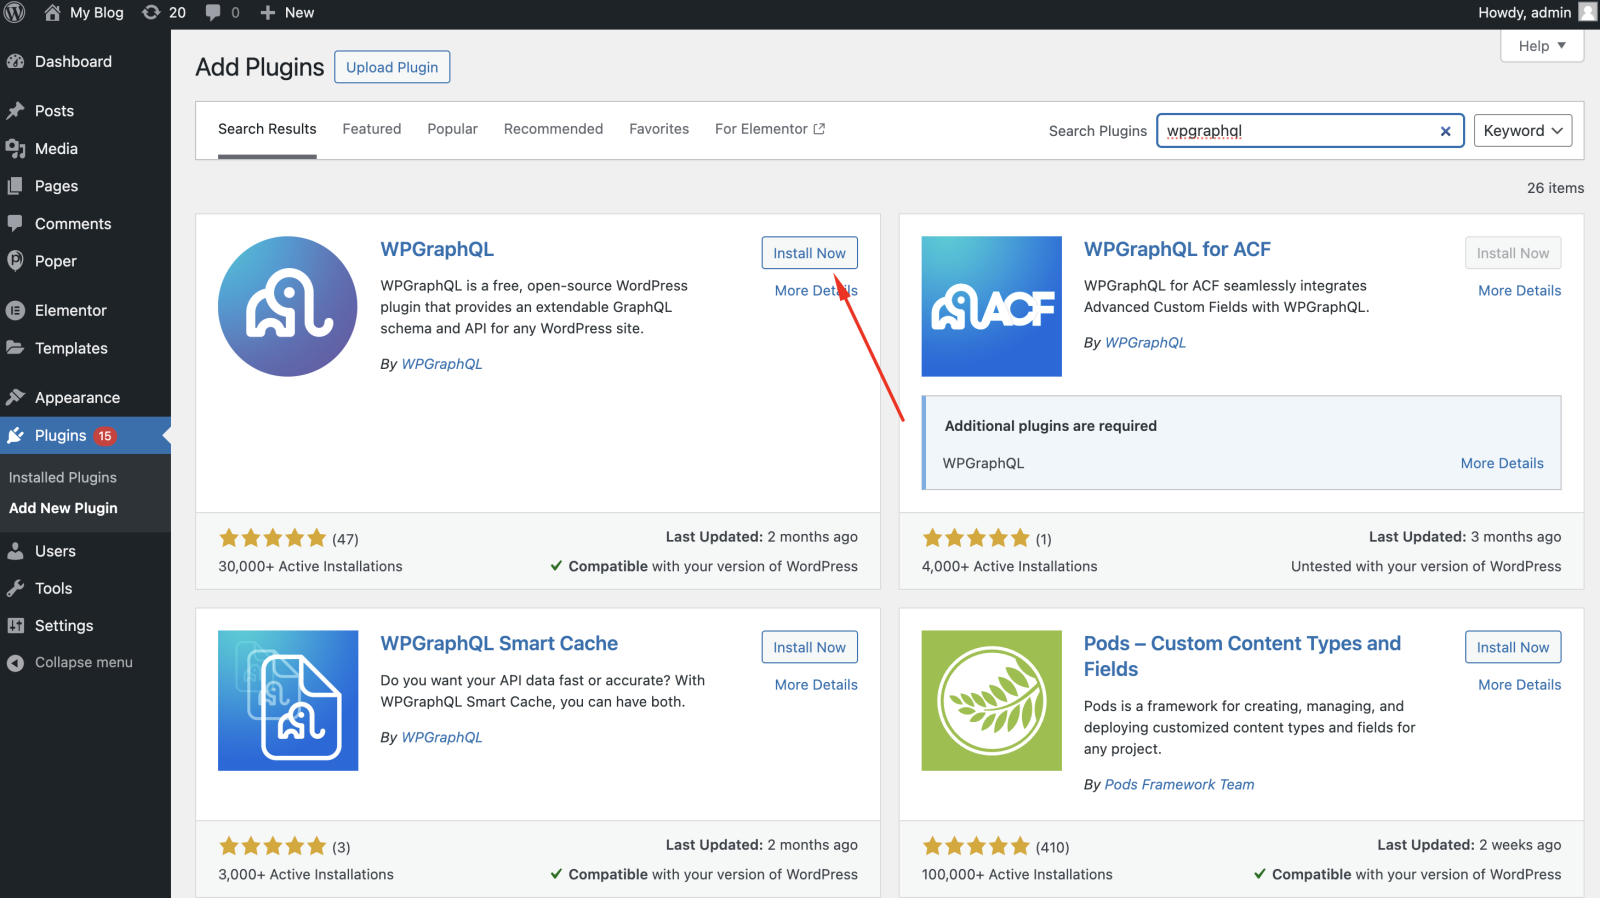
You'll be instructed to install the WPGraphQL plugin on your WordPress website. Follow the provided instructions to install and activate the plugin.
9. Test the Connection:
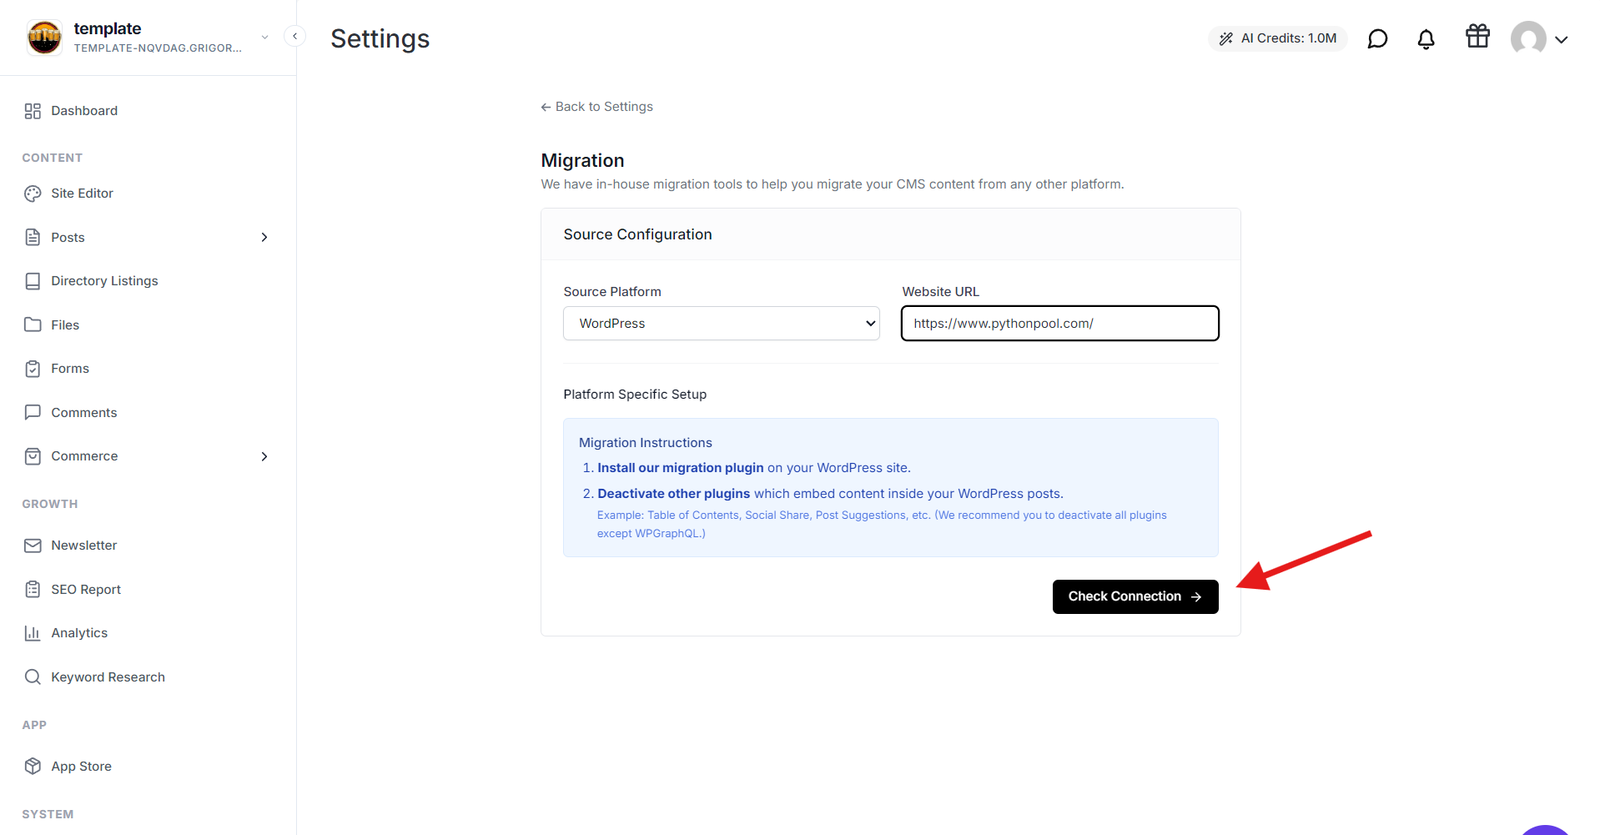
After installing WPGraphQL, click the "Test" button in Grigora. This will test the connection between your WordPress website and Grigora.
10. Start the Migration (if Test is Successful):
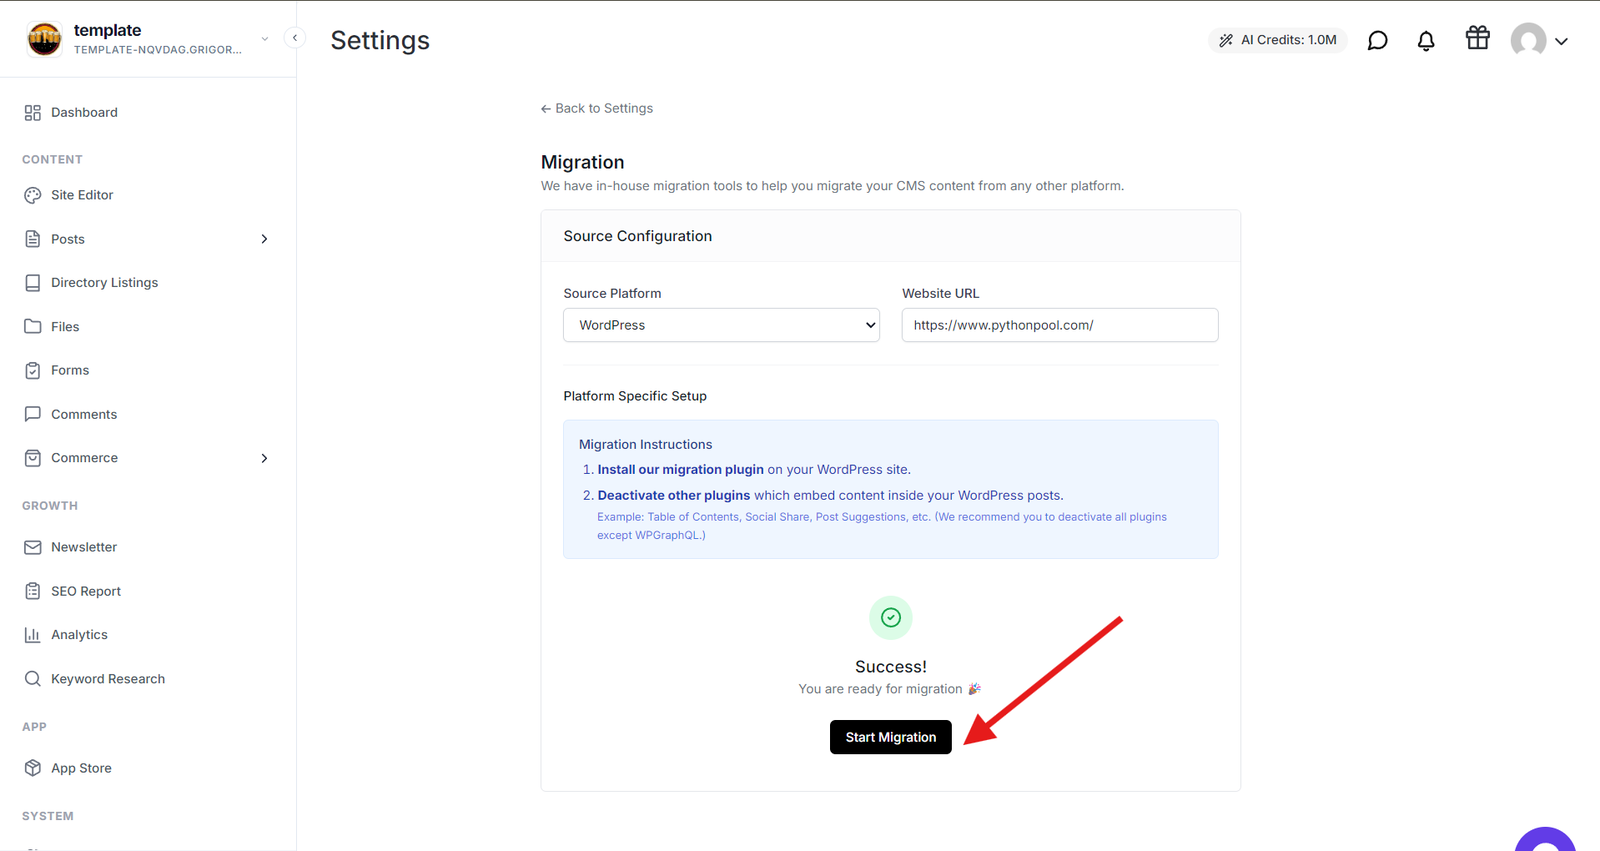
If the test is successful, you can proceed with the migration. Click on the "Start Migration" button.
11. Monitor the Migration Process:
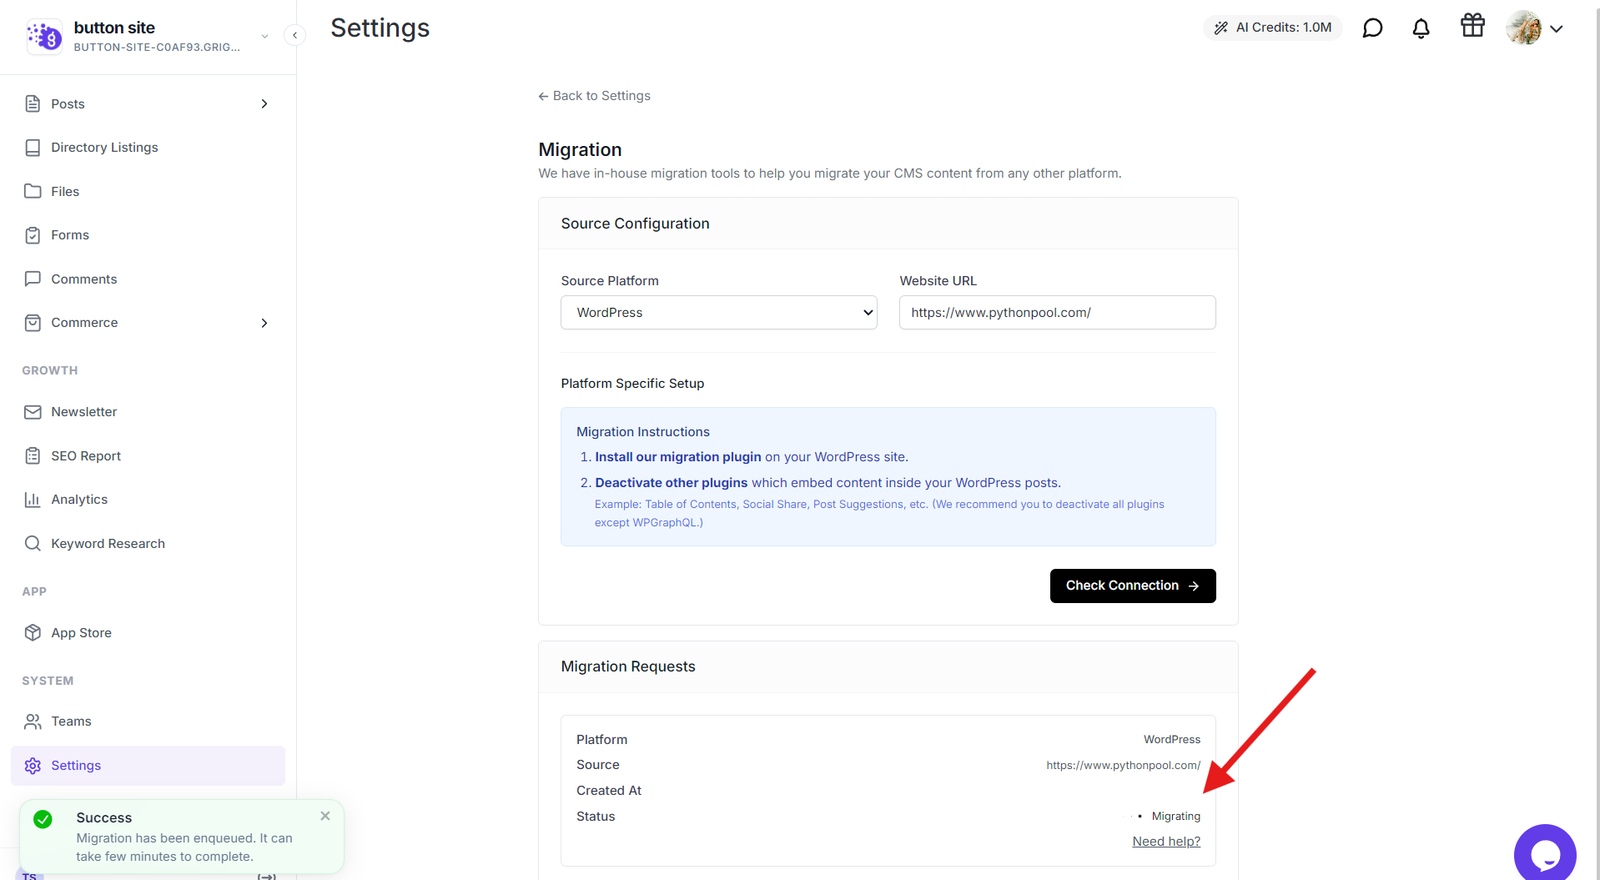
The migration process will import all your posts, categories, tags, and images from WordPress to Grigora.
Grigora will upload the images to its CDN for efficient delivery.
12. Review Migrated Content:
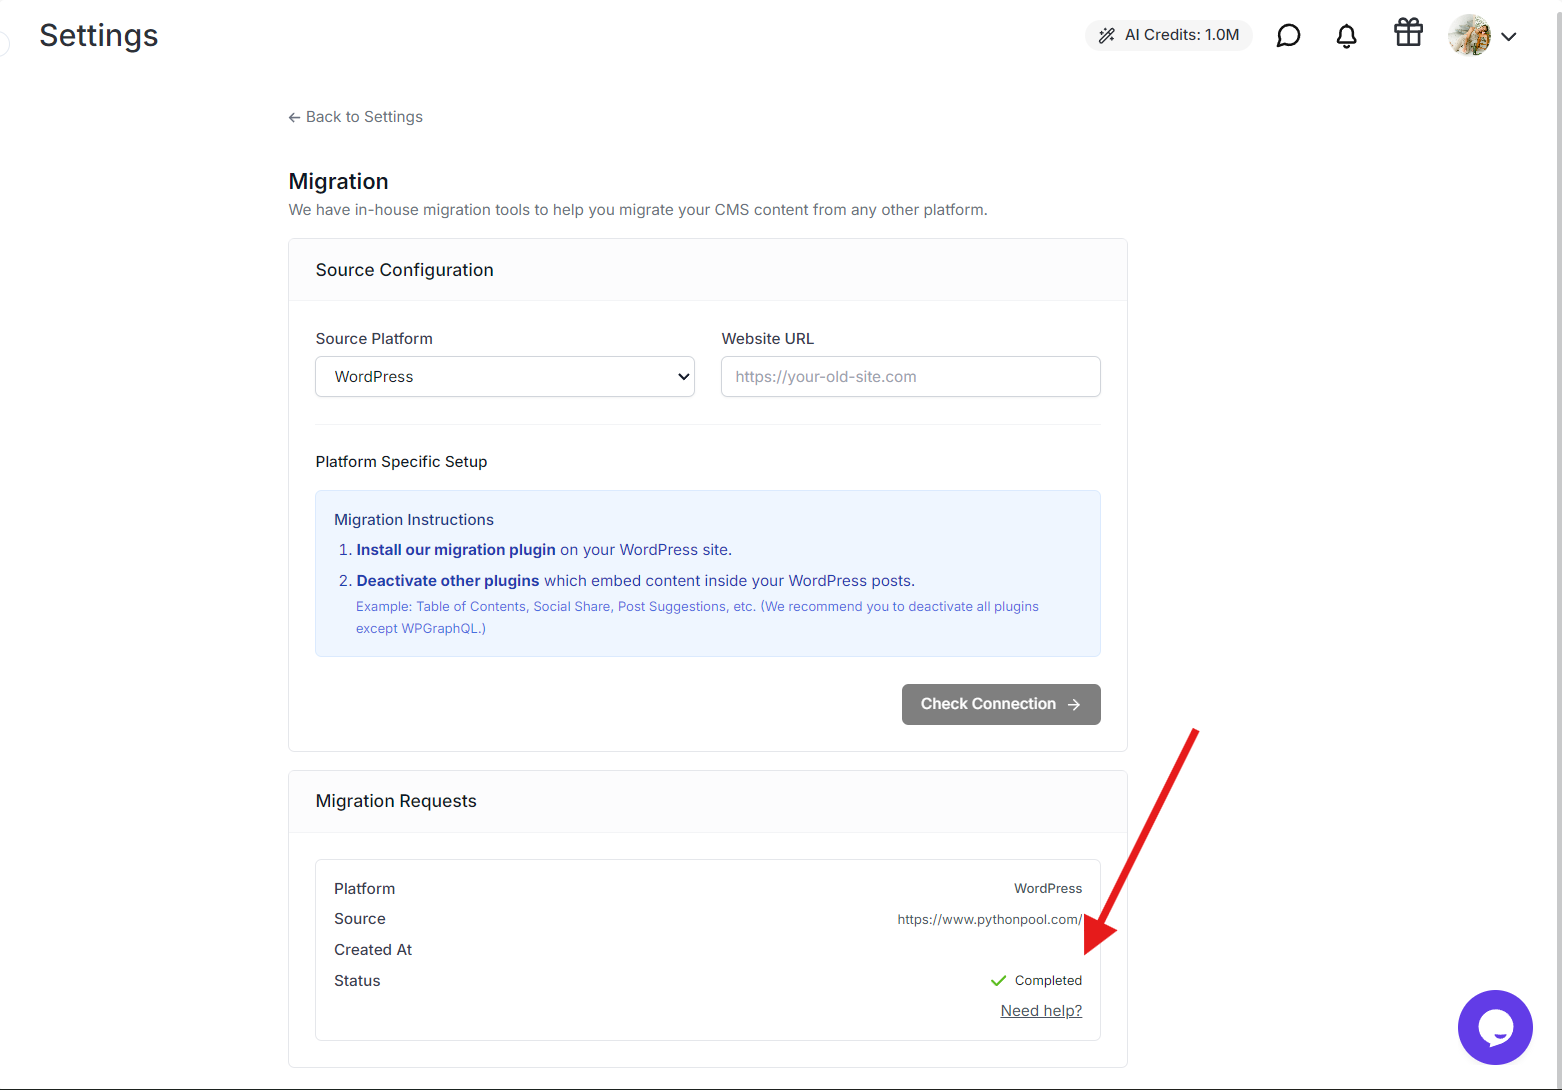
Once the migration is complete, you can view your migrated posts in the "Posts" tab on your Grigora dashboard.
Important Notes:
The author information of your WordPress posts will be changed to your current Grigora author.
While Grigora strives to migrate all content accurately, it's always recommended to review the migrated posts and make any necessary adjustments.
After importing, review your website and check its content, links, and images.