Connecting Stripe to Grigora Commerce allows your store to accept online payments through Stripe during checkout. Before connecting the gateway, make sure you have an active Stripe account and access to the required API credentials. Stripe provides separate test and live API keys, so use the credentials that correspond to the environment you want to configure.
Open Payment Settings
Step 1: Open the payment setup
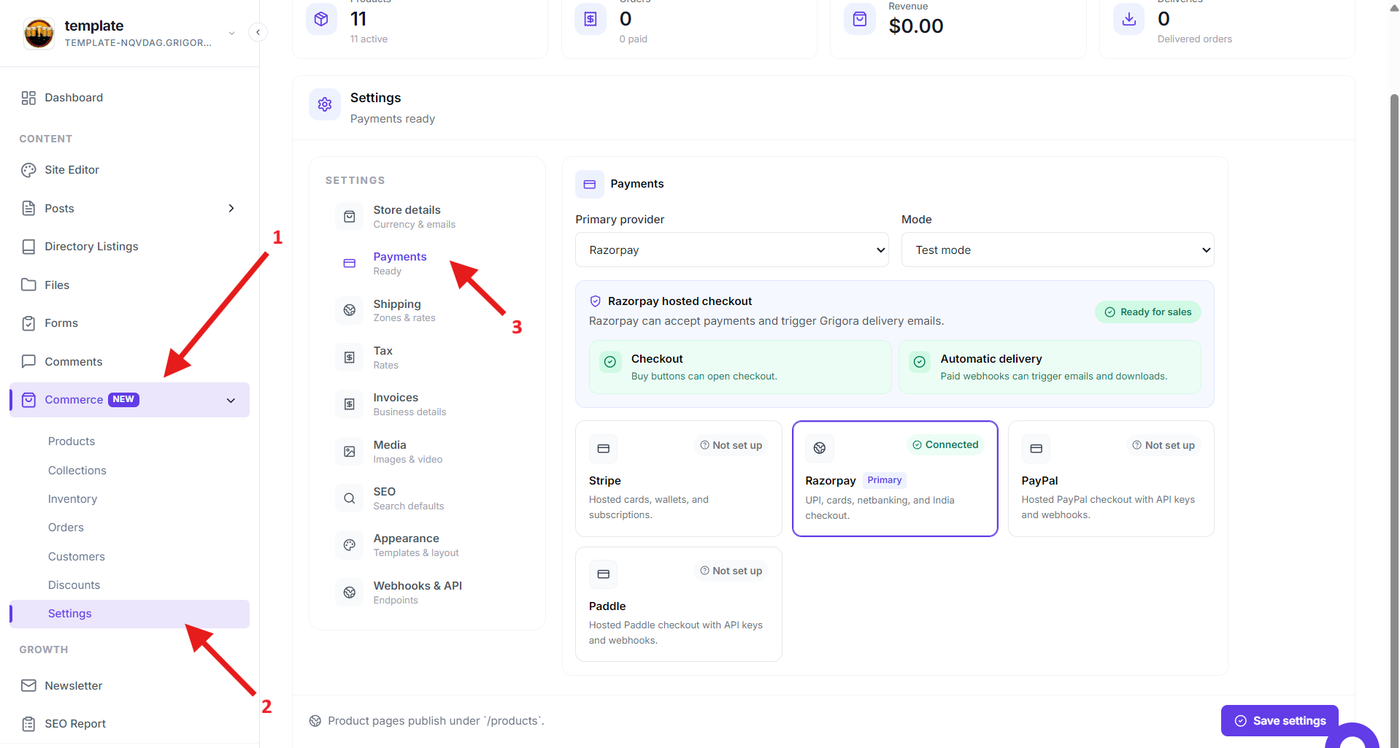
From the Grigora dashboard, expand Commerce and open the payment setup option. You can also use the Set up payments option shown in the payment gateway setup notification when payments have not yet been configured.
The payment setup screen allows you to connect a supported payment provider for your store.
Select Stripe
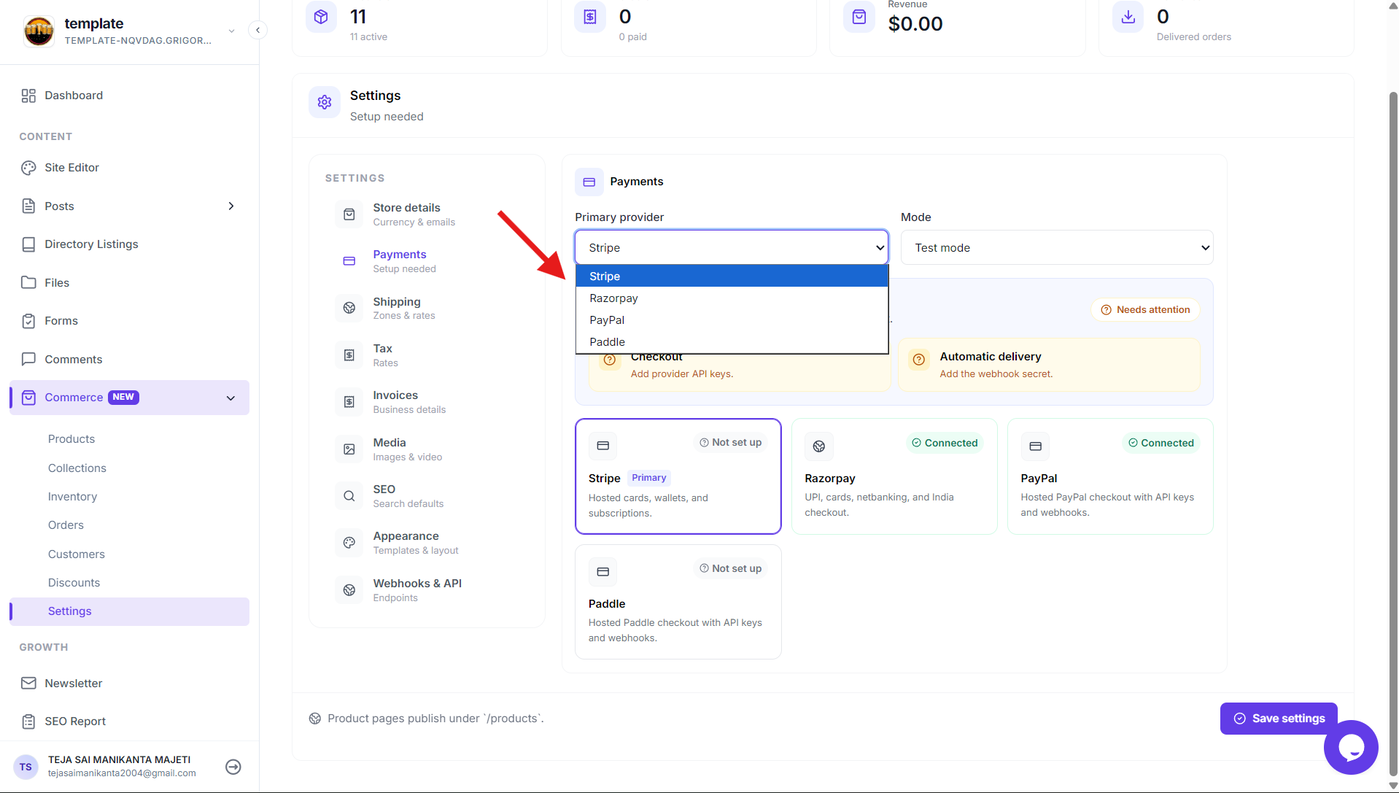
Step 2: Select Stripe as the payment provider
From the available payment providers, select Stripe.
Stripe will be used as the payment gateway for processing customer payments made through your store's checkout.
Get Stripe API Credentials
Step 3: Generate or retrieve your Stripe API keys
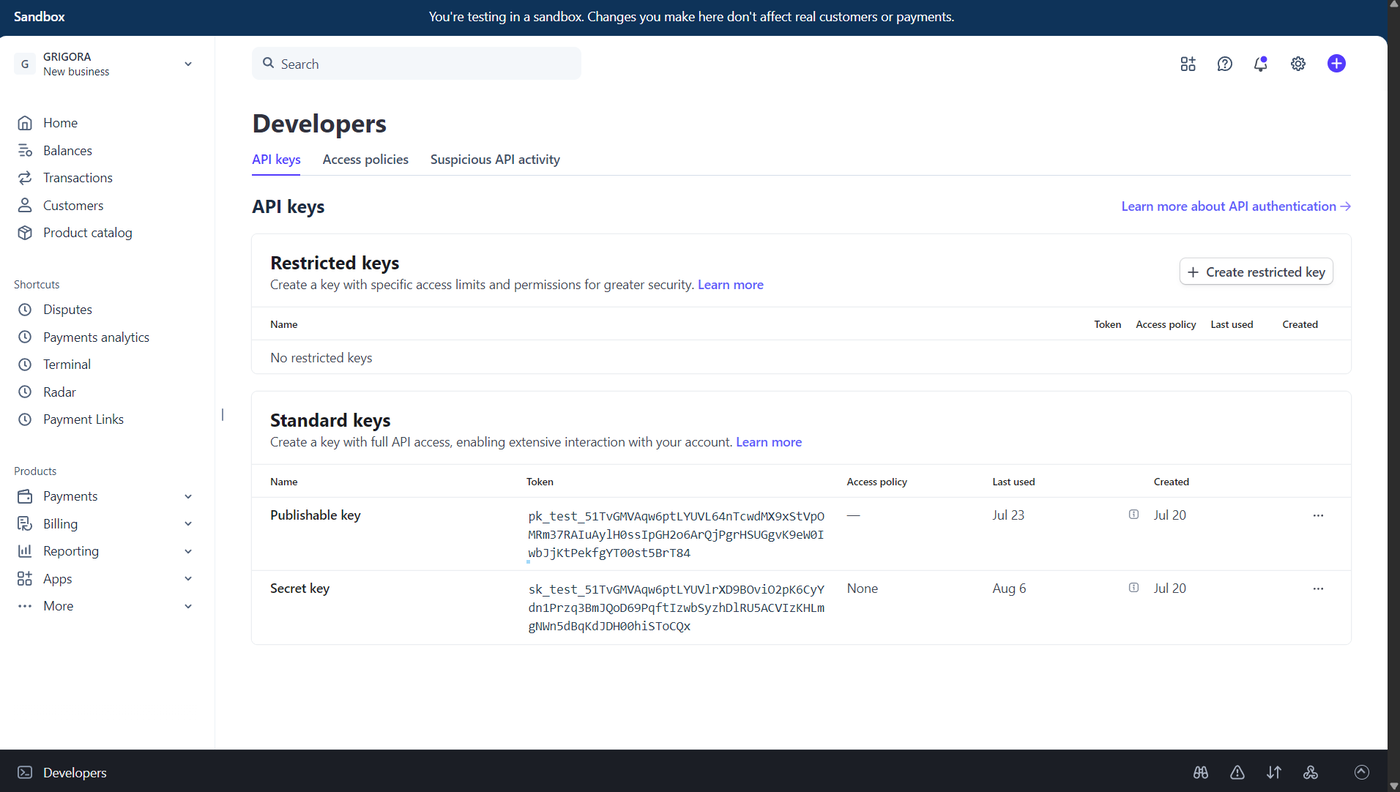
Log in to the Stripe Dashboard and open the API keys section. Stripe provides separate keys for test and live modes. For testing, use the test mode keys; when your store is ready to accept real payments, switch to live mode and use the corresponding live keys.
Copy the required Publishable key and Secret key from Stripe.
Stripe test keys use the pk_test_ and sk_test_ prefixes, while live keys use pk_live_ and sk_live_. Keep your secret key secure and never expose it publicly.
Add Stripe Credentials to Grigora
Step 4: Enter the Stripe credentials and configure the webhook
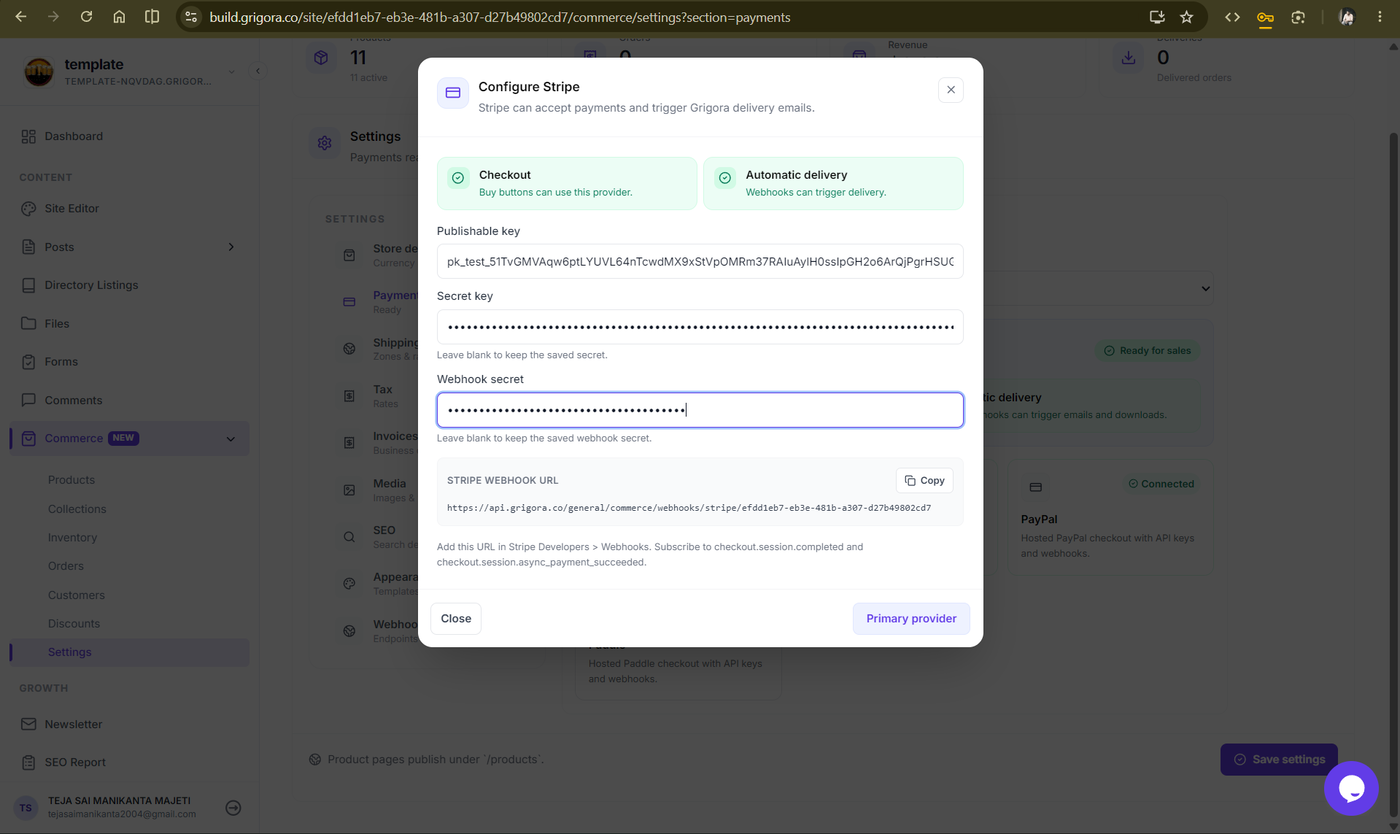
Return to Grigora and click Stripe from the available payment gateway options. Enter the required Stripe credentials in their corresponding fields.
If the configuration provides a Stripe Webhook URL, copy the URL and open the webhook settings in your Stripe Dashboard.
Create a webhook endpoint using the URL provided by Grigora and configure the required payment events. After creating the endpoint, retrieve its signing secret and enter it in the corresponding Webhook Secret field in Grigora.
Stripe webhook signing secrets are separate from API keys and are available from the webhook endpoint's settings.
Connect Stripe
Step 5: Configure and save the Stripe payment gateway
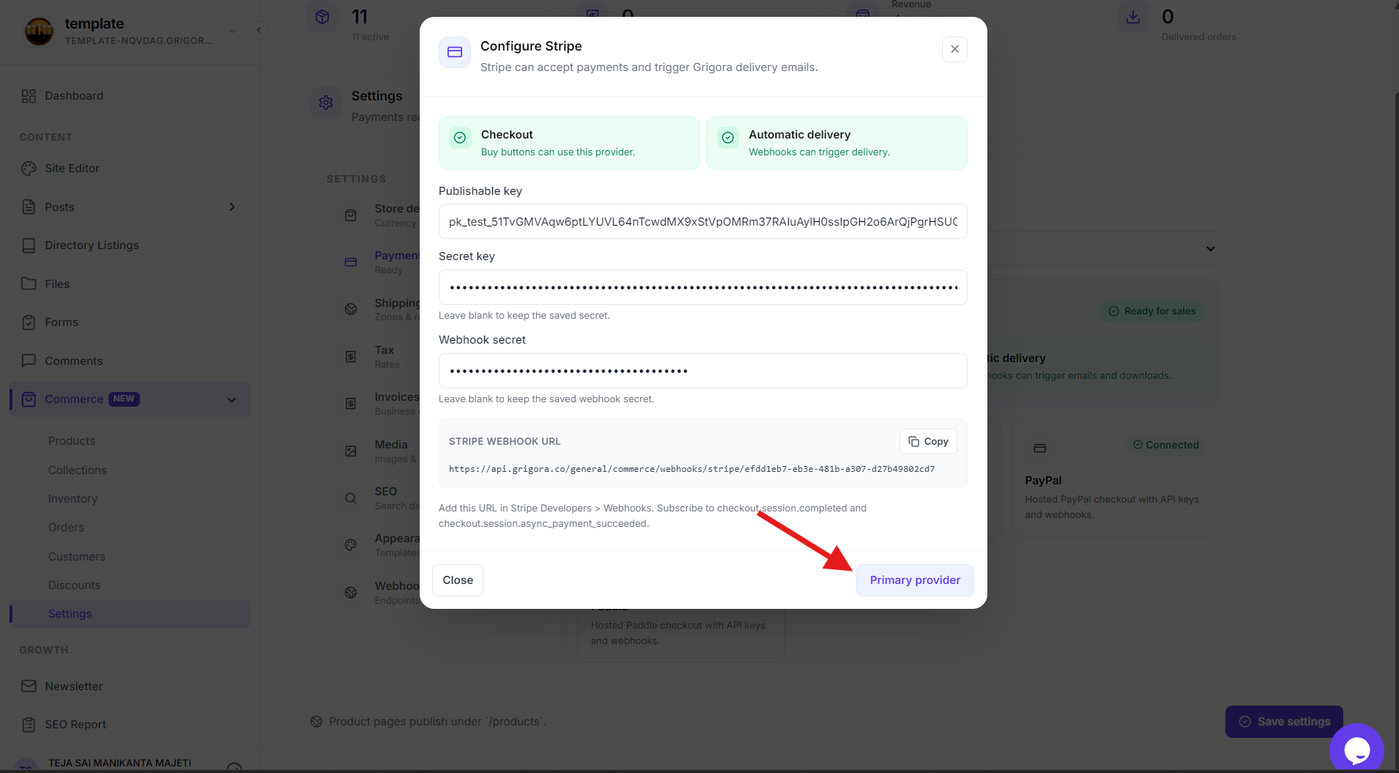
After entering the required Stripe credentials and webhook details, review the configuration.
Select the option to make Stripe the Primary provider and save the payment gateway configuration.
Verify the Connection
Step 6: Confirm that Stripe is connected
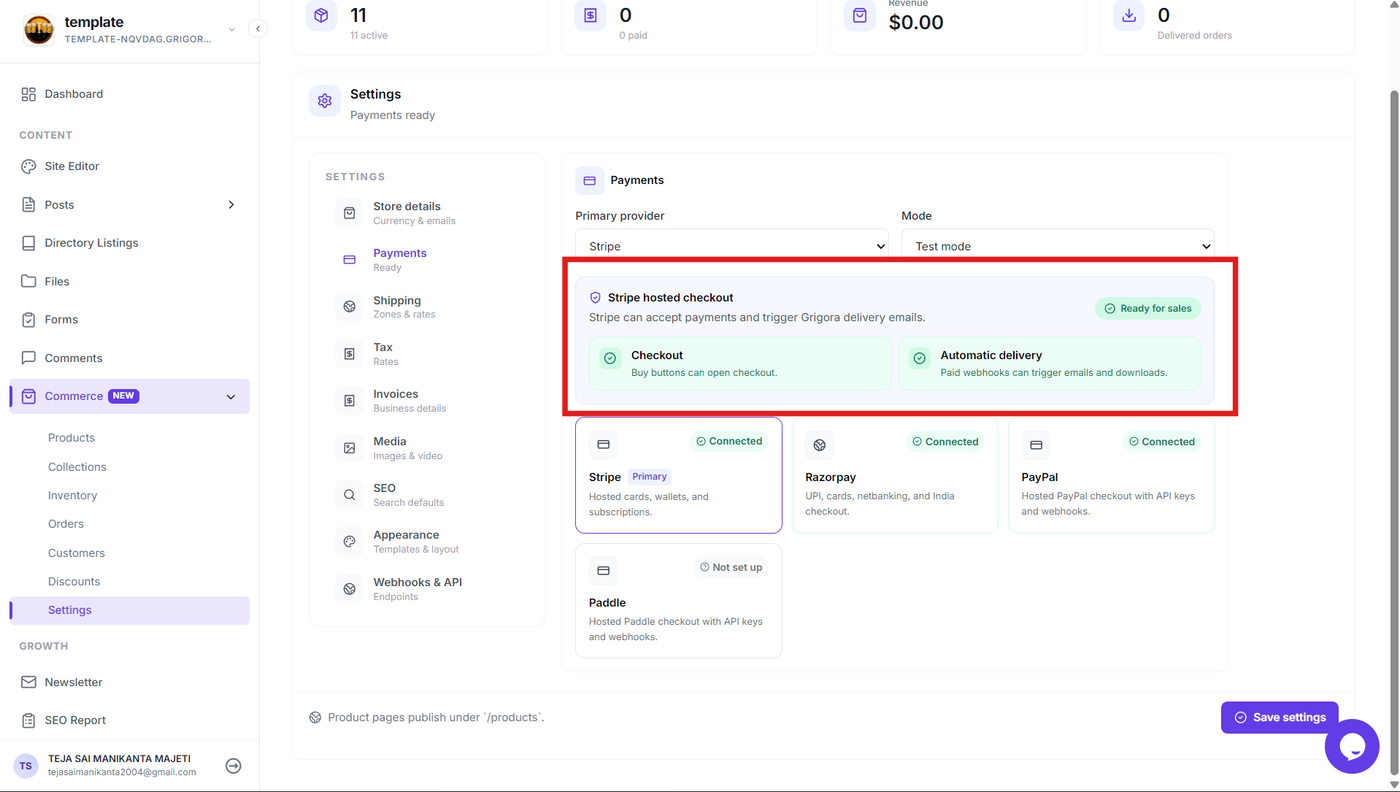
After configuring Stripe, verify that it is selected as the Primary provider on the Payments settings page.
If you are testing the integration, make sure the appropriate Test mode is selected before continuing.
Save and Verify the Stripe Configuration
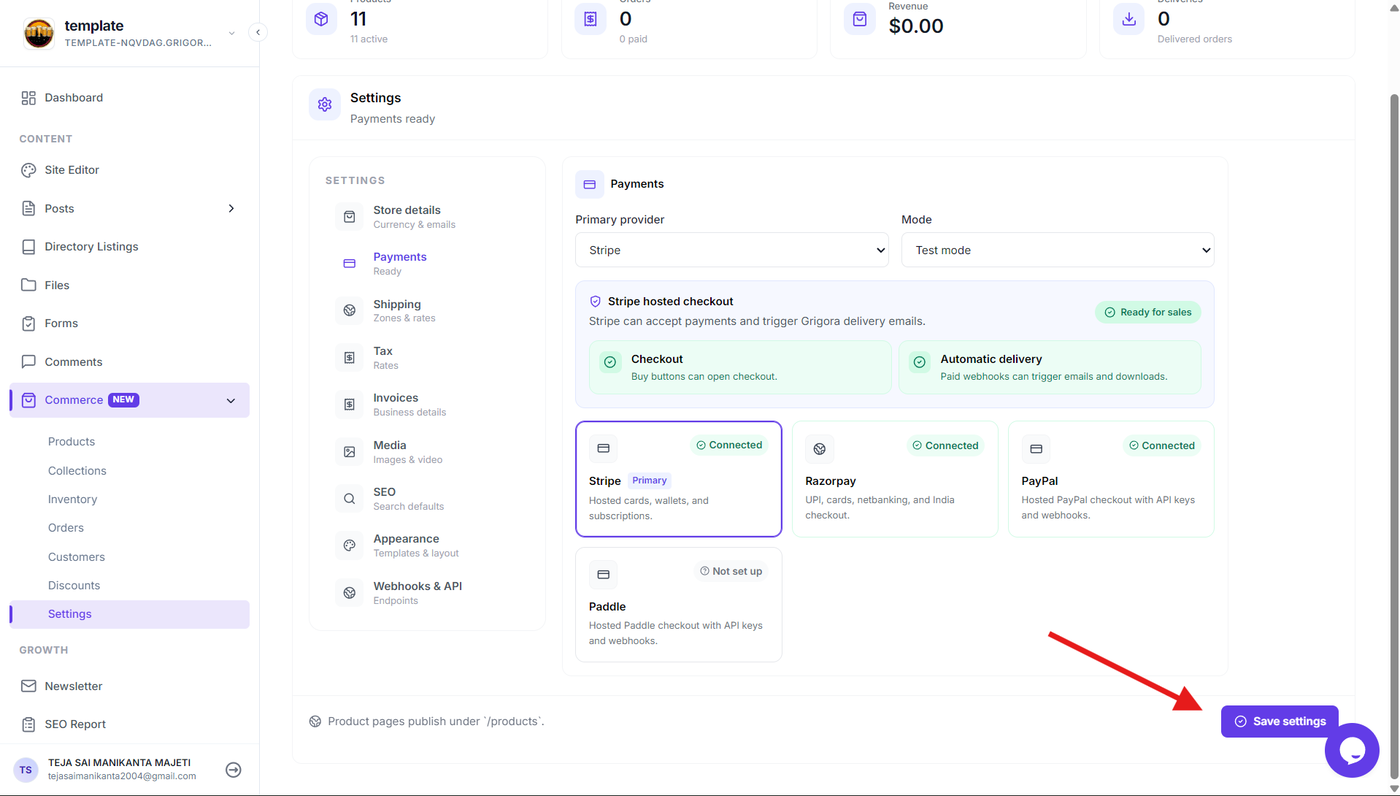
After selecting Stripe as the Primary provider, save the payment configuration from the Payments settings page.
Verify that Stripe is shown as the configured payment provider and that the previous payment setup notification is no longer displayed.
If you configured Stripe using test credentials, complete a test checkout to verify that the payment flow works correctly before switching to live credentials.
When your store is ready to accept real payments, switch to Stripe's live mode and replace the test credentials with the corresponding live keys. If you use webhooks, configure the live webhook endpoint and its signing secret as well.
Verify the Payment Page:
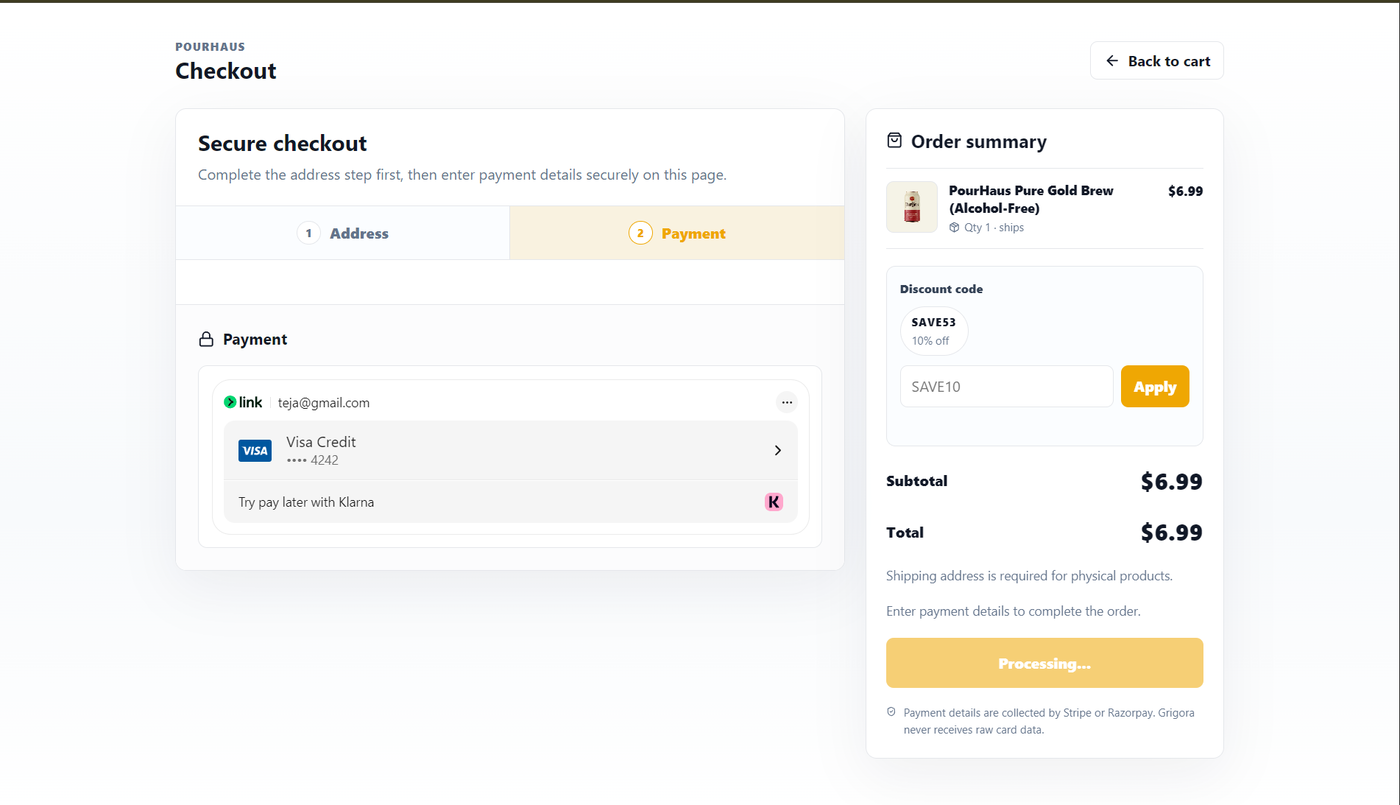
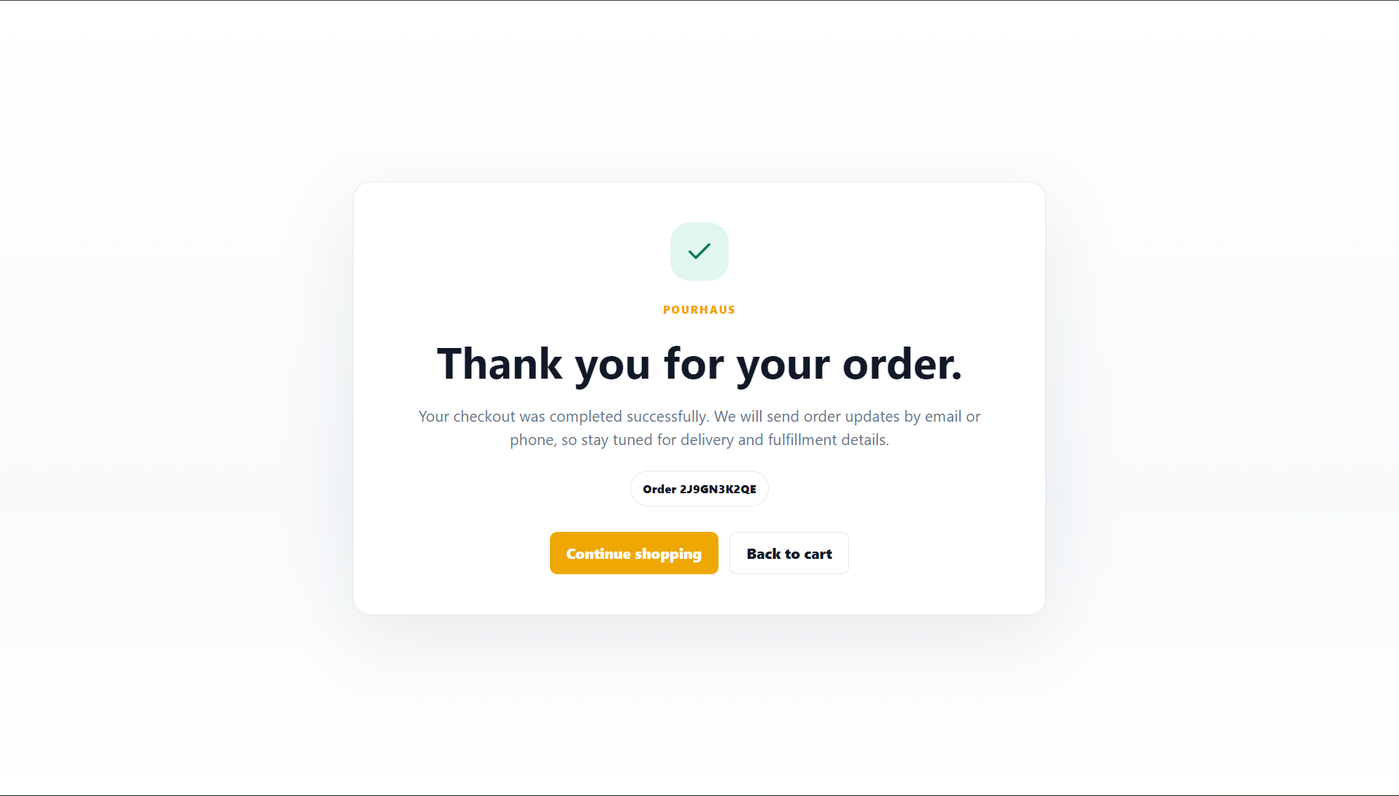
You see a Thank You Page After Successful Order with Tracking orderID